If you’re looking for a delightfully whimsical treat that’s as fun to make as it is to eat, this Melted Snowman Chocolate Bark Recipe is sure to warm your heart and sweet tooth. The playful design of melting snowmen made from crisp white chocolate, mini candy hats, and colorful candies brings a festive and cheerful vibe to any gathering. Not only is this recipe visually charming, but it’s also incredibly simple, making it a perfect holiday activity or a sweet surprise for friends and family. Let’s dive into how you can create this magical Melted Snowman Chocolate Bark Recipe and spread some sugary joy!
Ingredients You’ll Need
These ingredients are delightfully straightforward, yet each one plays an essential role in turning simple chocolate into a work of edible art. The creamy white chocolate creates the perfect backdrop, while playful candies bring personality and texture to each snowman.
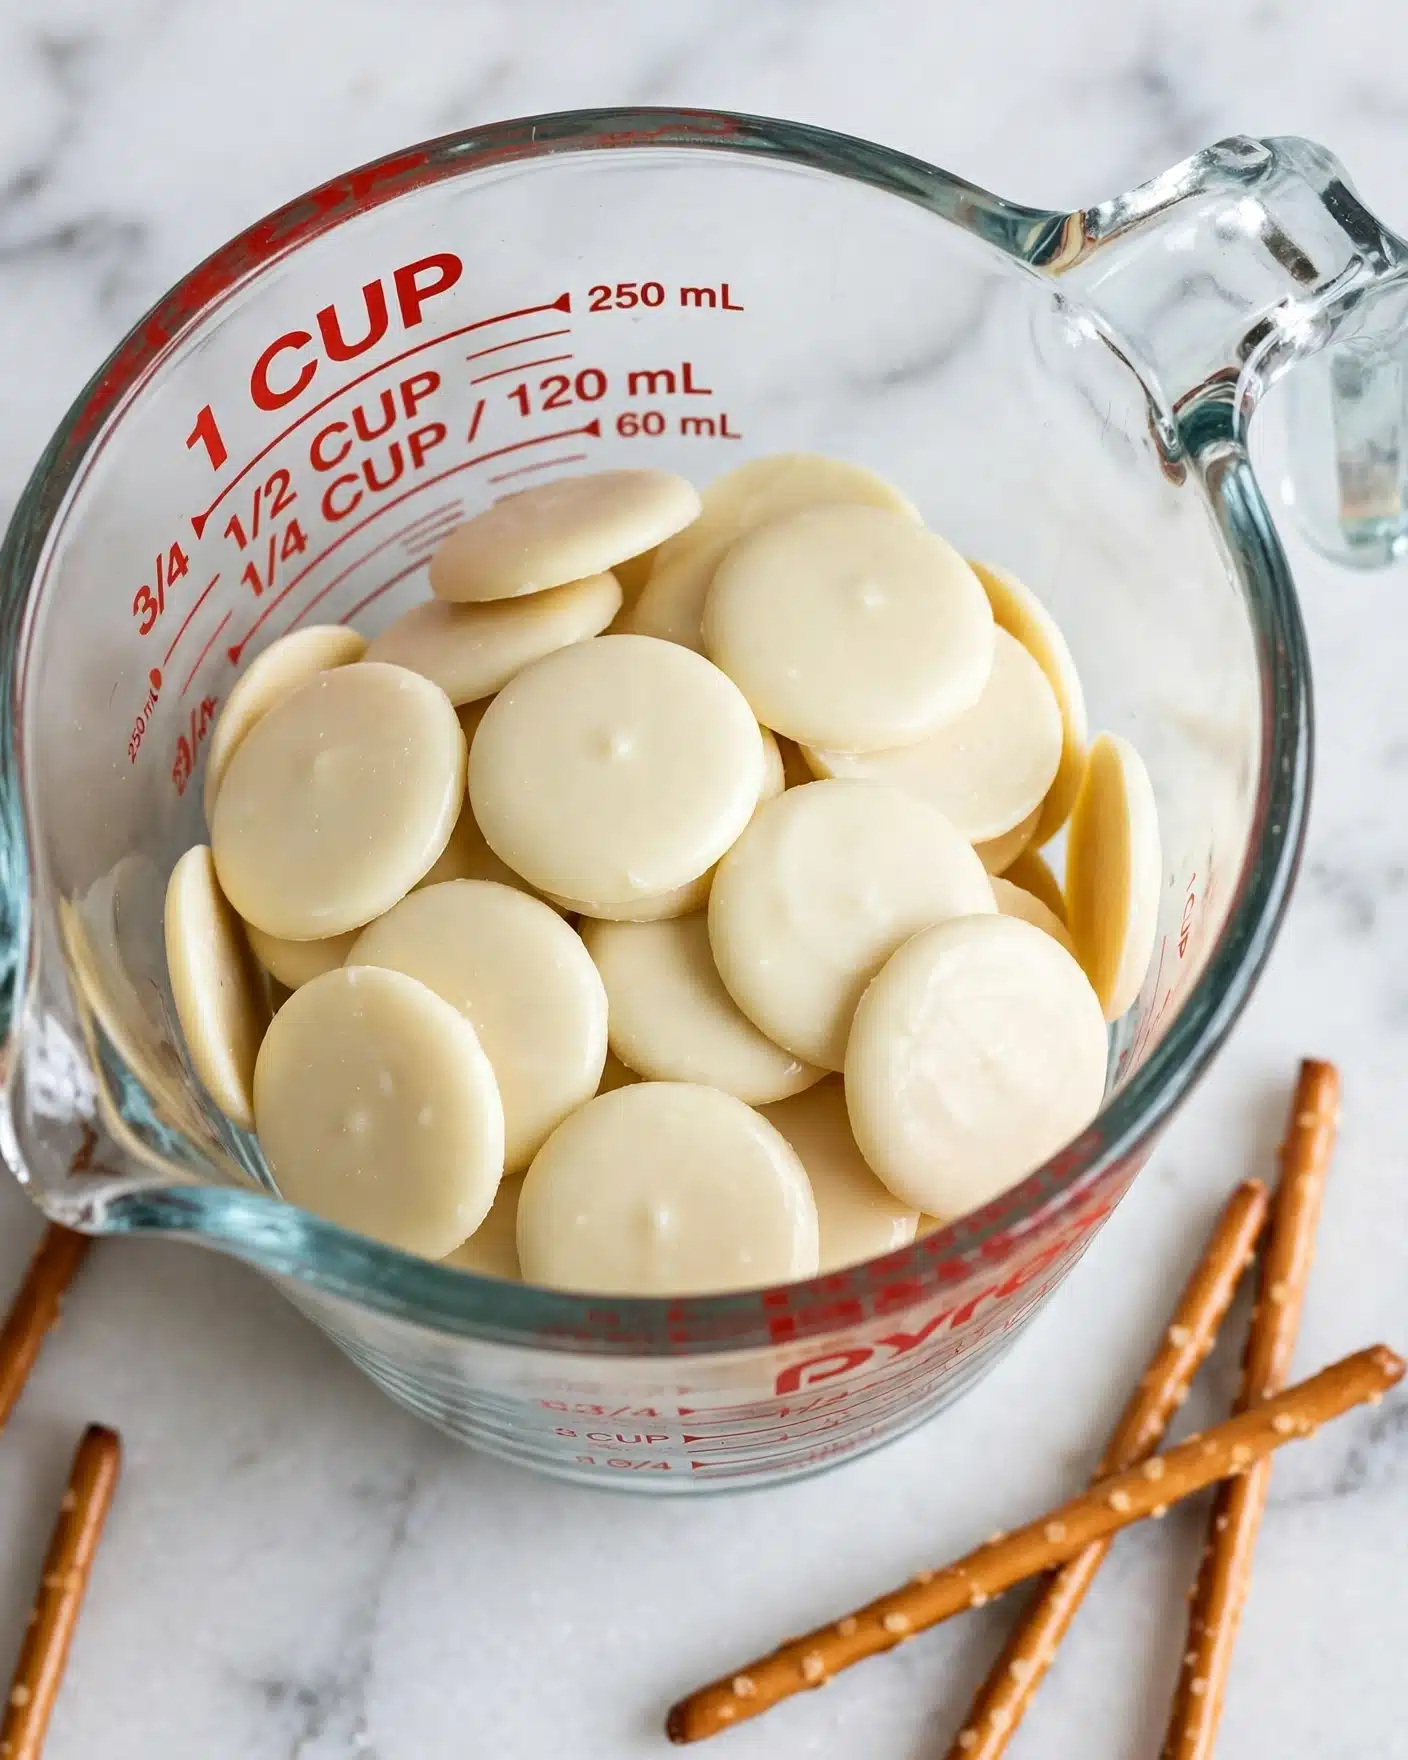
- 8 ounces white chocolate wafers: These melt smoothly and harden with a glossy finish, forming the snowy base of your bark.
- 6 mini Reese’s Peanut Butter Cups: Their rich peanut butter filling is the perfect surprise in the fun “hats” for each snowman.
- 12 Wilton candy eyes: Tiny and expressive, they bring your snowmen to life with character and charm.
- Orange jimmies (sprinkles): Used as noses, these add just the right pop of color and zest.
- 18 red candies (or Red Hots): These serve as festive buttons, creating that classic snowman look with a sweet twist.
- 6 pretzel sticks: Crisp and salty, they form the perfect arms, giving each snowman a stretch of personality.
How to Make Melted Snowman Chocolate Bark Recipe
Step 1: Prepare the Peanut Butter Cup Hats
Begin by slicing each mini Reese’s Peanut Butter Cup in half, giving you two equal, flat sides. Next, carefully cut off about one-third of the wide brim of the cup. Reassemble the halves slightly offset to resemble a quirky snowman hat. This step sets the playful mood for your melted snowmen and adds a delicious peanut buttery crunch.
Step 2: Set Up Your Work Surface
Line a baking sheet with parchment paper or a silicon mat. This ensures your chocolate bark won’t stick and makes cleanup a breeze. Having a smooth, non-stick surface is key for the best final texture, and it also keeps your snowmen intact during assembly.
Step 3: Melt the White Chocolate
Pour the white chocolate wafers into a microwave-safe bowl. Heat the chocolate on high for 30 seconds, then stir gently. Continue microwaving in 15-second bursts, stirring well after each, until the chocolate is mostly melted but still has some lumps. Stir it thoroughly off heat until perfectly smooth. Taking care here prevents scorching, which dulls the taste and appearance, ensuring your melted chocolate is silky and glossy.
Step 4: Shape and Decorate Your Snowmen
Drop six even puddles of melted white chocolate onto your lined baking sheet. Quickly spread each puddle out with the back of a spoon to create a roughly round snowman body. While the chocolate is still soft, place the peanut butter cup hats, add two candy eyes, press an orange sprinkle in for a nose, arrange three red candies vertically as buttons, and finish with pretzel stick arms. Varying the decoration patterns makes each snowman unique and adds charm to your final bark.
Step 5: Chill and Set
Allow the chocolate snowmen to cool and harden for at least one hour. To speed things up, pop the tray into the refrigerator. This step sets your bark firm and ready for serving while keeping every candy decoration securely in place.
How to Serve Melted Snowman Chocolate Bark Recipe

Garnishes
Add a sprinkle of powdered sugar around your bark for a freshly fallen snow effect or scatter some crushed peppermint candy for a minty crunch. These little touches enhance both the look and the flavor, making your bark feel extra festive.
Side Dishes
This Melted Snowman Chocolate Bark Recipe pairs beautifully with a warm cup of hot cocoa or spiced apple cider. The contrast between warm drinks and crisp chocolate creates a cozy, inviting snack experience perfect for chilly days.
Creative Ways to Present
Serve your snowman bark on a decorative platter lined with evergreen sprigs or wrap pieces in cellophane tied with colorful ribbons for delightful holiday gifts. Using cookie cutters to shape portions before the bark fully hardens creates fun, uniform sizes that are great for parties.
Make Ahead and Storage
Storing Leftovers
Store any leftover Melted Snowman Chocolate Bark Recipe in an airtight container at room temperature away from heat or sunlight. This helps maintain the chocolate’s crisp texture and prevents the delicate decorations from melting or becoming sticky.
Freezing
You can freeze the bark by wrapping it tightly in plastic wrap, then placing it in a freezer-safe bag or container. When properly stored, it can last up to two months. Thaw in the refrigerator before serving to keep the texture intact and avoid condensation.
Reheating
Since this is a chocolate bark, reheating is not necessary. To restore crispness once thawed, simply allow it to come to room temperature before enjoying. Avoid direct heat as it can melt the candy decorations.
FAQs
Can I use dark or milk chocolate instead of white chocolate?
Absolutely! Dark or milk chocolate can be used, but keep in mind this Melted Snowman Chocolate Bark Recipe’s charm comes from the bright white background, which makes the colorful decorations pop. Using different chocolate will give a different but still tasty effect.
What if I don’t have mini Reese’s Peanut Butter Cups for the hats?
You can substitute with any small round chocolates or candies, like mini Oreos or chocolate-covered cookies. The key is to create a “hat” shape that fits nicely on top of the snowman.
Can children help make this recipe?
Definitely! This recipe is super kid-friendly and a fun way to get little hands involved. Just supervise when handling melted chocolate and cutting the peanut butter cups for safety.
How long does the bark stay fresh?
If stored properly in a cool, dry place, this chocolate bark stays fresh for about one to two weeks. Keeping it airtight and away from heat extends its deliciousness.
Can I add other decorations?
Of course! Feel free to get creative and add mini marshmallows, shredded coconut for “snow,” or colored sugar sprinkles. This Melted Snowman Chocolate Bark Recipe is the perfect canvas for your imagination.
Final Thoughts
This Melted Snowman Chocolate Bark Recipe is such a joyous treat to create and share. Whether you’re making it for a holiday party, a fun family activity, or just to satisfy your sweet cravings, it’s sure to bring smiles and spark warmth with every bite. Give it a try and watch how this simple, charming bark adds a sprinkle of magic to your day!
Print
Melted Snowman Chocolate Bark Recipe
- Total Time: 20 minutes plus 1 hour chilling
- Yield: 6 servings
Description
Create festive Melted Snowman Chocolate Bark with white chocolate, Reese’s Peanut Butter Cups, candy eyes, colorful sprinkles, red candies, and pretzel sticks, perfect for holiday treats or party snacks.
Ingredients
Chocolate Base
- 8 ounces white chocolate wafers
Decorations
- 6 mini Reese’s Peanut Butter Cups
- 12 Wilton candy eyes
- Orange jimmies (sprinkles)
- 18 red candies (or Red Hots)
- 6 pretzel sticks
Instructions
- Prepare the hats: Cut each mini Reese’s Peanut Butter Cup in half to create two equal sides. Then cut off about one third of the wide brim to reshape the pieces. Reassemble the parts slightly offset to resemble a snowman hat.
- Prepare the baking sheet: Line a baking sheet with parchment paper or a silicone baking mat to prevent sticking and allow easy removal of the chocolate bark.
- Melt the white chocolate: Place the white chocolate wafers in a microwave-safe bowl. Microwave on high for 30 seconds, then stir. Continue microwaving in 15-second intervals, stirring between each, until the chocolate is mostly melted but not completely. Remove and stir until fully smooth to avoid burning.
- Form the chocolate bases: Pour the melted chocolate onto the lined baking sheet in six separate puddles. Spread each puddle thinly and evenly with the back of a spoon while the chocolate is still warm.
- Decorate the snowmen: Quickly place one prepared peanut butter cup hat on each chocolate puddle. Add two candy eyes, an orange sprinkle as the nose, and red candies for buttons. Insert a pretzel stick on each side to serve as arms. Arrange the decorations in varied positions for unique snowman faces.
- Set and chill: Allow the chocolate bark to cool and harden completely for at least 1 hour. To speed this up, place the baking sheet in the refrigerator until firm.
Notes
- Use a silicone baking mat or parchment paper to prevent the chocolate from sticking.
- Be careful not to overheat the white chocolate to avoid burning and graininess.
- Personalize the snowmen by varying the placement of candy eyes and decorations.
- Store finished chocolate bark in an airtight container at room temperature or in the refrigerator for longer freshness.
- Prep Time: 10 minutes
- Cook Time: 10 minutes
- Category: Dessert
- Method: No-Cook
- Cuisine: American