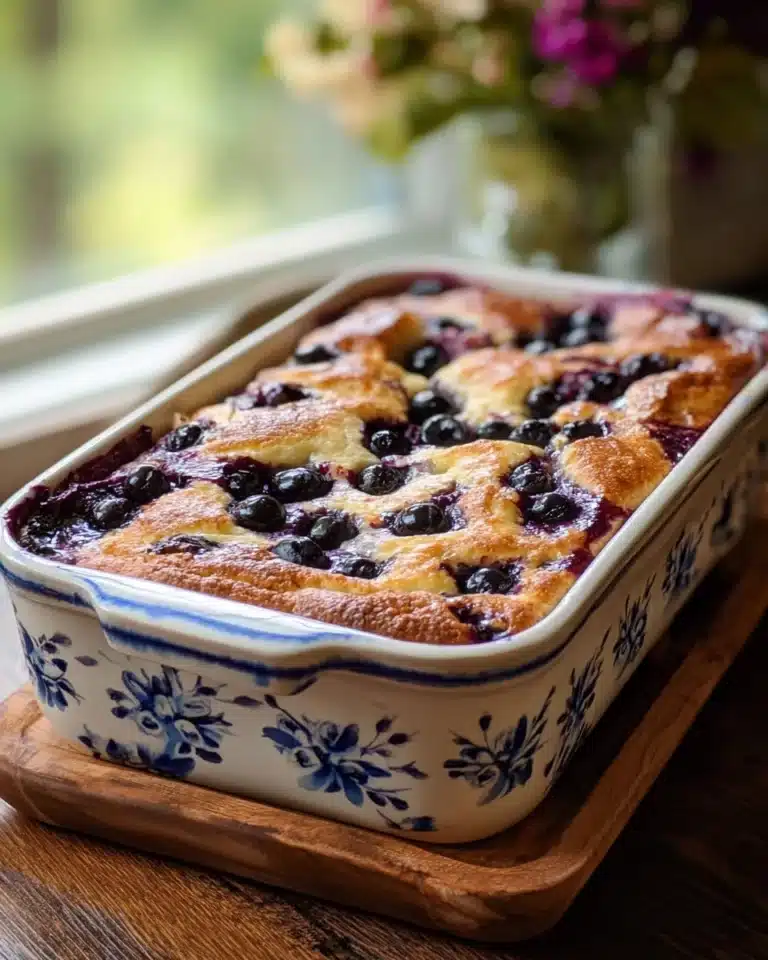
If you adore the classic campfire treat but wish you could enjoy it any time of year, the S’mores Bars Recipe is just what you need. This delightful dessert captures the magic of ooey gooey melted chocolate and toasted marshmallows atop a buttery graham cracker crust, delivering all the nostalgic flavors in an easy-to-make bar form. It’s the perfect combination of crunchy, sweet, and melty indulgence that will have you reaching for seconds — or thirds!
Ingredients You’ll Need
Getting started with this S’mores Bars Recipe is easier than you think, and the ingredients are both simple and essential. Each one plays its part in creating the perfect balance of crunchy crust, smooth chocolate, and fluffy marshmallow topping, making the whole experience irresistibly delicious.
- Graham cracker crumbs: Provide the essential crunchy base with that classic s’mores flavor.
- Butter (melted): Binds the crumbs together and adds rich, buttery goodness to the crust.
- Powdered sugar: Sweetens the crust and helps it hold firm without crumbling.
- Hershey Chocolate Bars (4 bars, 4.4 ounces each): Creates the luscious chocolate layer that melts beautifully.
- Mini marshmallows: Top off your bars with gooey, toasty sweetness just like a campfire treat.
How to Make S’mores Bars Recipe
Step 1: Prepare the Crust
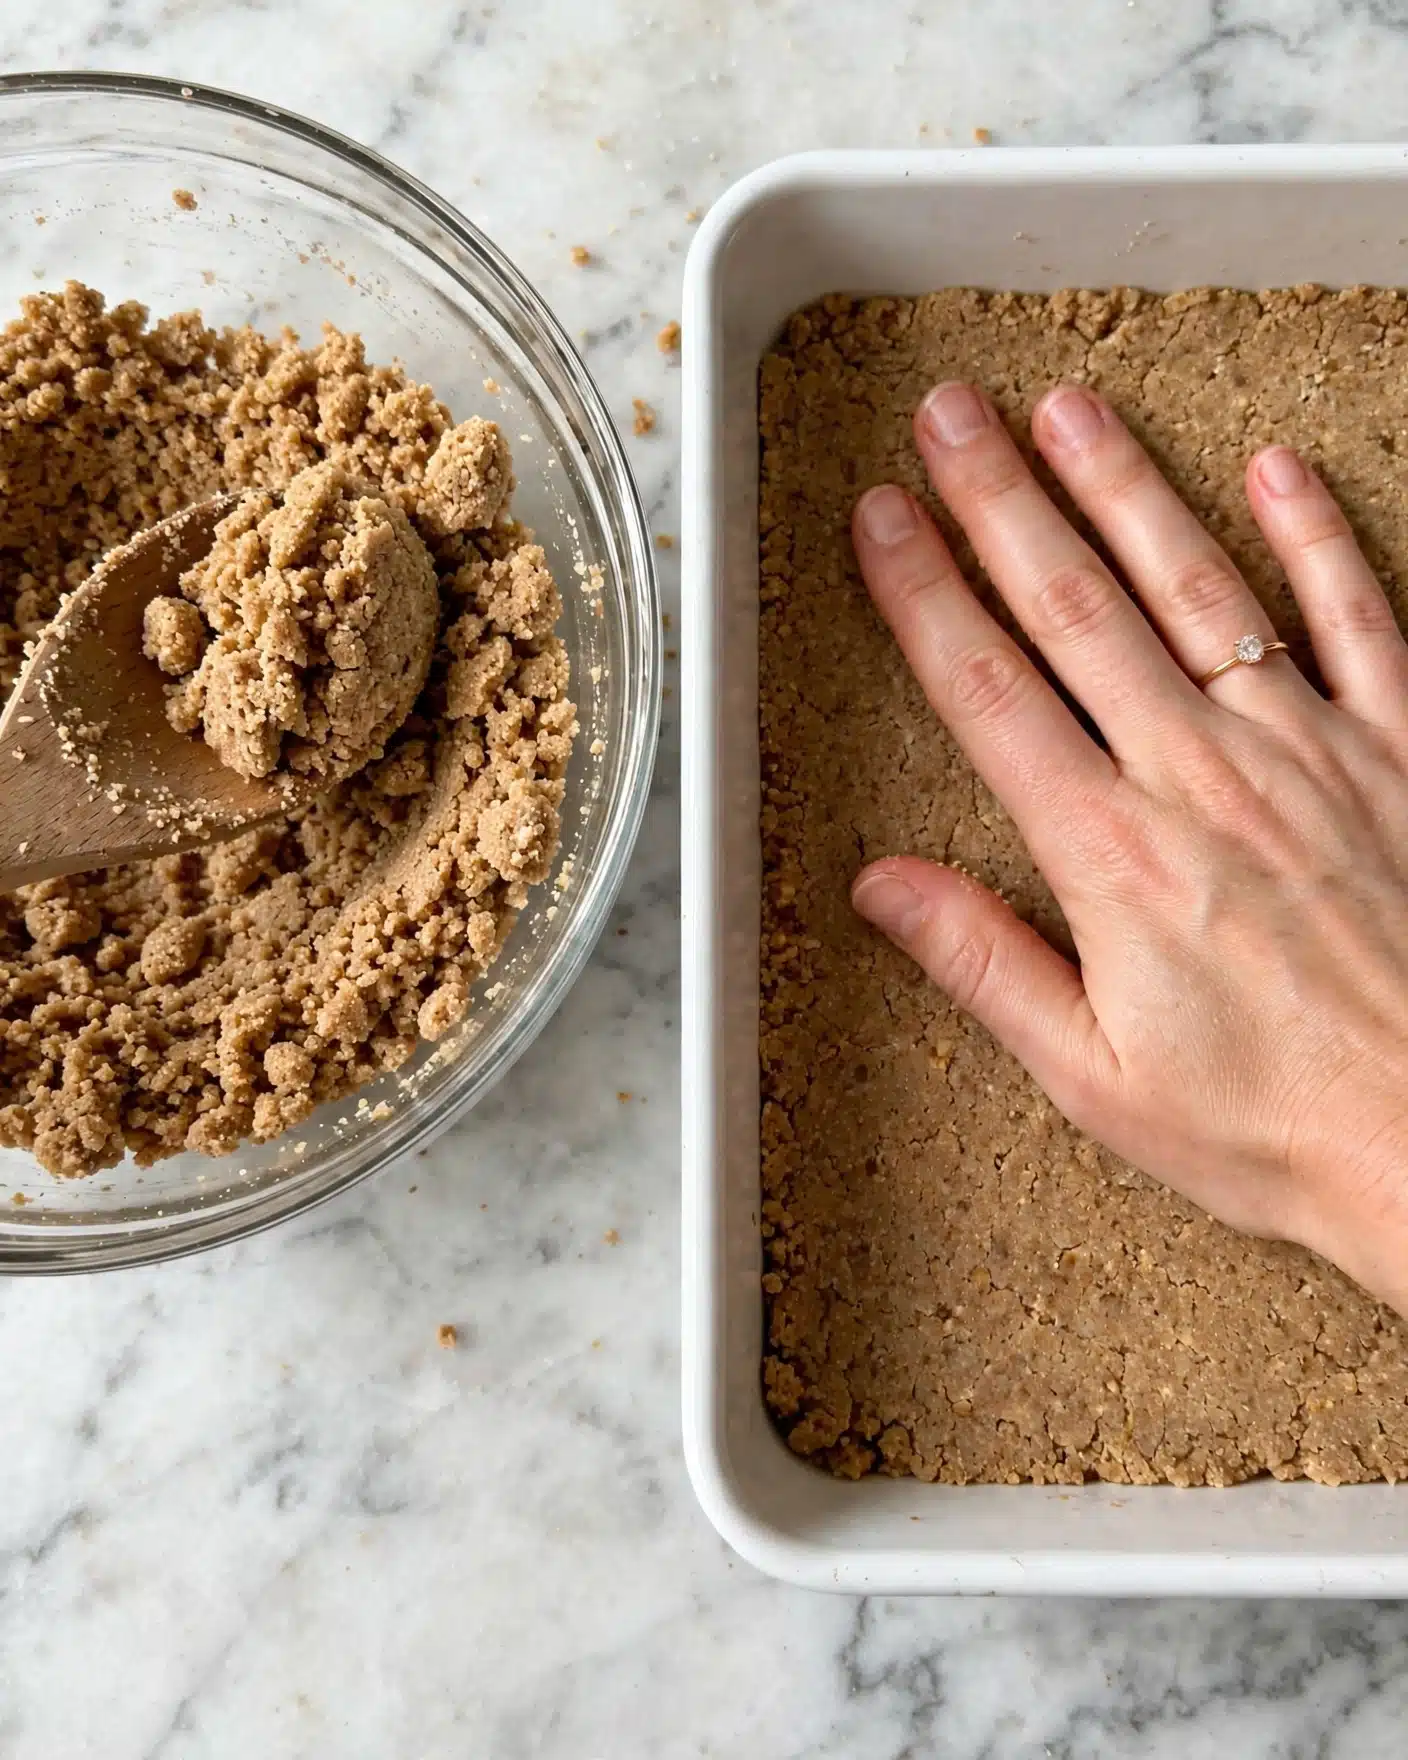
Start by preheating your oven to 350 degrees and greasing a 9×13-inch pan with non-stick spray. In a medium bowl, mix the graham cracker crumbs, powdered sugar, and melted butter. Add the butter slowly, ensuring the mixture is moist but not wet, so it packs firmly when pressed into the pan. Spread it evenly across the bottom and sides, pressing down with your fingers to form a sturdy crust.
Step 2: Bake the Crust
Pop your crust into the oven for about 5 to 8 minutes until the edges begin to turn a lovely golden brown. This step is crucial as it helps the crust firm up, giving you that perfect crunch to contrast the melty toppings.
Step 3: Add the Chocolate Layer
Once the crust has cooled slightly, lay the Hershey’s chocolate bars evenly over the top, covering as much surface as possible. Return the pan to the oven for around 3 minutes, just until the chocolate starts to melt and gleams with a shiny luster. This warm chocolate layer is the heart and soul of your s’mores bars.
Step 4: Top with Marshmallows and Broil
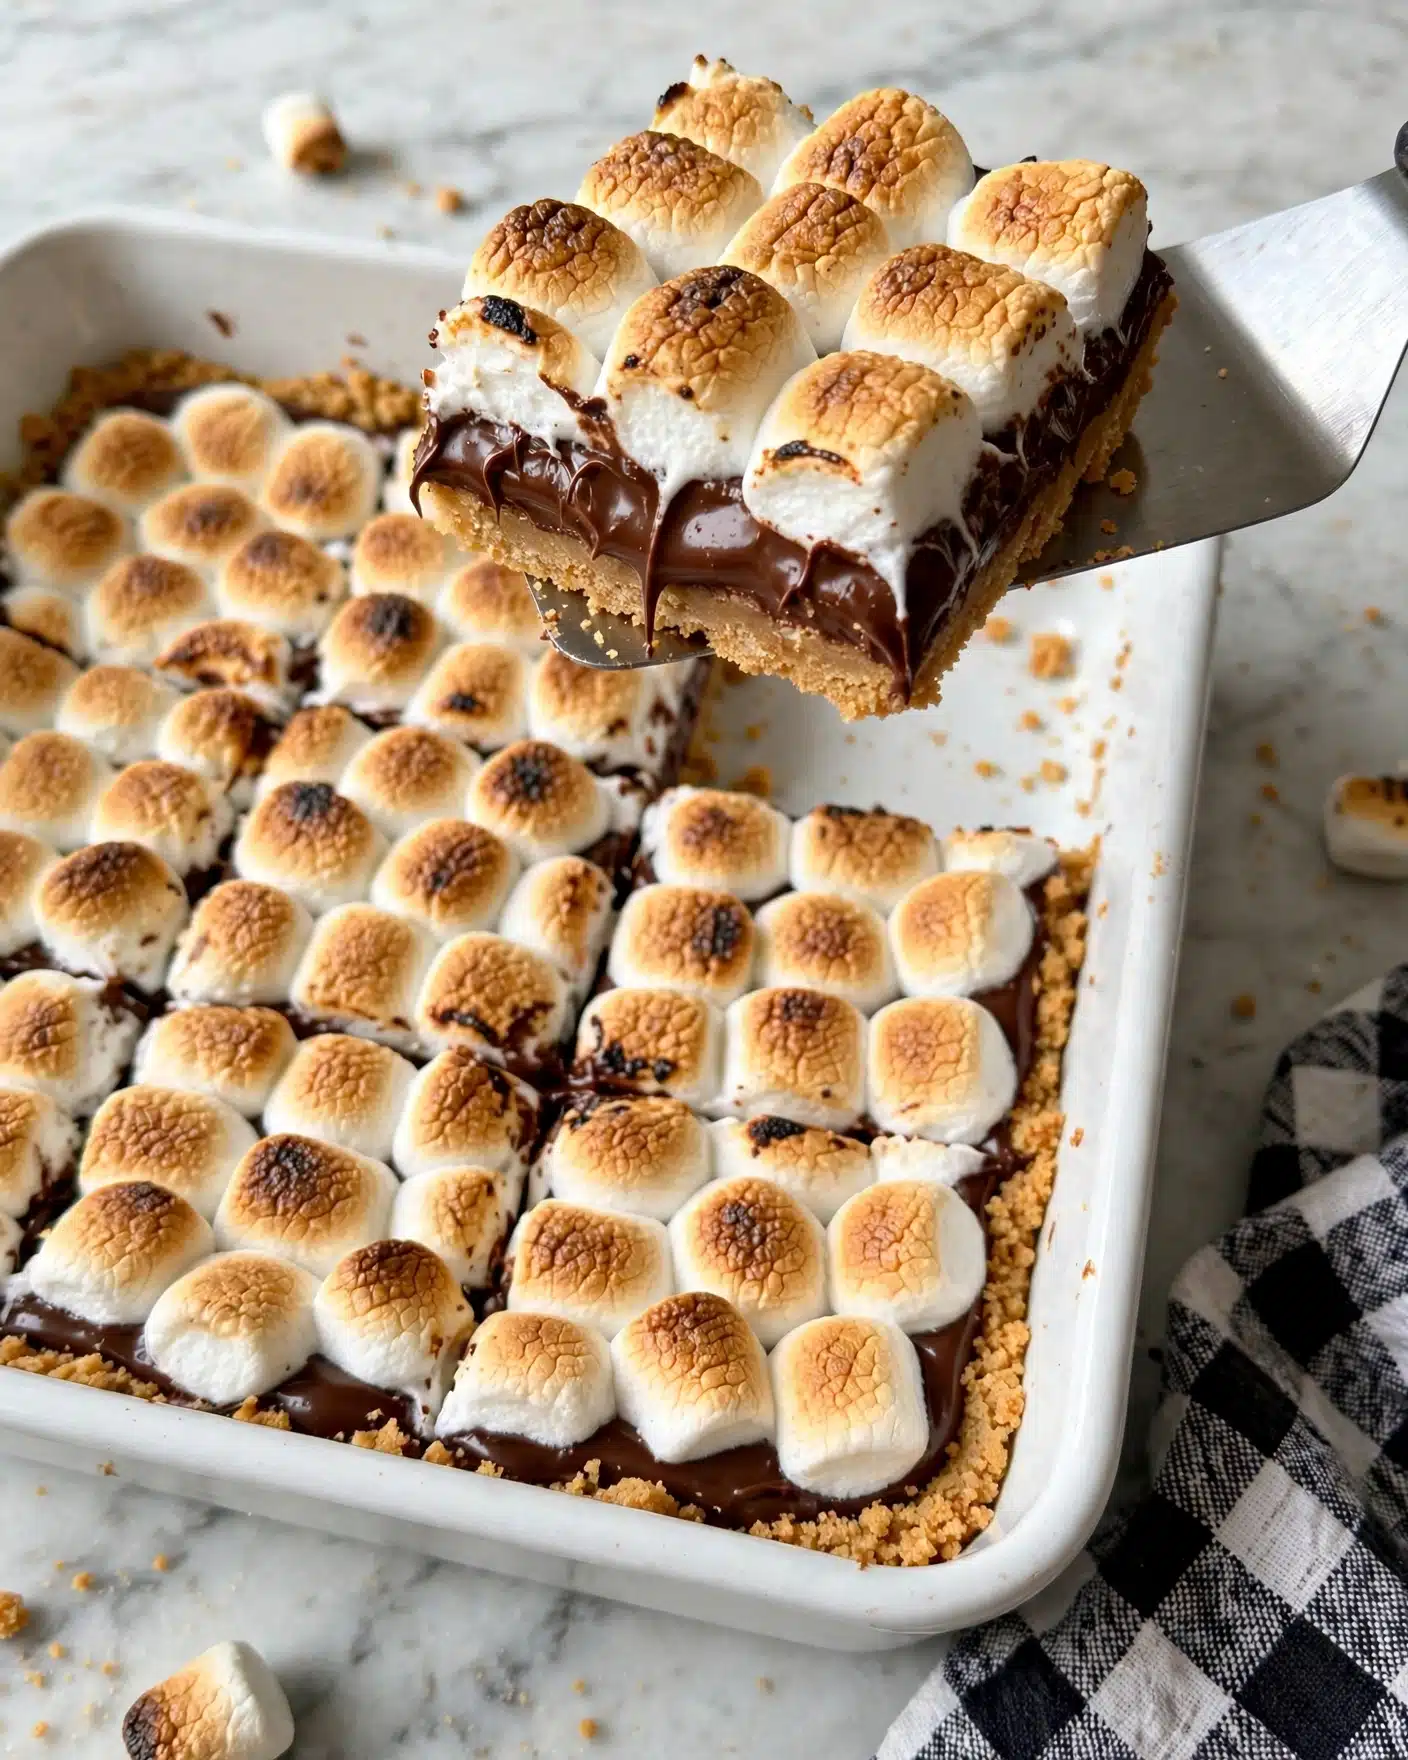
Immediately after removing the pan from the oven, evenly pack the mini marshmallows tightly on top of the melted chocolate. Switch your oven to broil and return the pan inside, but keep a vigilant eye on those marshmallows. They only need about 2 minutes to brown perfectly; once they start turning golden, pull them out to prevent burning. This toasted marshmallow topping is what brings that campfire magic indoors.
Step 5: Cool and Slice
Allow the bars to cool completely before slicing. For easier cutting and less sticky marshmallows, pop the pan into the refrigerator for a short while. When ready, use a warm, sharp knife (just run it under hot water, dry it off) to cut clean slices without the gooey marshmallow sticking to the blade.
How to Serve S’mores Bars Recipe
Garnishes
While these bars are delicious on their own, you can elevate their appearance and flavor with some fun garnishes. Try sprinkling a few extra mini marshmallows or broken graham cracker pieces on top right after broiling for a charming presentation. A light dusting of powdered sugar or a drizzle of caramel can also add a beautiful touch and complementary sweetness.
Side Dishes
Pair your S’mores Bars Recipe with a scoop of vanilla ice cream or a dollop of whipped cream for an indulgent treat. Fresh berries or sliced bananas can add a refreshing contrast to the richness, brightening each bite. A hot cup of coffee or cocoa makes the perfect companion for cozy snacking sessions.
Creative Ways to Present
For a fun twist, serve these bars in mason jars layered with whipped cream or ice cream for an easy s’mores parfait. You could also cut them into bite-sized squares and skewer them on sticks to make shared dessert pops at parties. Wrapping individual pieces in parchment paper tied with a rustic twine bow makes a thoughtful homemade gift as well!
Make Ahead and Storage
Storing Leftovers
Once cooled, store leftover s’mores bars in an airtight container at room temperature for up to two days or in the refrigerator for up to five days. Proper storage helps the marshmallows stay soft without drying out or becoming too sticky.
Freezing
If you’d like to keep these bars longer, freezing is an option. Wrap each cut bar tightly in plastic wrap, then place them in a freezer-safe bag or container. They freeze well for up to 2 months. Thaw in the refrigerator overnight before enjoying.
Reheating
To bring back that fresh-from-the-oven feel, gently warm your bars in the microwave for 10 to 15 seconds or pop them in a low oven (around 300°F) for a few minutes. This softens the chocolate and marshmallows while maintaining that irresistible gooey texture.
FAQs
Can I use a different type of chocolate?
Absolutely! While Hershey’s bars give that classic s’mores taste, you can experiment with milk, dark, or even flavored chocolate bars. Just make sure the chocolate melts smoothly to get that beautiful gooey layer.
Are mini marshmallows necessary?
Mini marshmallows work best because they cover the chocolate evenly and toast quickly under the broiler. Regular-sized marshmallows can be used but may require longer broiling and might melt unevenly.
How do I prevent the marshmallows from burning?
Broiling marshmallows requires keen attention. Watch them closely and don’t walk away—you only need about two minutes for perfect browning. Once they start to turn golden, remove immediately to avoid burning.
Can I make these bars gluten-free?
Yes! Substitute the graham cracker crumbs with gluten-free graham crackers or another gluten-free cookie crumb for a delicious alternative that keeps the same texture and flavor.
What’s the best way to cut S’mores Bars Recipe without sticking?
Chill the bars in the refrigerator first to firm them up, then use a warm, sharp knife dipped in hot water and dried before slicing. Repeat warming the knife if the marshmallows start to cling during cutting.
Final Thoughts
There’s just something about the S’mores Bars Recipe that makes you feel instantly cozy and nostalgic, no matter the season. I hope you’ll give this recipe a try because it’s truly one of those desserts that brings smiles, warm memories, and delicious moments to every table. Whether for a casual snack or a special occasion, these bars will quickly become a beloved treat in your dessert lineup.
Print
S’mores Bars Recipe
- Total Time: 25 minutes
- Yield: 16 bars
- Diet: Vegetarian
Description
S’mores Bars capture the classic flavors of a beloved summer treat in a convenient, year-round dessert. Featuring a buttery graham cracker crust, melted Hershey’s chocolate bars, and toasted marshmallows, these bars offer an irresistible combination of crispy, gooey, and sweet textures perfect for any occasion.
Ingredients
For the Crust
- 2 cups graham cracker crumbs
- 8–12 tablespoons melted butter
- ½ cup powdered sugar
Topping
- 4 Hershey Chocolate Bars (4.4 ounces each)
- 1 package mini marshmallows
Instructions
- Preheat and Prepare Pan: Preheat your oven to 350°F (175°C) and grease a 9×13-inch baking pan with non-stick butter spray to prevent sticking.
- Make the Crust: In a medium bowl, combine the graham cracker crumbs, powdered sugar, and melted butter. Mix slowly adding butter until the mixture is moist but not wet, ensuring no pooling occurs. Press this mixture firmly and evenly into the bottom and up the sides of the prepared pan to form a compact crust.
- Bake the Crust: Place the crust in the oven and bake for 5-8 minutes until the edges start to turn golden brown. Remove from the oven and let the crust cool; it will harden as it cools.
- Add Chocolate Layer: Arrange the Hershey chocolate bars on top of the cooled crust, covering the entire surface. Return the pan to the oven for about 3 minutes until the chocolate just begins to melt and shines.
- Cool Slightly: Remove the pan and let cool for 1-2 minutes to allow the chocolate to set slightly.
- Add Marshmallows: Tightly pack mini marshmallows over the melted chocolate layer, covering it completely.
- Broil the Marshmallows: Set the oven to broil. Place the pan under the broiler while watching closely, as the marshmallows will brown quickly—approximately 2 minutes. Remove as soon as they begin to brown to avoid burning.
- Cool and Set: Let the bars cool completely before cutting. For easier slicing, chill in the refrigerator to set the bars firmly.
- Cut and Serve: Use a sharp knife warmed under hot water and dried to cut the bars. Repeat warming and drying the knife if it becomes sticky from the marshmallows.
Notes
- When mixing butter into the crust, add it slowly and mix gradually to avoid excess moisture and pooling.
- If the crust mixture is too wet, incorporate additional graham cracker crumbs and powdered sugar to achieve a moist but non-wet consistency.
- The butter should bind the crust so it sticks together but doesn’t pool.
- Place bars in the refrigerator before cutting to help firm them up for cleaner slices.
- Use a warm, sharp knife to cut bars easily through sticky marshmallows, rinsing and drying the knife between cuts if necessary.
- Prep Time: 10 minutes
- Cook Time: 15 minutes
- Category: Dessert
- Method: Baking
- Cuisine: American