If you’re craving a slice of cake that’s not only stunningly vibrant but irresistibly tender, you’ve come to the right place. The Moistest Red Velvet Cake (Soft For Days!) Recipe delivers on every promise: a rich red velvet sponge that’s unbelievably moist, thanks to a clever hot batter technique, paired with a luscious cream cheese frosting that’s simply dreamy. This cake is a celebration on a plate and perfect for any occasion when you want to impress without stress. Get ready to fall head over heels for this red velvet wonder that stays soft and delectable for days!
Ingredients You’ll Need
Every ingredient in this recipe plays a crucial role in crafting that perfect, melt-in-your-mouth texture and that signature red hue. The combination is straightforward, yet entirely essential for a cake bursting with flavor and moisture.
- All-purpose flour: Provides the cake’s structure but remains tender when combined with the right balance of liquids and fats.
- Granulated sugar: Sweetens the cake while helping to retain moisture for days.
- Baking soda: Acts as a leavening agent, giving the cake its lovely rise and airy crumb.
- Salt: Enhances the flavors and balances sweetness in the batter.
- Unsalted butter: Adds richness and ensures a soft, dense crumb perfect for this red velvet.
- Vegetable oil: Boosts moisture retention, keeping the cake tender for days after baking.
- Water: Part of the hot batter technique that melts cocoa and butter to unlock unparalleled softness.
- Dutch processed cocoa powder: Delivers that deep chocolate flavor with a smooth finish, crucial for authentic red velvet.
- Red gel food color: Gives this cake its iconic bright red hue without affecting texture.
- Whole milk: Balances richness and contributes to the velvety texture of the cake batter.
- Vinegar: Reacts with baking soda to give the cake its tender crumb and subtle tang.
- Large eggs: Bind ingredients while adding structure and moisture.
- Vanilla bean paste: Offers rich vanilla notes that elevate the overall flavor beautifully.
- Cream cheese: The star of the frosting, lending tang and creaminess that pairs perfectly with red velvet.
- Unsalted butter (for frosting): Helps create the smooth, fluffy texture of the cream cheese frosting.
- Powdered sugar: Sweetens and thickens the frosting for spreadability without grit.
- Salt (in frosting): Balances sweetness and enhances flavor depth.
How to Make Moistest Red Velvet Cake (Soft For Days!) Recipe
Step 1: Prep Your Oven and Pans
Start by preheating your oven to 325°F. This relatively lower temperature helps the cakes bake evenly, ensuring a tender crumb. Line three 8-inch cake pans with parchment paper and grease them thoroughly with oil or butter. Proper prep will prevent sticking and help your cakes keep their beautiful shape.
Step 2: Mix Dry Ingredients
Sift together the all-purpose flour to make sure there are no lumps and everything is light. Add the sugar, baking soda, and salt, whisking to distribute each ingredient evenly. This step is essential to avoid any pockets of baking soda or salt, ensuring a smooth texture in the finished cake.
Step 3: Create the Hot Cocoa Mixture
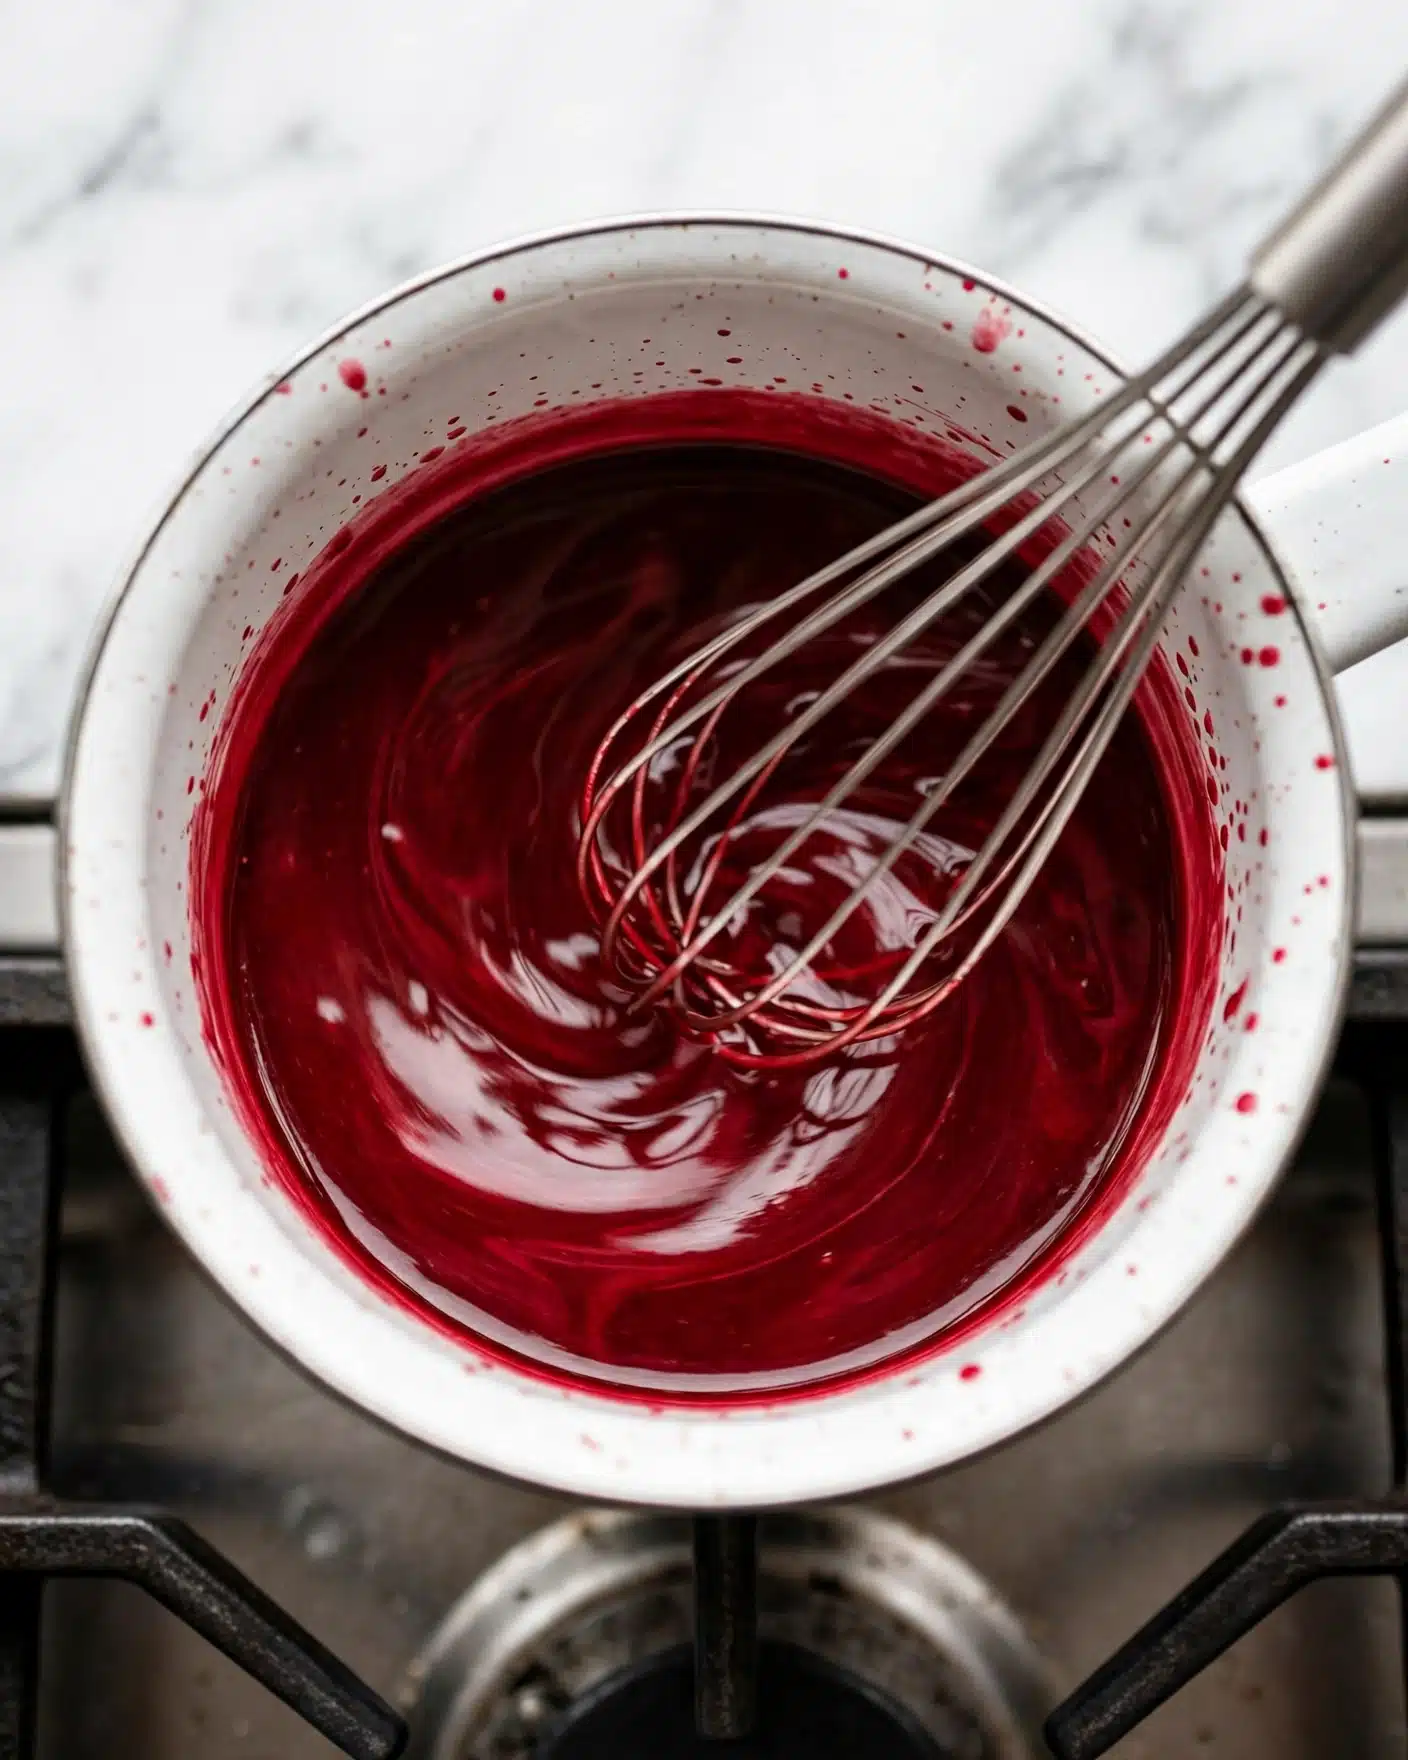
In a saucepan, combine the butter, vegetable oil, water, Dutch processed cocoa powder, and red gel food color. Heat over medium-low, stirring gently until the butter melts and the mixture begins to simmer. Let it simmer for a minute off-and-on to marry those flavors and create a luscious hot batter base. This warm liquid enhances the cocoa’s richness and improves the cake’s softness.
Step 4: Combine Hot and Dry Ingredients
Pour the warm cocoa mixture over your dry ingredients. Using a hand whisk, gently mix until just combined and the batter has no white flour streaks. Be gentle to avoid overworking the batter; it might look slightly split, but that’s perfectly normal and guarantees a tender final product.
Step 5: Add Milk, Vinegar, Eggs, and Vanilla
Mix the whole milk and vinegar in a small glass to let it curdle slightly, a trick that enhances tenderness. Add this mixture along with the eggs and vanilla bean paste into the cake batter. Fold everything together slowly until smooth and blended. The batter should be silky with a beautiful deep red color.
Step 6: Bake to Perfection
Divide the batter equally among your prepared pans—using a kitchen scale helps for flawless evenness. Tap the pans firmly on the counter a few times to release large air bubbles. Bake for about 18 minutes, or until a toothpick inserted into the center comes out with a few moist crumbs but no wet batter. Let the cakes cool in the pans for 15 minutes before turning out onto wire racks to cool completely.
Step 7: Whip Up the Cream Cheese Frosting
Beat the softened cream cheese, butter, vanilla bean paste, and salt together with a stand mixer using the paddle attachment. Gradually add sifted powdered sugar, mixing on medium speed for 2 to 3 minutes until fluffy and spreadable. Avoid overmixing—this keeps your frosting from becoming too soft to handle.
Step 8: Assemble the Cake
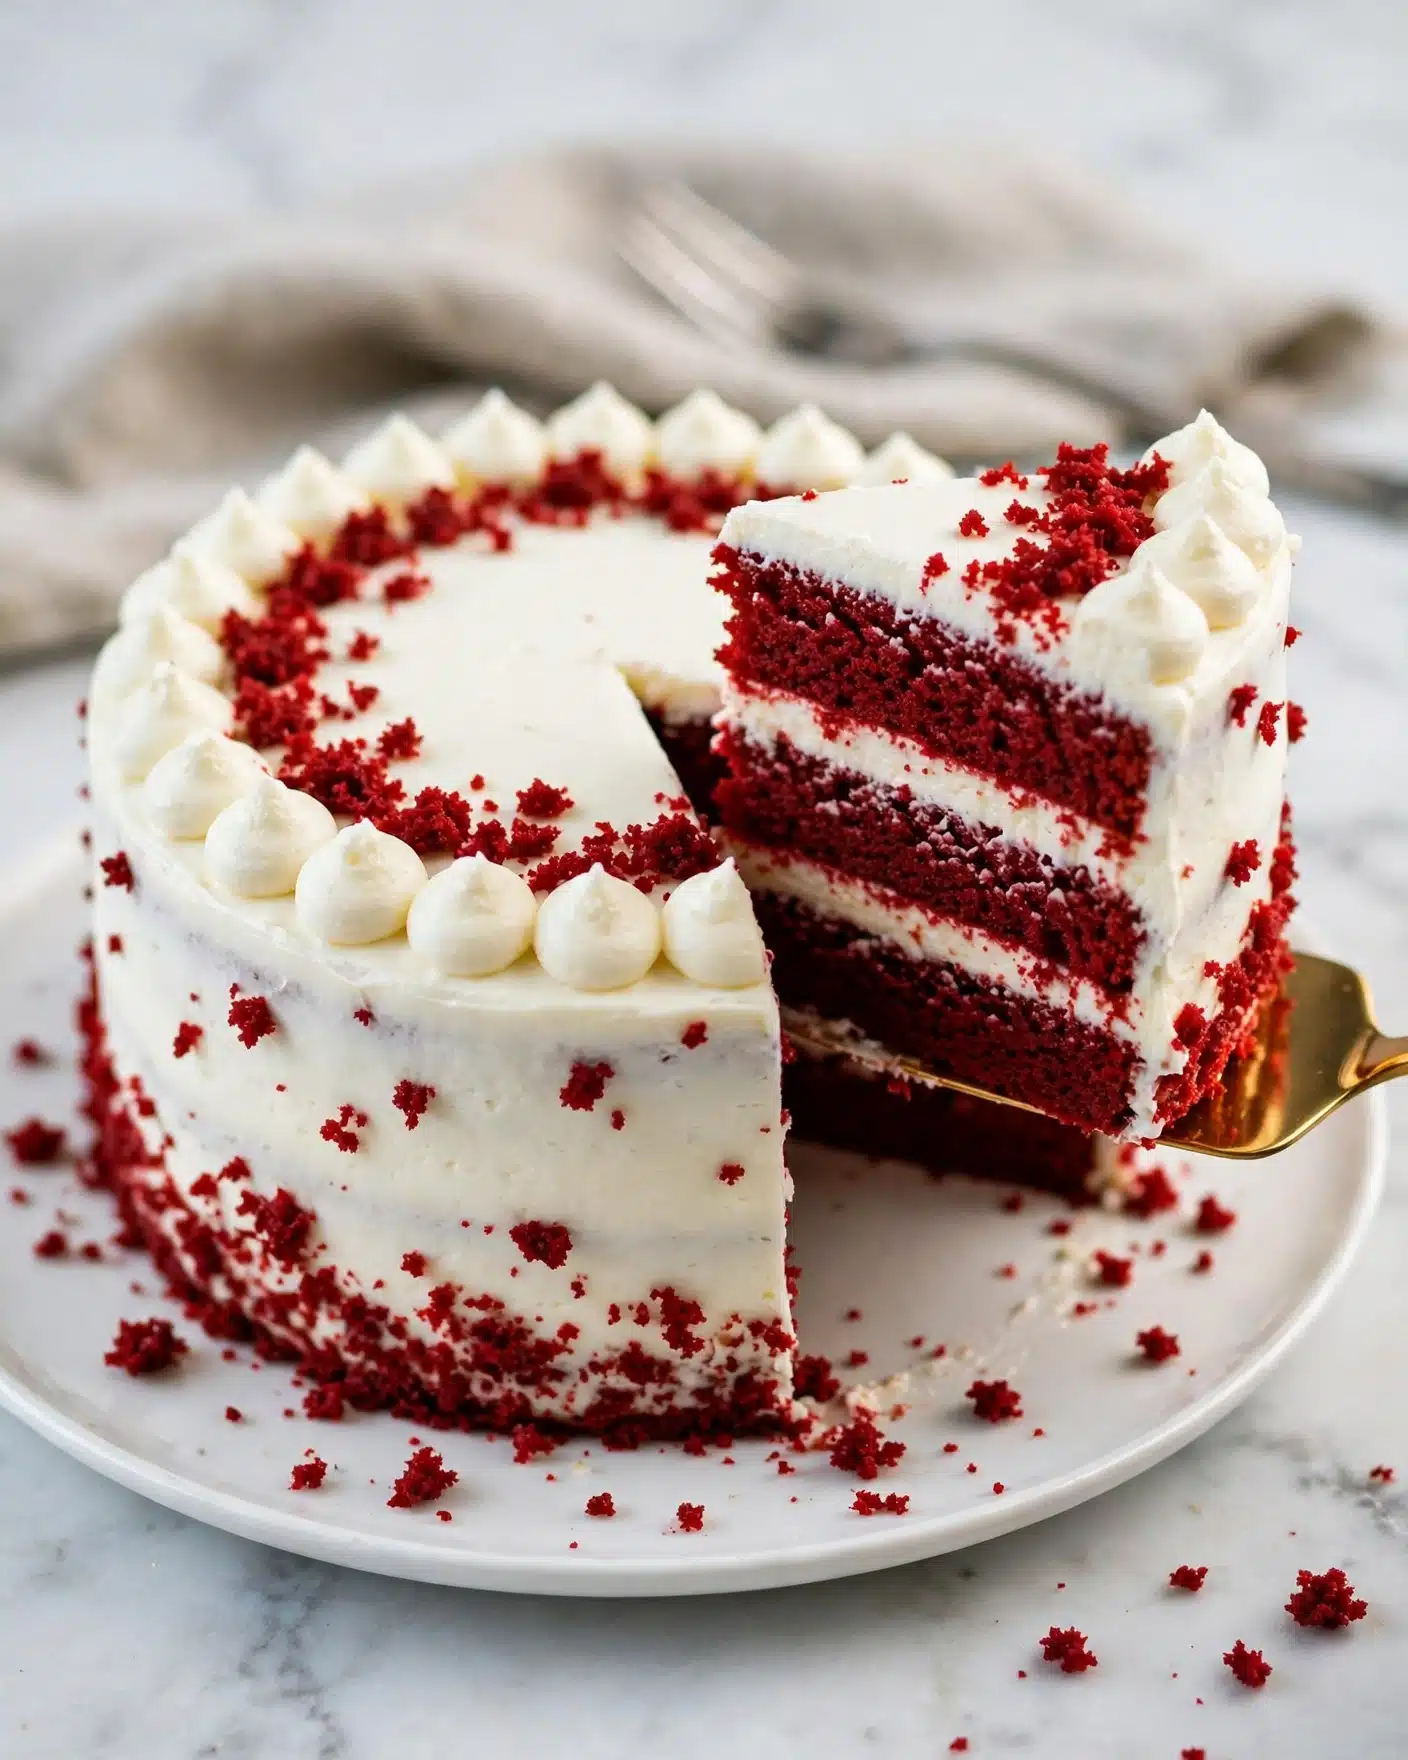
Level the tops of the cakes by trimming the domes off carefully, saving those scraps for decoration later. Place the first layer on your stand or board and slather on a thick layer of frosting evenly. Repeat with the second and third layers. Cover the whole cake with a thin crumb coat and chill for 15 minutes before applying the final smooth coat and decorating as you please.
How to Serve Moistest Red Velvet Cake (Soft For Days!) Recipe
Garnishes
Adding garnishes can elevate your cake visually and add interesting textures. Consider sprinkling cake crumbs made from the trimmings on top, or add a handful of fresh berries for a pop of color and tang. A light dusting of cocoa powder or edible flowers can make your cake the star of any dessert table.
Side Dishes
This cake pairs beautifully with freshly whipped cream or a scoop of vanilla bean ice cream for extra indulgence. For a lighter contrast, serve alongside fresh fruit salad or a lemon custard, which will balance the richness of the cake with tart, fruity notes.
Creative Ways to Present
Try layering slices in dessert glasses for individual trifles or stack smaller versions as mini cakes for parties. You can also cut the layers into squares and serve as red velvet cake bites with dollops of frosting. This recipe’s moistness makes it versatile and perfect for any presentation style!
Make Ahead and Storage
Storing Leftovers
After you’ve enjoyed your cake party, keep leftovers in an airtight container in the fridge. The Moistest Red Velvet Cake (Soft For Days!) Recipe stays incredibly soft but refrigeration will extend its freshness for up to 3 days. Before serving again, let it sit at room temperature for about 15-30 minutes to recapture that soft texture.
Freezing
If you want to prepare the cake in advance, it freezes beautifully. Wrap each layer tightly in plastic wrap, then place in airtight containers or freezer bags. When you’re ready to use, thaw the layers overnight in the refrigerator and assemble with fresh frosting. This way, you can enjoy cake anytime with minimal effort!
Reheating
Reheating a slice is easy: simply bring it to room temperature or warm gently in the microwave for 10-15 seconds to revive freshness. Avoid overheating to maintain the cake’s tender crumb and luscious frosting.
FAQs
What makes this the Moistest Red Velvet Cake (Soft For Days!) Recipe?
The secret lies in the hot batter technique combined with vegetable oil and a precise balance of wet and dry ingredients. This method locks in moisture and creates a tender crumb that stays soft for days.
Can I use natural cocoa powder instead of Dutch processed?
You can, but Dutch processed cocoa powder is preferred for its smooth flavor and deep color, which really brings out the classic red velvet taste and look.
Why do you add vinegar to the batter?
Vinegar reacts with baking soda creating bubbles that help the cake rise and tenderize the crumb. It also brings out the vibrant red color when combined with the cocoa and food coloring.
How do I prevent the cake from drying out?
Make sure not to overbake and use the recommended amounts of oil and butter. Storing the cake properly in an airtight container or wrapping it well also keeps it moist.
Can this recipe be adapted for cupcakes?
Absolutely! Divide the batter between cupcake liners and reduce baking time to about 15 minutes. You’ll get perfectly moist, soft cupcakes with the same luscious flavor.
Final Thoughts
I can’t wait for you to try the Moistest Red Velvet Cake (Soft For Days!) Recipe and experience how effortlessly tender and flavorful it is. It’s a recipe that welcomes both beginners and experienced bakers to create a show-stopping dessert that keeps its softness well after the first slice. Trust me, once you make this one, it’ll be your go-to red velvet cake for all your special moments!
Print
Moistest Red Velvet Cake (Soft For Days!) Recipe
- Total Time: 1 hr 30 mins
- Yield: 12-14 servings
Description
This Moistest Red Velvet Cake recipe delivers an exceptionally soft and tender crumb with a melt-in-your-mouth texture, achieved through a unique hot batter technique. Balanced with Dutch processed cocoa and a hint of tanginess from vinegar, this cake pairs perfectly with creamy, luscious cream cheese frosting. Ideal for special occasions or any time you crave a rich but light red velvet treat.
Ingredients
Red Velvet Cake:
- 2 1/2 cups all purpose flour (325g)
- 1 2/3 cups granulated sugar (330g)
- 1 1/4 tsp baking soda
- 1 tsp salt
- 10 tbsp unsalted butter (140g)
- 1/3 cup vegetable oil (75g)
- 3/4 cup water (180g)
- 2 1/2 tbsp Dutch processed cocoa powder (15g)
- 1 tbsp red gel food color
- 3/4 cup whole milk (180g)
- 5 tsp vinegar
- 2 large eggs
- 1 tbsp vanilla bean paste
Cream Cheese Frosting:
- 16 oz cream cheese, room temperature (2 8 oz blocks or 453g)
- 1 cup unsalted butter, room temperature (2 sticks or 226g)
- 1 tsp vanilla bean paste
- ½ tsp salt
- 3 cups powdered sugar, sifted (360g)
Instructions
- Preheat and Prepare Pans: Pre-heat oven to 325°F (conventional, no fan). Line three 8-inch cake pans with parchment paper, and grease them with butter or oil to prevent sticking.
- Mix Dry Ingredients: In a large bowl, sift together the all-purpose flour. Add sugar, baking soda, and salt, then whisk thoroughly to combine evenly and ensure no lumps.
- Make Hot Batter Mixture: In a saucepan on medium-low heat, combine the unsalted butter, vegetable oil, water, Dutch processed cocoa powder, and red gel food color. Stir continuously until the butter melts. Once the mixture begins to simmer, cook and stir for one additional minute to blend flavors and activate the cocoa.
- Combine Wet Hot Mixture with Dry Ingredients: Pour the hot liquid slowly into the dry mixture. Gently whisk until just combined and no flour streaks remain. The batter might appear slightly split; this is normal and do not overmix.
- Add Remaining Wet Ingredients: In a glass, mix whole milk and vinegar. Add this mixture along with eggs and vanilla bean paste into the batter. Slowly and gently fold all the ingredients until you have a smooth, uniformly colored red cake batter.
- Divide Batter and Bake: Evenly pour the batter into the prepared pans, using a scale for accuracy if possible. Tap the pans firmly 3-5 times on the counter to release large air bubbles. Bake in the preheated oven for about 18 minutes, or until a toothpick inserted into the center comes out with light moist crumbs but no raw batter.
- Cool Cakes: Remove pans from the oven and let cakes cool in the pans for 15 minutes. Carefully invert the cakes onto wire racks and allow them to cool completely.
- Prepare Cream Cheese Frosting: In a stand mixer fitted with the paddle attachment, add room temperature butter, cream cheese, vanilla bean paste, salt, and sifted powdered sugar. Mix on medium speed for 2-3 minutes until smooth, fluffy, and spreadable, scraping the bowl halfway through. Refrigerate if frosting becomes too soft.
- Assemble the Cake: Trim the domed tops off the cooled cakes to level them. Place the first layer on a cake stand or turntable, spread a generous layer of frosting evenly over it. Repeat for the remaining layers.
- Crumb Coat and Chill: Apply a thin crumb coat of frosting over the assembled cake, smoothing as much as possible. Refrigerate for 15 minutes to set the crumb coat.
- Final Frosting and Decoration: Apply the remaining frosting over the cake, smoothing evenly. Use cake crumb made from trimmed domes for decoration or decorate as desired.
- Serve: Slice and enjoy your moist, flavorful red velvet cake!
Notes
- Use Dutch processed cocoa powder for the best rich chocolate flavor; natural unsweetened cocoa can be substituted but may alter taste and color.
- To scale down the recipe, halve all ingredient quantities and bake in 6-inch pans for a smaller three-layer cake.
- You can prepare the cake ahead and keep it covered at room temperature for up to 1 day, or refrigerate for up to 3 days. Bring refrigerated cake to room temperature for 15-30 minutes before serving for optimal texture.
- Keep leftovers stored in an airtight container in the fridge to maintain freshness.
- Prep Time: 30 mins
- Cook Time: 20 mins
- Category: Dessert
- Method: Baking
- Cuisine: American