
If you’re craving a dessert that feels indulgent yet fresh and zingy, this Mint Chocolate Cookie Bars (No Bake) Recipe is exactly what you need in your life. These bars bring together the rich, deep flavor of cacao with a bright burst of peppermint, all wrapped up in a delightfully chewy, no-bake cookie base that’s both satisfying and simple to make. Perfect for those moments when you want a luscious treat without turning on your oven, this recipe rewards you with creamy, minty, chocolaty bars that are endlessly snackable and sure to become a new favorite.
Ingredients You’ll Need
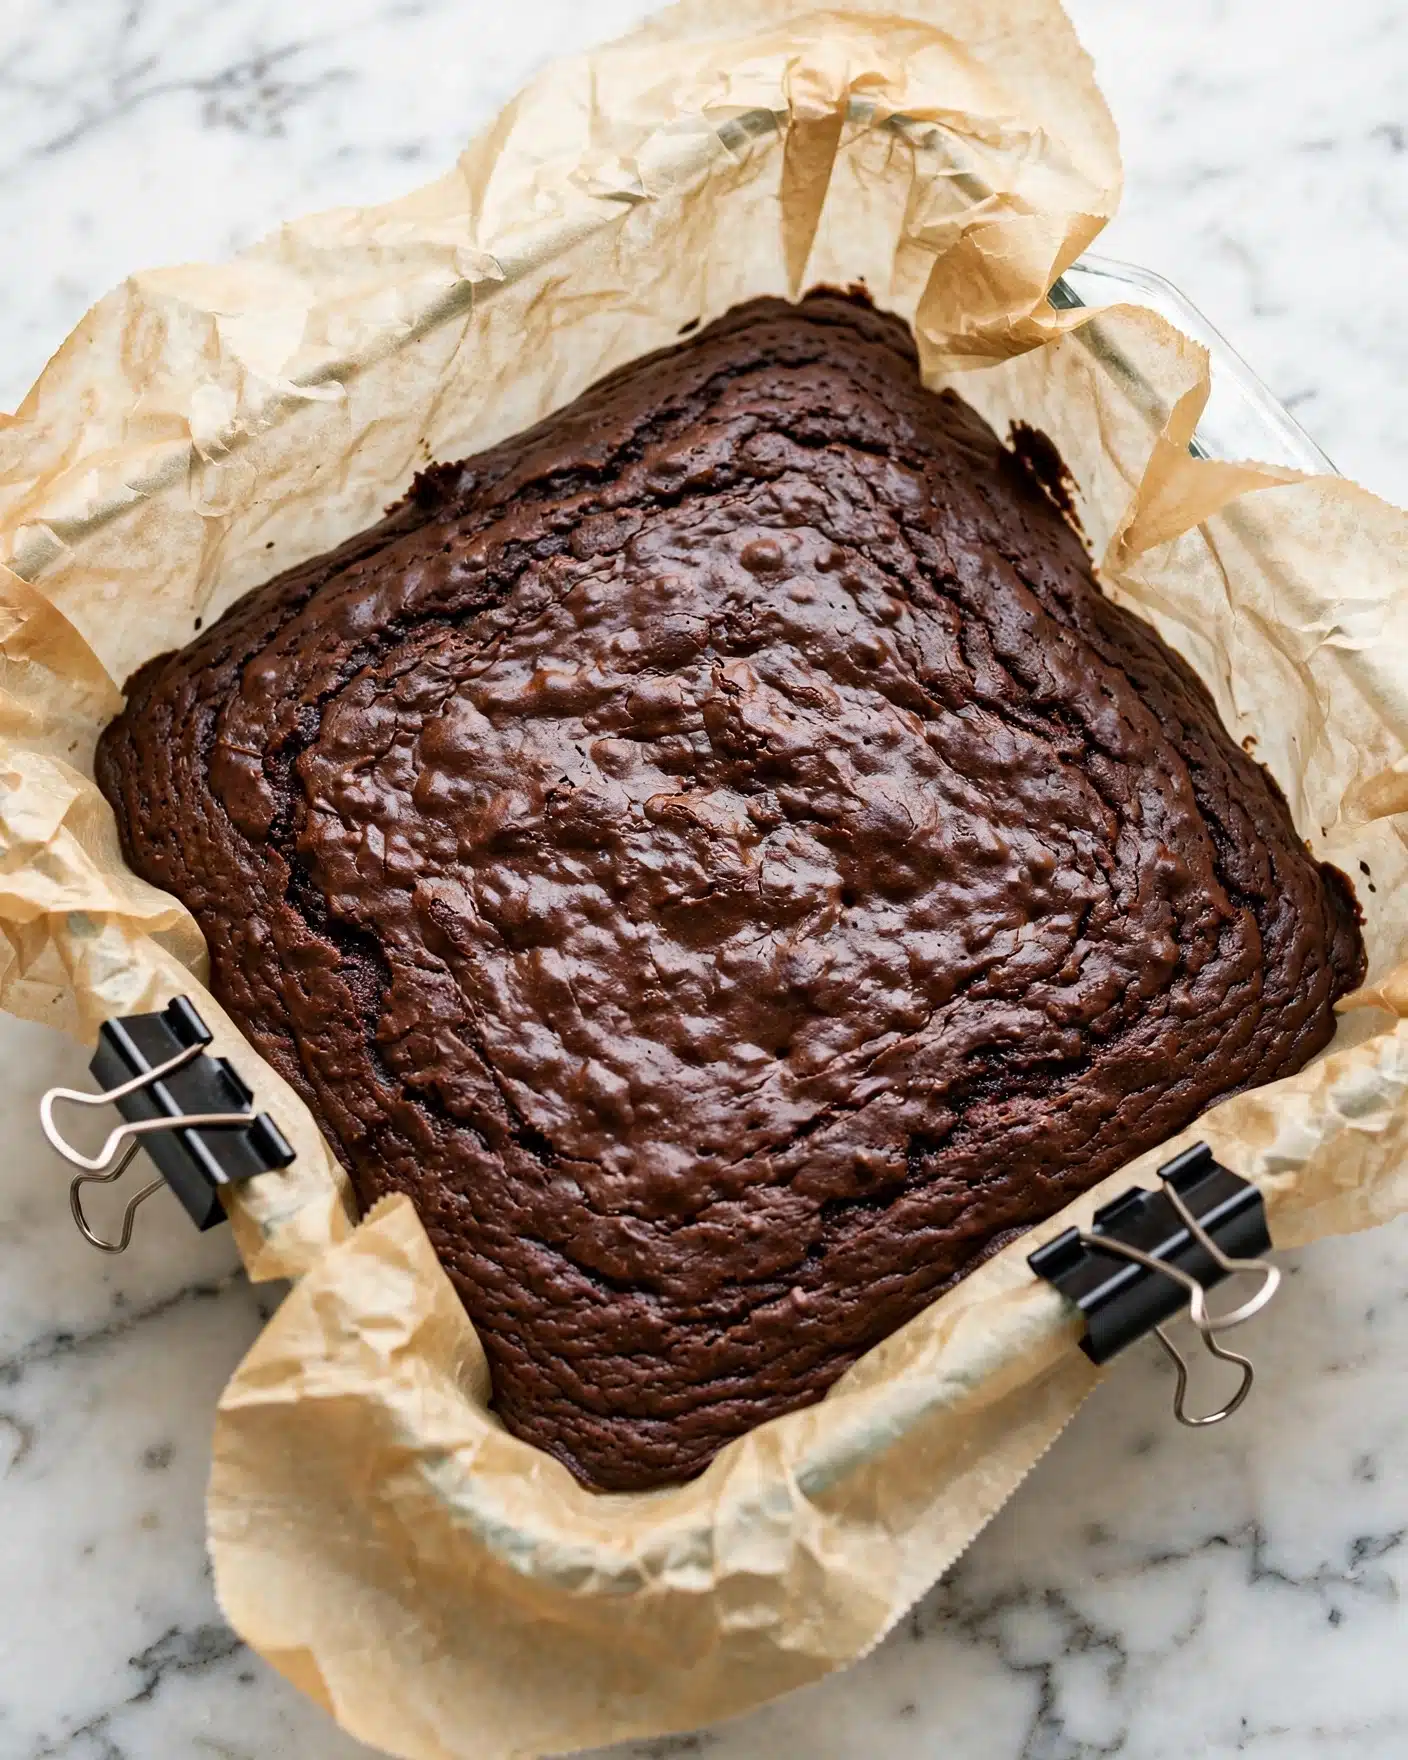
Each ingredient in this recipe plays a crucial role in balancing flavor, texture, and that irresistible mint-chocolate harmony. The straightforward pantry staples come together effortlessly to create something truly special, proving that simple ingredients can lead to something spectacular.
- 1 cup blanched almond flour, packed (125g): Provides a tender, nutty base that holds the bars together with a subtle crunch.
- 1/3 cup cacao powder (38g): Infuses the cookie crust with deep chocolate flavor and a lovely cocoa richness.
- 1/4 tsp salt: Enhances the chocolate notes and balances the sweetness perfectly.
- 1/4 cup melted coconut butter: Adds luscious fattiness and helps bind the crust with a natural, smooth texture.
- 1/4 cup warm water: Loosens the mixture just enough for easy pressing into the pan.
- 2 Tbsp maple syrup: Offers a gentle sweetness and complexity alongside the chocolate.
- 1 tsp vanilla extract: Brings warm fragrant notes to the crust, rounding out the flavor beautifully.
- 1 cup coconut cream*: Acts as the creamy, dreamy base for the minty filling with a luscious mouthfeel.
- 3 Tbsp drippy almond butter (unsalted, unsweetened): Delivers rich nuttiness and helps thicken the filling perfectly.
- 2 Tbsp maple syrup: Sweetens the filling naturally without overpowering the mint.
- 1 tsp spirulina powder: Adds a vibrant green hue and subtle earthiness that pairs surprisingly well with mint.
- 1 – 1 1/2 tsp peppermint flavoring**: The star of the show giving the filling that refreshing, cool mint sensation everyone craves.
- 1/2 tsp vanilla extract: Elevates the filling’s flavor profile with a delicate sweetness.
- 1/4 cup mini chocolate chips: Sprinkles of chocolate that add texture and extra bursts of chocolaty goodness.
How to Make Mint Chocolate Cookie Bars (No Bake) Recipe
Step 1: Prepare Your Pan and Crust
Start by lining an 8” x 8” baking pan with aluminum foil—this step is key for easy removal later. In a medium bowl, combine the almond flour, cacao powder, salt, melted coconut butter, warm water, maple syrup, and vanilla extract. Mix until everything is beautifully combined into a dough. Then, transfer this dough to your lined pan and press it firmly into a smooth, even layer. This forms the delicious chocolatey base for your bars.
Step 2: Whip Up the Minty Filling
Often the filling makes or breaks a dessert, but here it’s pure magic waiting to happen. Soften the coconut cream by gently melting it just until it’s smooth but not hot. Add this to a bowl along with almond butter, maple syrup, spirulina powder, peppermint flavoring, and vanilla extract. Whisk everything until the mixture is silky and fully combined. Finally, fold in the mini chocolate chips for a delightful texture surprise within the minty cream.
Step 3: Assemble and Chill
Pour the luscious mint-chocolate filling over your firmly pressed crust. For an extra touch of charm and chocolatey appeal, sprinkle a few additional mini chocolate chips on top. Now, here comes the waiting game—pop your pan into the fridge for at least 6 hours, though overnight is ideal for the best set and flavor melding. This chilling step transforms the mixture into bars that hold perfectly firm yet melt in your mouth.
Step 4: Slice and Enjoy
Once the bars are completely set, gently lift them out using the foil edges and place on a cutting board. Use a sharp knife to slice into 8 squares for perfect servings. These Mint Chocolate Cookie Bars (No Bake) Recipe treats are ready to swoon over immediately, or keep some stored for later snacking bliss.
How to Serve Mint Chocolate Cookie Bars (No Bake) Recipe
Garnishes
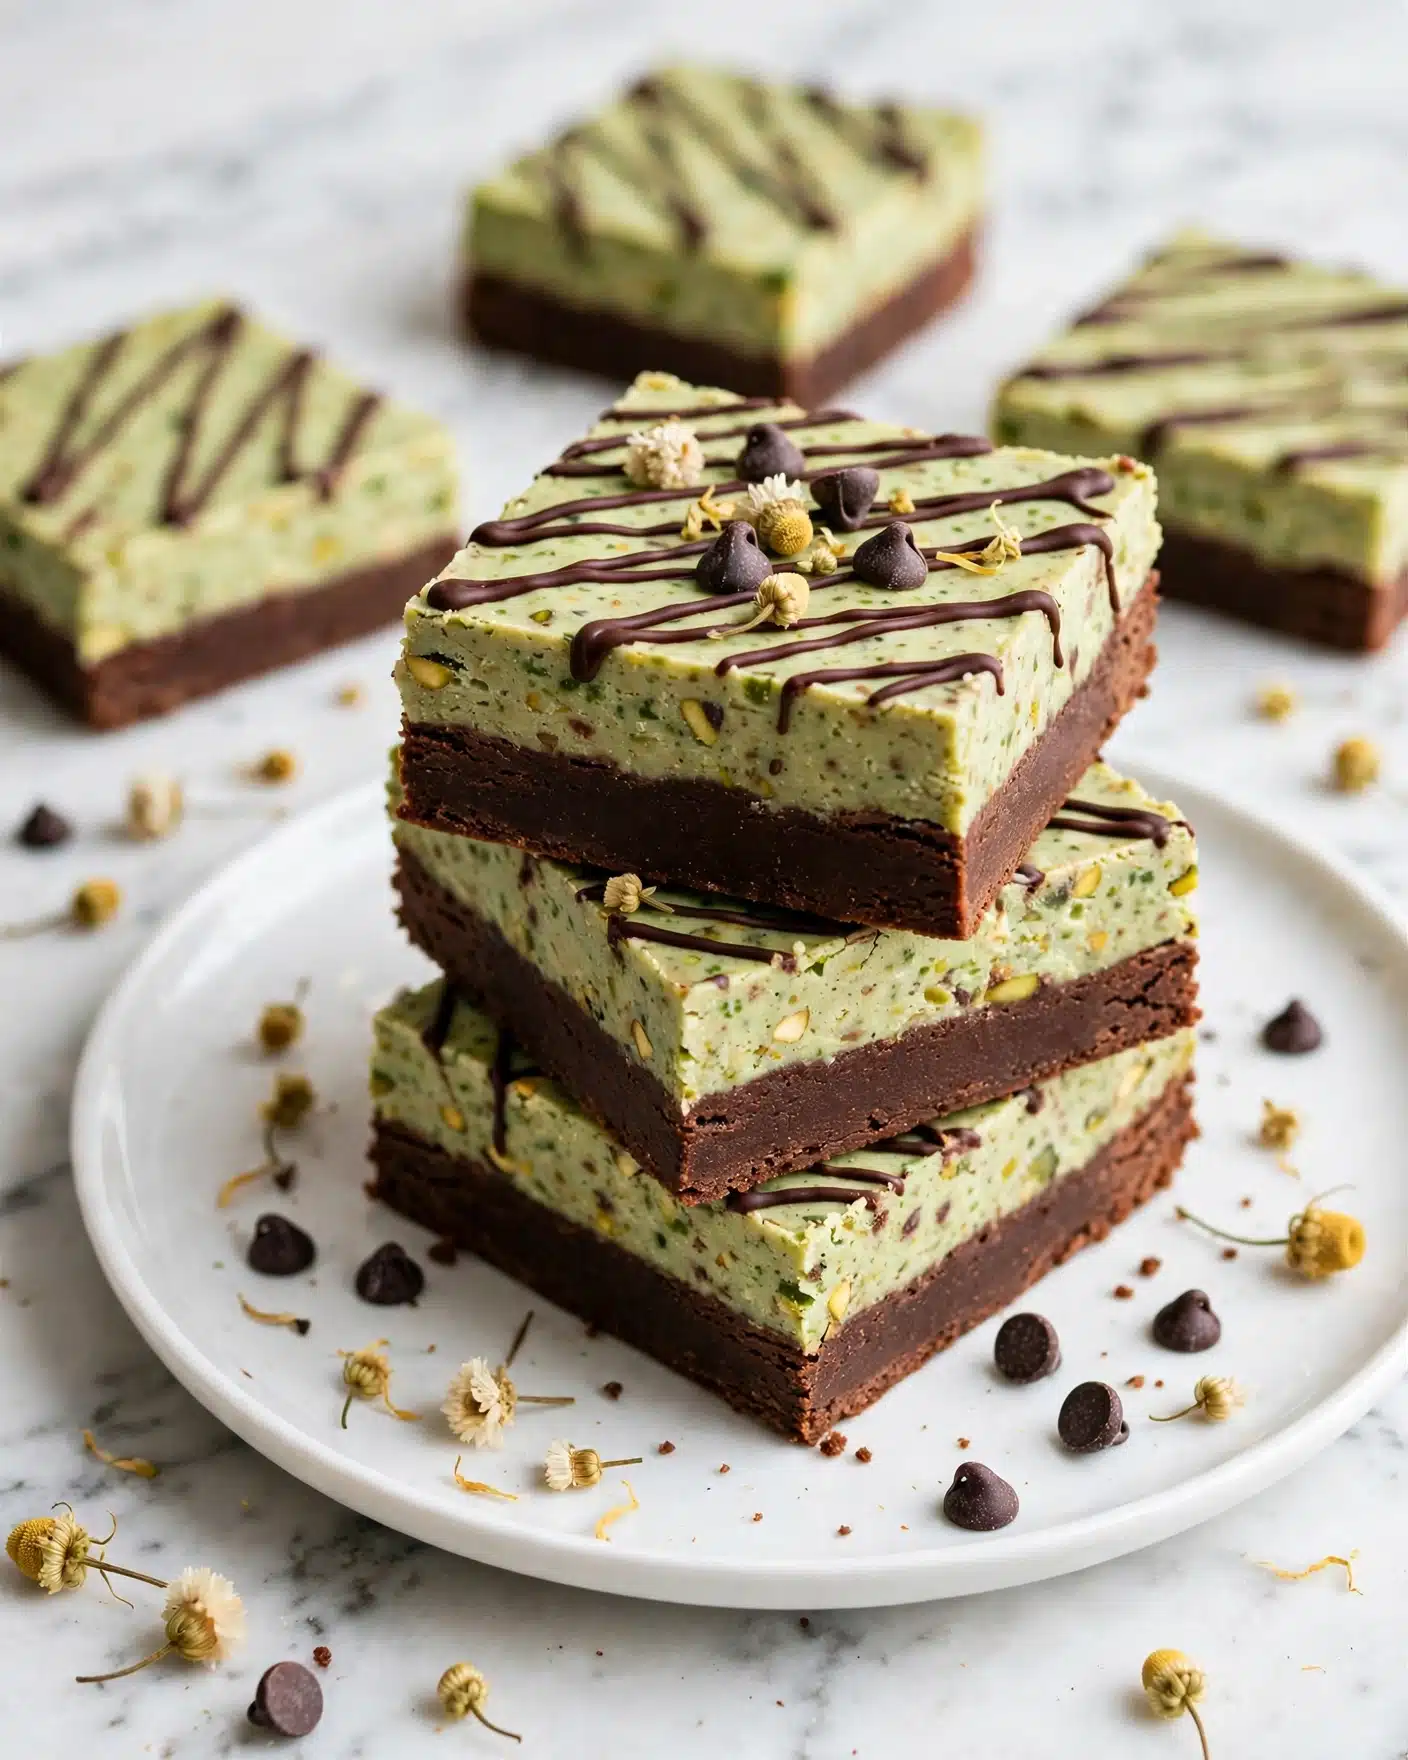
Elevate your bars by adding fresh mint leaves or a dusting of extra cacao powder right before serving. These garnishes create a visual pop and enhance the fresh mint flavor that makes these bars special. You could also drizzle a little melted dark chocolate for extra decadence.
Side Dishes
These bars are rich, so pairing them with something light and creamy like vanilla Greek yogurt or a scoop of dairy-free vanilla ice cream balances the flavors wonderfully. Fresh berries also cut through the richness with their tartness and vibrant color, making for a delightful dessert spread.
Creative Ways to Present
Try serving these bars in mini mason jars layered with whipped coconut cream and crushed cookie crumbs for a fun, deconstructed dessert. Alternatively, stack a couple of bars with a few fresh mint leaves in between for a candy-bar style treat that’s visually stunning and easy to grab on the go.
Make Ahead and Storage
Storing Leftovers
Once cut, the bars keep beautifully in an airtight container in the fridge for up to a week. The flavors actually deepen with time, making leftover bars a little treasure worth saving.
Freezing
These cookie bars freeze exceptionally well—wrap individual pieces tightly in plastic wrap and place them in a freezer-safe container or bag. They’ll keep for up to 3 months. Just thaw in the fridge overnight before enjoying.
Reheating
Since these bars are meant to be enjoyed cold or at room temperature, reheating isn’t necessary. If you prefer them softer, let them sit out at room temperature for 15-20 minutes before digging in; this way, they have a wonderfully creamy texture without losing their shape.
FAQs
Can I use a different nut flour instead of almond flour?
Yes! While blanched almond flour is ideal for its flavor and texture, you can substitute with hazelnut or cashew flour for a slightly different but delicious nutty flavor. Just be mindful the texture may shift a bit.
Is spirulina powder necessary?
Spirulina is optional but highly recommended if you want that vivid green color and mild earthy undertone that pairs so well with mint. If you don’t have it, just omit it—your bars will still taste amazing.
Can I replace peppermint flavoring with fresh mint?
Fresh mint will add lovely herbaceous notes but is less concentrated than peppermint extract. Using fresh mint might make the flavor more subtle, so you may want to increase the quantity or combine both for best results.
Are these bars vegan and paleo-friendly?
Absolutely! This Mint Chocolate Cookie Bars (No Bake) Recipe uses plant-based ingredients like coconut cream and almond butter, making it suitable for vegan and paleo diets.
Can I make these bars gluten-free?
Yes, the recipe is naturally gluten-free since it uses almond flour instead of any wheat-based flour. Just ensure that any chocolate chips you use are certified gluten-free to be safe.
Final Thoughts
This Mint Chocolate Cookie Bars (No Bake) Recipe is a total game-changer when you want a dessert that’s effortless, bursting with flavor, and totally satisfying without heating up your kitchen. Whether you’re making it for friends, family, or just treating yourself, these bars deliver that perfect combination of fresh mint and rich chocolate in a chewy, creamy bite. I promise once you try them, they’ll become a staple you turn to whenever a sweet craving strikes. Go ahead, whip up a batch and watch these no-bake beauties disappear fast!
Print
Mint Chocolate Cookie Bars (No Bake) Recipe
- Total Time: 6 hours 10 minutes
- Yield: 8 servings
- Diet: Vegan
Description
These Mint Chocolate Cookie Bars are a delicious no-bake treat combining a rich cacao almond crust with a creamy, minty coconut filling studded with chocolate chips. Perfect for a quick, easy dessert that requires only chilling and no baking.
Ingredients
For the Crust
- 1 cup blanched almond flour, packed (125g)
- 1/3 cup cacao powder (38g)
- 1/4 tsp salt
- 1/4 cup melted coconut butter
- 1/4 cup warm water
- 2 Tbsp maple syrup
- 1 tsp vanilla extract
For the Filling
- 1 cup coconut cream (softened, just barely melted)
- 3 Tbsp drippy almond butter (unsalted, unsweetened)
- 2 Tbsp maple syrup
- 1 tsp spirulina powder
- 1 – 1 1/2 tsp peppermint flavoring
- 1/2 tsp vanilla extract
- 1/4 cup mini chocolate chips
Instructions
- Prepare Pan: Line an 8″ x 8″ baking pan with aluminum foil and set aside to ensure easy removal of bars later.
- Make the Crust: In a medium mixing bowl, combine almond flour, cacao powder, salt, melted coconut butter, warm water, maple syrup, and vanilla extract. Mix thoroughly to form a cohesive dough.
- Press Crust: Transfer the crust mixture into the lined pan and press firmly and evenly to form a level crust base.
- Prepare Filling: Slightly melt the coconut cream until it is soft but only barely melted, either in the microwave or on the stovetop.
- Mix Filling Ingredients: Place the softened coconut cream in a bowl with almond butter, maple syrup, spirulina powder, peppermint flavoring, and vanilla extract. Whisk vigorously until smooth and fully combined.
- Add Chocolate Chips: Fold mini chocolate chips into the filling mixture, ensuring even distribution.
- Assemble Bars: Pour the filling evenly over the crust, spreading to cover completely. Optionally, sprinkle a few extra chocolate chips on top for decoration.
- Chill Bars: Refrigerate the assembled bars overnight or for at least 6 hours to allow them to set firmly.
- Cut and Serve: Remove the bars from the pan using the foil, then cut into squares.
- Storage: Store the cookie bars in the refrigerator or freezer to keep them fresh and firm.
Notes
- Use blanched almond flour for a smooth texture in the crust.
- Softening the coconut cream just enough helps in mixing easily without melting it completely.
- Peppermint flavoring amounts can be adjusted to your taste preference.
- These bars firm up best after chilling overnight, so plan accordingly.
- Store bars in an airtight container in the fridge or freezer to maintain freshness.
- Prep Time: 10 minutes
- Cook Time: 0 minutes
- Category: Dessert
- Method: No-Cook
- Cuisine: American


