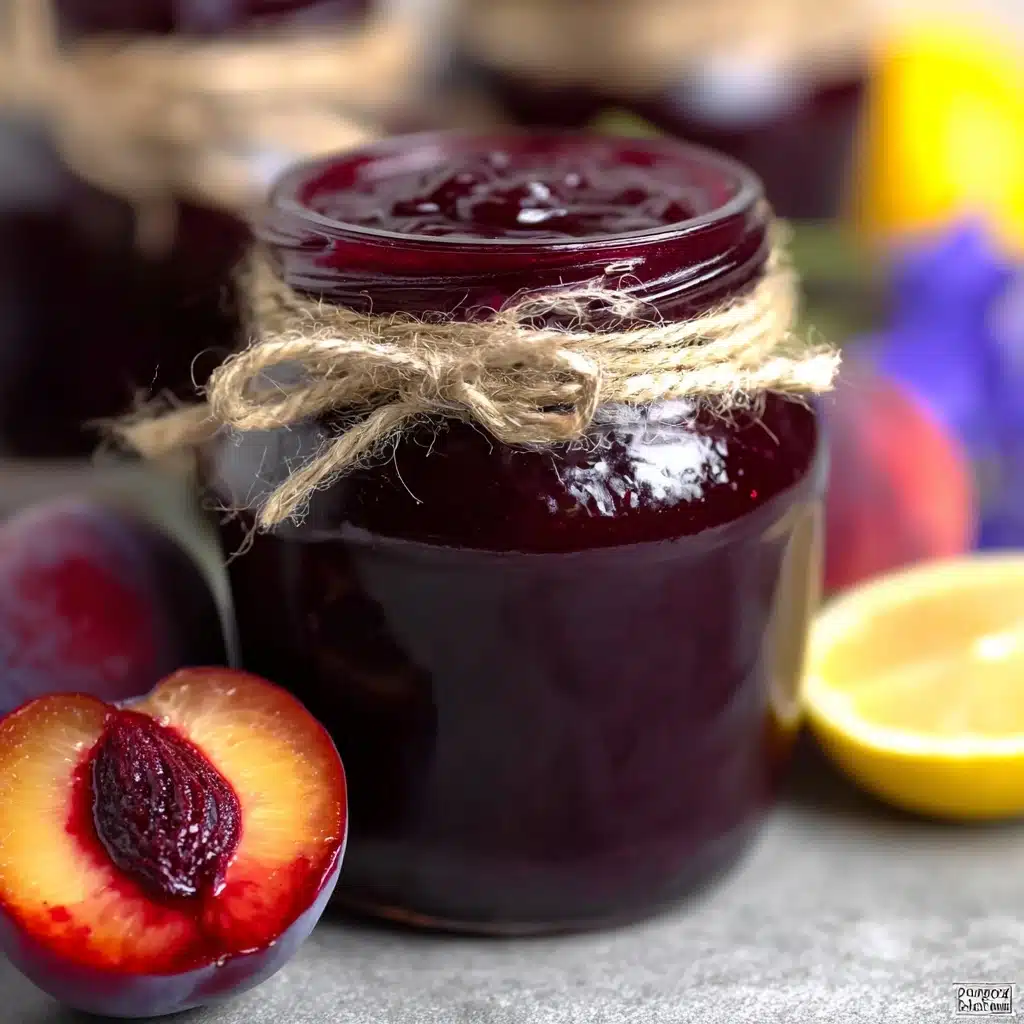
Homemade fruit preserves are truly magical, and this Plum Jam Recipe is the ultimate way to savor summer’s bounty all year long. You get sweet-tart jam bursting with the flavor of ripe plums, kissed with just enough sugar and a hint of fragrant lemon. The result is a jewel-toned spread that’s as beautiful as it is delicious, whether you’re slathering it on toast, swirling it into yogurt, or sharing it with friends. Once you see how simple (and rewarding!) it is to make your own Plum Jam Recipe, you’ll wonder why you ever reached for the store-bought stuff.
Ingredients You’ll Need
This recipe keeps things wonderfully simple, letting the pure flavor of the plums shine. Every ingredient on this list plays an important role—whether it’s delivering natural pectin, adding bright acidity, or helping preserve your jam for months of cozy breakfasts to come.
- Plums (10 lbs, ripe): The star of the show! Choose plums at their juicy peak for the deepest, richest flavor and vibrant color in your Plum Jam Recipe.
- White sugar (4 1/2 cups): Sweetens the jam, balances the plums’ tartness, and helps preserve your jam for longer shelf life.
- Lemon zest (zest of 1 lemon): Brings a fragrant brightness that lifts the plum flavor and adds a subtle complexity.
- Lemon juice (juice of 1 lemon): Adds acidity to enhance the jam’s flavor and helps with setting, since lemon juice is high in natural pectin.
- Mason jars with lids: You’ll need sterilized jars to safely store your jam and show off those gorgeous jewel tones.
How to Make Plum Jam Recipe
Step 1: Prep the Plums
Start by rinsing your plums thoroughly—they don’t need to be peeled, just nice and clean. Next, halve them and remove the pits. The reward for this little bit of prep is totally worth it; leaving the skins on gives your Plum Jam Recipe its gorgeous color and rustic texture.
Step 2: Marinate with Sugar
Add your plum halves to a large mixing bowl and toss them with all the sugar. Stir well to make sure every piece is coated, then let the mixture sit for 2 hours. This draws out the plum juices, helps dissolve the sugar, and lays the foundation for jam packed with sweet, concentrated flavor.
Step 3: Start Cooking the Plums
Transfer your sugary plum mixture into a large, heavy-bottomed pot. Set the heat to medium and keep the lid off. Stir now and then as you bring everything up to a boil—don’t rush, you want the plums to release their juices and mingle with the sugar in a gentle, happy bubbling bath.
Step 4: Add Lemon Juice and Zest
As your jam starts to come together, stir in the freshly squeezed lemon juice and fragrant zest. This duo balances the sweetness, adds lively acidity, and helps the jam set. Your kitchen will smell absolutely heavenly!
Step 5: Simmer, Cool, and Repeat
Once the jam is bubbling uniformly, lower the heat and let it simmer for 2 hours. Turn off the heat and let it cool to room temperature. This step—simply simmering, cooling, and repeating for four rounds—lets the flavors deepen and the jam thicken, resulting in that irresistible soft-set texture. Don’t worry, your patience will be rewarded tenfold!
Step 6: The Final Boil
On the last round, bring the jam to a boil again but this time, keep stirring so it doesn’t scorch. Don’t cool it this time; your Plum Jam Recipe is thick, smooth, and glossy, ready for canning. This is the moment where your jam achieves that perfect spreadable consistency.
Step 7: Sterilize the Jars
Cleanliness is key for safe, long-lasting preserves. Wash your jars and lids thoroughly with warm soapy water, then let them dry completely. Boil the lids for 5 minutes to ensure they’re just right for sealing in that fresh plum flavor.
Step 8: Canning the Plum Jam Recipe
Ladle the hot jam into sterilized jars, leaving about 1/2 inch of headspace. Screw on the lids until just snug—don’t overtighten. Place your jars in a large canning pot, cover with 2 inches of water, and boil for 15 minutes. This step ensures the jars seal properly, preserving your Plum Jam Recipe for months. Remove jars and let them rest undisturbed for 24 hours before testing the seals.
How to Serve Plum Jam Recipe
Garnishes
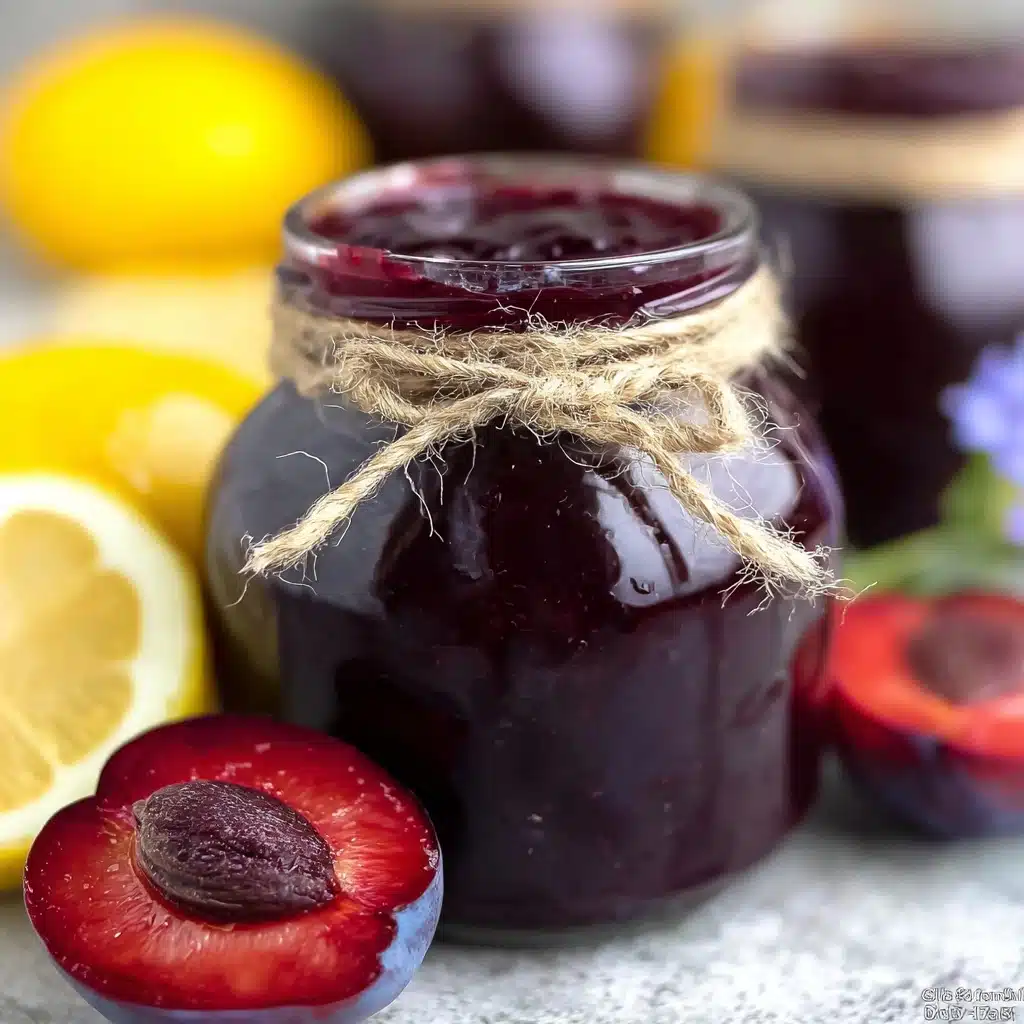
My favorite way to elevate a spoonful of this jam? Top with a few fresh plum slices, scatter edible flowers, or add a sprinkle of chopped toasted almonds for crunch. Sometimes, just a tiny extra grating of lemon zest adds a wonderful sparkle.
Side Dishes
This Plum Jam Recipe shines on warm, buttery toast, fluffy scones, pancakes, or even dolloped over Greek yogurt. It’s also a clever pairing with sharp cheeses on a grazing board—try it with creamy brie or a crumbly blue for a sweet-savory treat you’ll swoon over.
Creative Ways to Present
Decant your Plum Jam Recipe into cute gift jars, dress them up with a ribbon and handwritten label, and share with loved ones. Use it as a glaze for roasted meats, swirl into cheesecakes, or layer in trifles for an eye-catching pop of color and punch of fruity flavor.
Make Ahead and Storage
Storing Leftovers
Once your jars have cooled and you’re sure they’re sealed, your Plum Jam Recipe will keep in a cool, dark pantry for up to a year. Opened jars should be refrigerated and enjoyed within 3 months for the freshest flavor.
Freezing
If you’d rather skip canning, you can freeze your Plum Jam Recipe in freezer-safe containers. Just leave a little room at the top for expansion. When ready, thaw overnight in the fridge and use as desired—the flavor and texture hold up beautifully!
Reheating
If your jam firms up a bit too much in the fridge, simply let the jar come to room temperature or warm in a bowl of hot water for a few minutes. Give it a good stir and it’ll return to that dreamy, spreadable state.
FAQs
Can I make this with less sugar?
You can try reducing the sugar, but remember it not only sweetens but helps with preserving the jam. Using less may result in a looser set or shorter shelf life, so store it in the fridge and enjoy it sooner.
Do I need to peel the plums?
No need to peel! The skins dissolve as the jam cooks and add beautiful color and flavor. If you prefer a smoother jam, you can blend or strain it after cooking, but most people love the rustic bits of skin.
How do I tell if my jars are properly sealed?
After 24 hours, press in the center of each lid. If it doesn’t move or pop, you have a perfect seal. If a jar didn’t seal, chill it in the fridge and use first.
Can I use other types of plums?
Absolutely! This Plum Jam Recipe is endlessly adaptable—use red, purple, or yellow plums, and mix different varieties for a unique flavor every batch. Just make sure they’re ripe and sweet for best results.
What if my jam is too runny or too thick?
If your jam is runny, simmer a bit longer to help it thicken; if it’s too thick, stir in a splash of water or plum juice next time you warm it up. Practice makes perfect—don’t stress, it will taste fantastic either way.
Final Thoughts
Once you realize how easy and incredibly delicious homemade jam can be, you’ll never look back. I hope you’ll treat yourself—and everyone you care about—to a batch of this Plum Jam Recipe. There’s something so satisfying about lining up those jars and knowing you’ve captured the best of the season in every spoonful. Give it a try, and make your breakfasts (and gifts!) a whole lot brighter.
Print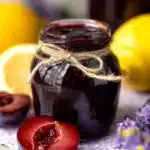
Plum Jam Recipe
- Total Time: 10 hours
- Yield: 8 pint-sized jars
- Diet: Vegetarian
Description
This Plum Jam recipe is a delightful way to preserve the sweet, juicy flavors of ripe plums. With a hint of lemon to brighten the taste, this homemade jam is perfect for spreading on toast or adding to your favorite recipes.
Ingredients
Plum Jam:
- 10 lbs plums, ripe
- 4 1/2 cups white sugar
- Zest of 1 lemon
- Juice of 1 lemon
Additional:
- Mason jars with lids
Instructions
- Rinse and Prep Plums: Rinse plums, halve, and remove pits.
- Coat Plums: In a mixing bowl, combine plums and sugar, let sit for 2 hours.
- Cook Plum Mixture: Transfer to a pot, bring to boil. Add lemon juice and zest. Simmer for 2 hours, repeating 4 times.
- Sterilize Jars: Wash and dry jars and lids. Boil lids for 5 minutes.
- Canning: Fill jars with hot jam, leaving space. Seal and process in boiling water for 15 minutes.
- Finalize: Check seals after 24 hours. Refrigerate if needed.
Notes
- For best results, choose ripe, juicy plums for optimal flavor.
- Be careful when handling hot jam and jars during the canning process.
- Adjust sugar quantity based on the sweetness of the plums.
- Prep Time: 2 minutes
- Cook Time: 8 minutes
- Category: Sauces
- Method: Boiling, Simmering, Canning
- Cuisine: American
Nutrition
- Serving Size: 1 tablespoon
- Calories: 696 kcal
- Sugar: 169g
- Sodium: 1mg
- Fat: 2g
- Saturated Fat: 1g
- Unsaturated Fat: Not specified
- Trans Fat: 0g
- Carbohydrates: 177g
- Fiber: 8g
- Protein: 4g
- Cholesterol: 0mg

