If you’ve ever craved the satisfying crunch of a pickle without the fuss of canning or boiling, No-Cook Refrigerator Pickles are your new best friend. These bright, tangy, and incredibly customizable pickles come together in minutes—from classic dill to spicy or even sweet bread and butter slices—with zero need for fancy equipment. They’re the ultimate fridge staple: refreshing, vibrant, and perfect for snacking, stacking on sandwiches, or jazzing up any meal in a pinch.
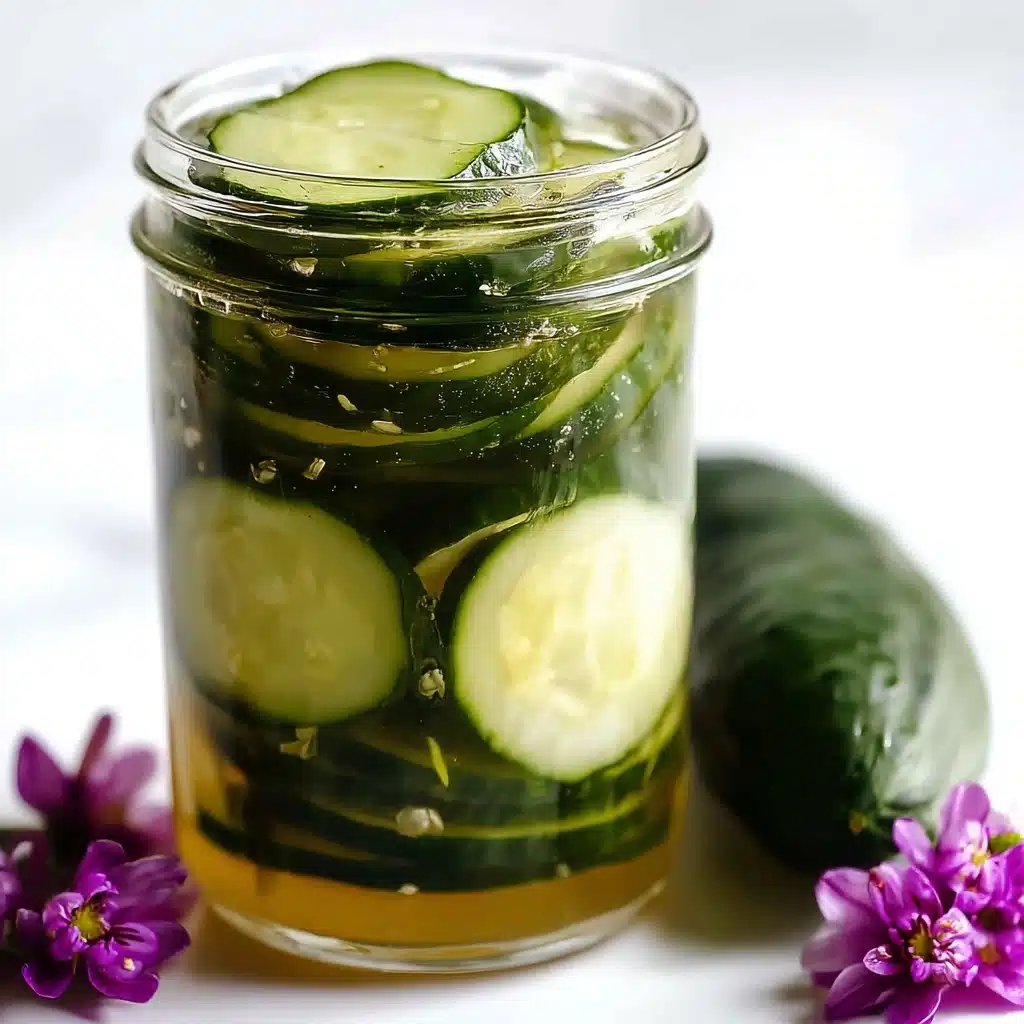
Ingredients You’ll Need
This recipe brings together a handful of simple ingredients, each playing a starring role in flavor, crunch, or color. Don’t be fooled by how basic they look—every single element is there for a reason, working magic behind the scenes for the best ever No-Cook Refrigerator Pickles!
- Cucumbers: The crisp base for your pickles—choose firm, fresh cucumbers for the ultimate crunch.
- Sugar: Balances out the sharpness of the vinegar and adds that unmistakable pickle sweetness.
- Salt: Essential for drawing out moisture, creating the brine, and intensifying the flavors.
- Vinegar (white or apple cider): Adds the classic tang and preserves your pickles—apple cider will give a rounder, slightly sweet flavor.
- Fresh or dried dill: The unmistakable herby punch that makes the pickles “dill”—fresh dill offers brighter flavor, while dried is handy year-round.
- White or black pepper: Delivers gentle heat and a subtle earthiness.
- Garlic: Classic in dill pickles—brings depth and aromatic zing.
- Onion: For those who like a lighter, almost sweet bite in their pickles.
- Green bell pepper: Adds colorful crunch and a vegetal sweetness.
- Red pepper flakes/cayenne: Crank up the heat for spicy pickles—adjust to taste!
- Cauliflower and carrots: Try for pickled veggie medleys—bite-sized bursts of color and taste.
- Mustard seed: Staples in sweet pickles, adding a mild, peppery flavor.
How to Make No-Cook Refrigerator Pickles
Step 1: Prepare the Vegetables
Start by giving your cucumbers and any other veggies you’re using a good wash—clean produce is the secret to long-lasting pickles! If you’re feeling fancy, lightly score the cucumbers with a fork. This not only looks beautiful but helps the brine really seep in, making every bite flavorful and crisp.
Step 2: Slice and Mix
Slice the cucumbers into spears, coins, or thin ribbons—whatever you love best. Toss them into a big bowl along with your chosen mix-ins: dill, garlic, pepper, spices, and any other veggies. This is where the pickles start to look irresistible!
Step 3: Salt and Sugar Soak
Sprinkle the sugar and salt right over all those fresh veggies, then give everything a generous stir. Let them rest for about an hour. As they sit, you’ll notice the veggies begin to release their liquid; this is magic in action, as the base of your flavorful brine is forming. Don’t pour off this liquid—it’s essential!
Step 4: Add the Vinegar
Next, pour your vinegar (white or apple cider) straight into the mix. This instantly transforms everything into a tangy, aromatic blend. Give another stir to make sure every piece gets coated with the bright, zippy brine.
Step 5: Chill and Wait
Spoon your future No-Cook Refrigerator Pickles into super clean jars or airtight containers. Pop them in the fridge and let them chill for at least four hours (though overnight is even better if you can wait). That’s it—they’re good to eat as soon as they’re cold, crisp, and infused with all those amazing flavors.
Step 6: Store for Later
Once you’ve had your first taste, store your pickles right in the fridge in airtight containers. These beauties will stay snappy and tasty for up to two months! Just don’t let them linger at room temperature—remember, No-Cook Refrigerator Pickles aren’t shelf stable.
How to Serve No-Cook Refrigerator Pickles
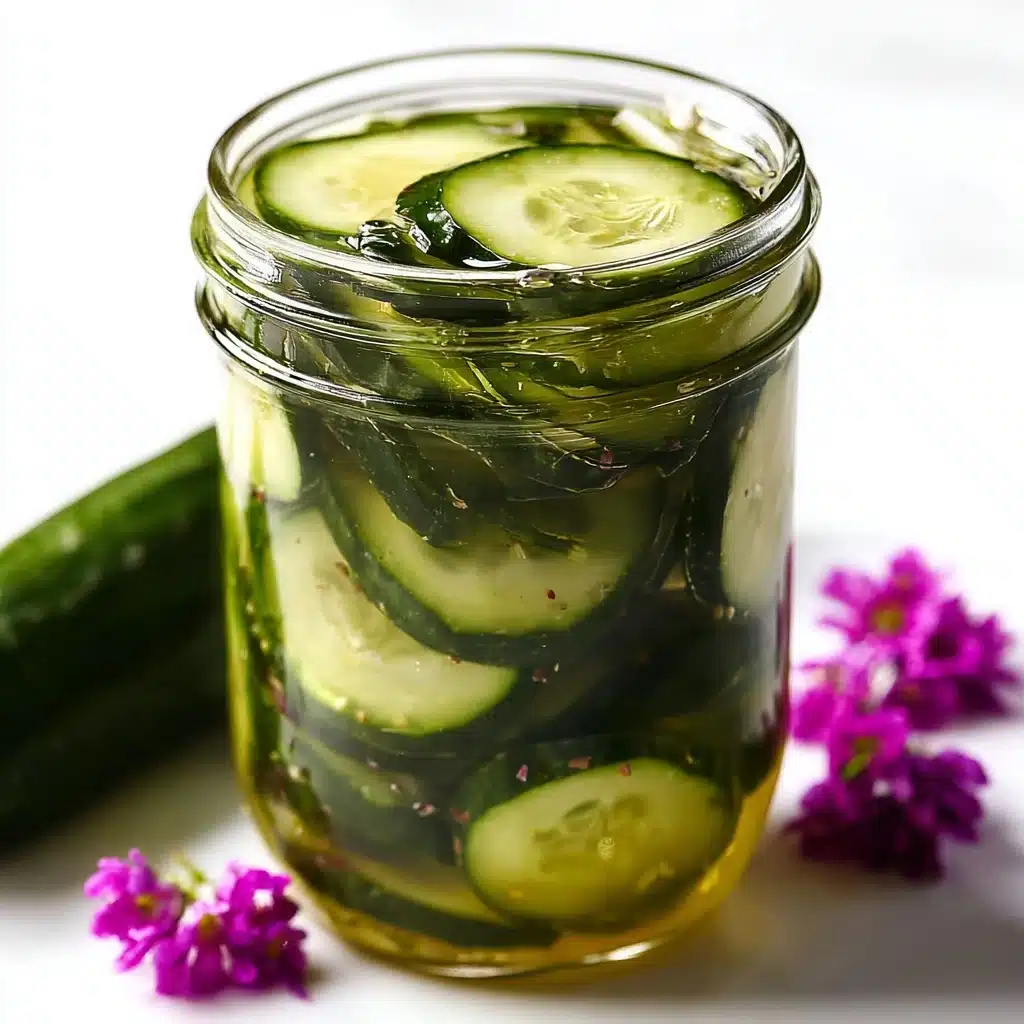
Garnishes
Sprinkle extra fresh dill, cracked pepper, or thin slices of fresh jalapeño over your pickles right before serving for a little color and an extra punch of flavor. A pinch of flaky salt can really make the flavors pop, too!
Side Dishes
No-Cook Refrigerator Pickles shine alongside barbecue, piled on burgers or hot dogs, or served with deli-style sandwiches. They’re incredible as part of a charcuterie or cheese board—salty, tangy, and crunchy against creamy cheeses or cured meats.
Creative Ways to Present
Try threading different pickle varieties onto skewers for a playful app, or layer them into jars with colorful veggies for a beautiful homemade gift. Chopped pickles and a splash of brine also make a bold addition to egg or potato salads, or as a punchy relish for summer picnics.
Make Ahead and Storage
Storing Leftovers
Once your No-Cook Refrigerator Pickles are ready, seal them in very clean, airtight containers, and keep them in the fridge. They’ll keep their lovely crunch and zest for up to two months—just make sure they’re always covered in brine and you use clean utensils when serving.
Freezing
Freezing is not the best option for these pickles—the freezing process breaks down their crisp texture, leaving them soft and watery. Stick to enjoying them fresh from the fridge for peak pickle perfection!
Reheating
With No-Cook Refrigerator Pickles, reheating isn’t necessary, and actually, heat would destroy what makes them so delightfully crisp! For a refresh, simply give the jar a shake or stir and enjoy right from the refrigerator.
FAQs
Can I use other vegetables besides cucumbers?
Absolutely! Cauliflower, carrots, onions, green beans, and even radishes work beautifully in this recipe. Just slice them as you would the cucumbers and follow the same steps for irresistible pickled veggies.
How do I keep my pickles extra crunchy?
The secret to crunch is using super fresh cucumbers and not over-salting or over-soaking. Scoring the cucumbers’ skin with a fork also helps, as does chilling them well before pickling. Always keep them refrigerated!
Can I reduce the sugar or salt?
You can adjust the sugar and salt a bit for taste, but remember, they’re crucial for flavor and preservation. Less sugar will make your pickles more tart, and too little salt can affect the brine’s safety and taste. Don’t skip them entirely!
How long do No-Cook Refrigerator Pickles need to sit before eating?
They’re ready after about four hours, but the longer they sit (even overnight), the deeper the flavor. If you can hold off until the next day, you’ll taste the difference—each bite gets more delicious with time.
Are these pickles safe for long-term storage outside the fridge?
No, No-Cook Refrigerator Pickles must always stay refrigerated. This method doesn’t use the canning process, so they aren’t shelf stable. Always store them in the fridge and enjoy within two months.
Final Thoughts
If you’ve ever wanted to whip up a batch of pickles with minimal effort, No-Cook Refrigerator Pickles are truly a game changer. Their crisp snap, vibrant flavor, and endless customizations make them a favorite in any kitchen. Give this recipe a try—once you taste how fresh and easy homemade pickles can be, you may never go back to store-bought again!
Print
No-Cook Refrigerator Pickles
- Total Time: 4 hrs 10 mins
- Yield: 16 servings
- Diet: Vegetarian
Description
Learn how to make quick and easy no-cook refrigerator pickles with this simple recipe. These pickles are crunchy, tangy, and full of flavor, perfect for snacking or adding to sandwiches and salads.
Ingredients
All Varieties of Dill Pickles:
- 8 cups cucumbers, sliced or cut into spears
- 1/3 cup sugar
- 2 tablespoons salt
- 2 cups white vinegar (or apple cider vinegar)
- 1/4 cup fresh dill (or 2 tbsp dried dill)
- 1 teaspoon white pepper (or black pepper)
Basic Dill Pickles:
- 5 cloves garlic, sliced
Green Pepper and Onion:
- 1 cup onion, thinly sliced (1 large onion)
- 1 cup green bell pepper, sliced (1 large bell pepper)
Spicy Pickles:
- 1 tablespoon red pepper flakes (or cayenne pepper to taste)
Pickled Veggies:
- 6 cups cucumbers, sliced
- 1 cup cauliflower, cut into florets
- 1/2 cup carrots, sliced
- 5 cloves garlic, sliced
- 1 cup onion, sliced
Bread and Butter (Sweet Pickles):
- 3/4 cup sugar
- 1 cup sweet onion
- 1 teaspoon mustard seed
- 1 teaspoon salt
- 1 cup vinegar
Equipment:
- Mandoline (optional for slicing cucumbers thinly)
Instructions
- Prepare Cucumbers: Wash and score cucumbers with a fork. Slice cucumbers and any additional veggies.
- Combine Ingredients: In a large bowl, mix cucumbers, dill, garlic, pepper, spices, and other veggies. Sprinkle with sugar and salt, let sit for an hour.
- Add Vinegar: Pour vinegar over vegetables and stir well.
- Chill: Refrigerate for 4 hours before serving.
- Storage: Store pickles in airtight containers in the fridge for up to 2 months.
Notes
- Salt and sugar amounts are for brine creation, not consumption.
- Store pickles in clean, airtight containers for best freshness.
- Refrigerate pickles as they are not shelf-stable.
- Prep Time: 10 mins
- Cook Time: 0 mins
- Category: Appetizer/Snack
- Method: Refrigeration
- Cuisine: American
Nutrition
- Serving Size: 0.25 g
- Calories: 32 kcal
- Sugar: 5 g
- Sodium: 875 mg
- Fat: 1 g
- Saturated Fat: 1 g
- Unsaturated Fat: 0 g
- Trans Fat: 0 g
- Carbohydrates: 6 g
- Fiber: 1 g
- Protein: 1 g
- Cholesterol: 0 mg

