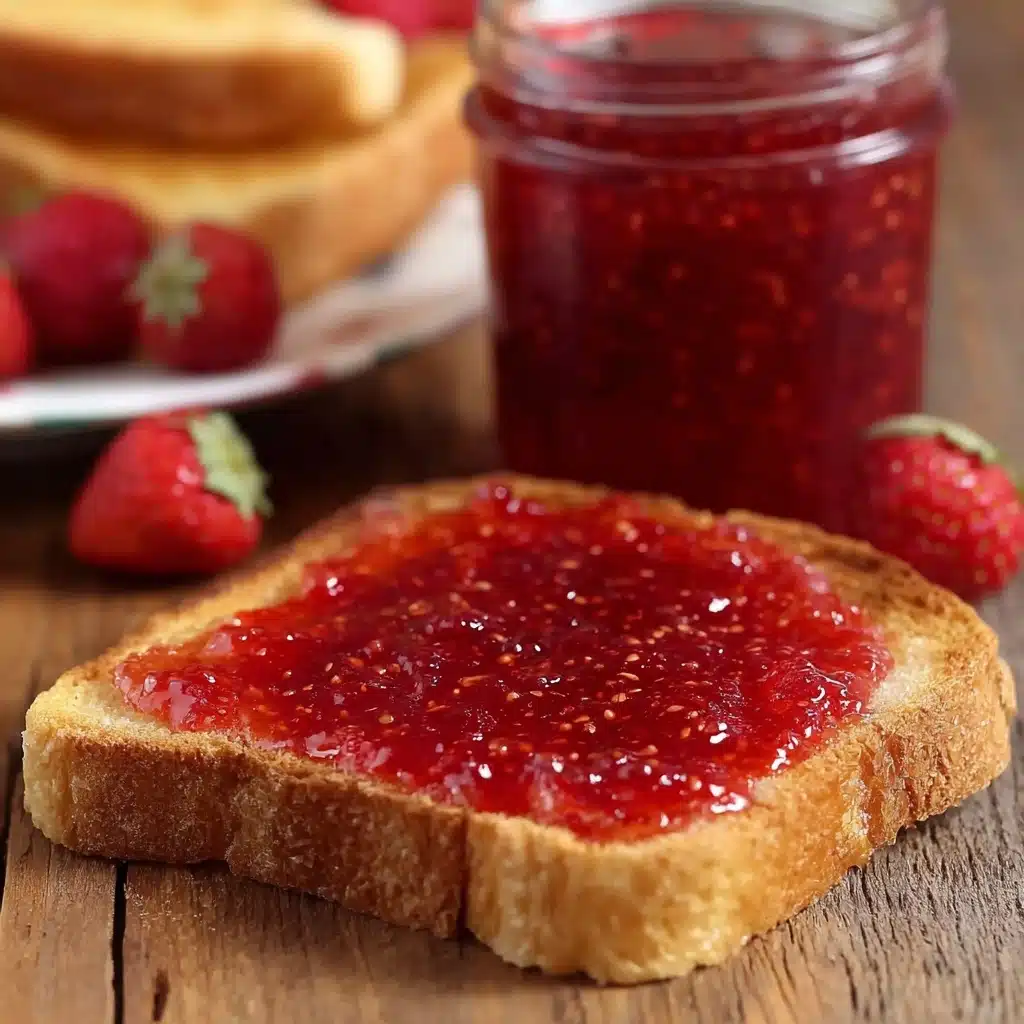
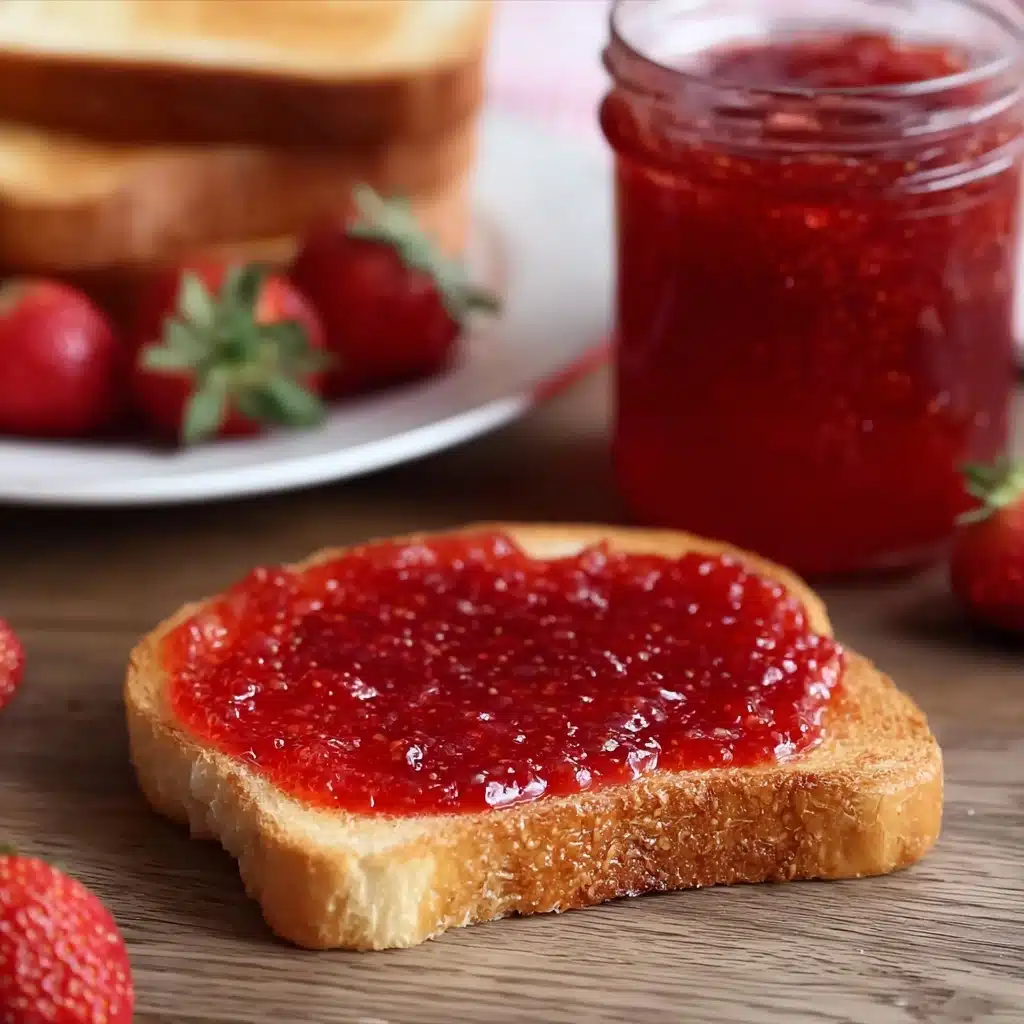
If you’ve ever dreamed of capturing the luscious essence of sun-ripened berries in a jar, this Homemade Strawberry Jam Recipe is the one you absolutely need in your life. With just a handful of everyday ingredients and a simple, foolproof process, you’ll end up with ruby-hued jam that’s every bit as scrumptious as it is versatile. Whether spread on warm toast or dolloped over desserts, this spread is pure, sweet nostalgia in a spoonful.

Ingredients You’ll Need
You’ll be amazed at how this recipe transforms a few simple ingredients into something magical. Each component shines through, contributing to the vibrant flavor, spreadable texture, and signature glossy color of your jam.
- Fresh Strawberries: Quality is everything here! Fresh, ripe berries provide the bold, sweet-tart flavor and beautiful deep red color.
- Granulated Sugar: Essential for sweetness and the all-important jam “gel” texture, plus it acts as a natural preservative.
- Fresh-Squeezed Lemon Juice: A splash brightens up the jam and helps it set perfectly, balancing sweetness with a subtle zing.
How to Make Homemade Strawberry Jam Recipe
Step 1: Prepare and Sterilize the Jars
Begin by sterilizing your mason jar or jars in a pot of boiling water, then let them dry completely. This step means your jam will stay fresh and safe—and there’s nothing more satisfying than a sparkling, homemade preserve in a pristine jar!
Step 2: Prep the Strawberries
Remove the stems from your strawberries, then dice them up into small pieces. If you love a smooth jam, whirl the berries in a blender first; if, like me, you enjoy a rustic chunkiness, simply dice them by hand for that classic homemade charm.
Step 3: Macerate the Berries
Toss the strawberries into a large pot or deep saucepan, followed by the sugar and lemon juice. Stir it all together until the berries are beautifully coated, then let them sit for 10-15 minutes. You’ll notice juice beginning to pool—this step draws out the strawberry juice and helps dissolve the sugar for a deeper flavor.
Step 4: Dissolve the Sugar
With the heat on medium-low, stir the mixture steadily with a rubber spatula. Scrape down the sides of the pot to ensure every bit of sugar dissolves; this is crucial to prevent your jam from turning gritty later. Watch as the berries relax and the whole pot turns syrupy!
Step 5: Cook Down the Jam
Let your strawberries simmer gently for 10-15 minutes, stirring frequently. As the fruit softens, use a potato masher right in the pot to break them down and release even more of that irresistible berry flavor. The mixture thickens before your eyes!
Step 6: Boil to Perfect Jam Consistency
Crank up the heat and bring your mixture to a full rolling boil. Keep stirring constantly and let it bubble away until it reaches 220 F—this is the magic temperature for the Homemade Strawberry Jam Recipe to achieve its signature spreadable set.
Step 7: Jar and Cool
Take the pot off the heat, and skim away any foam from the top if you wish. Carefully pour your hot jam into the prepared jar, leaving just about a quarter inch at the top. Seal the jar with its lid and let it cool at room temperature. Once cool, refrigerate it—by tomorrow, you’ll have fresh jam ready for spreading!
How to Serve Homemade Strawberry Jam Recipe

Garnishes
For a fresh pop of color and flavor, sprinkle a few sliced strawberries or a touch of lemon zest on top of your jam, whether you’re serving it straight from the jar or dolloping it onto biscuits. A sprig of mint turns even a simple breakfast into something special.
Side Dishes
Pair your Homemade Strawberry Jam Recipe with warm, buttery toast, fluffy scones, or Southern-style biscuits for a classic breakfast treat. It also makes a dreamy addition to pancakes, waffles, or even swirled into Greek yogurt.
Creative Ways to Present
Gift your jam in a pretty mason jar with a handwritten label for homemade charm, swirl it through cheesecake or thumbprint cookies, or serve it as part of a brunch board. There’s truly no limit to how this jam can brighten up your table!
Make Ahead and Storage
Storing Leftovers
Your Homemade Strawberry Jam Recipe will keep beautifully in the refrigerator for up to two weeks. Just ensure the jar is tightly sealed after each use and always use a clean spoon to prevent spoilage.
Freezing
For longer term storage, freeze the jam in freezer-safe containers, leaving some headspace for expansion. It will last three months or more this way, and thaws quickly in the fridge overnight!
Reheating
If your refrigerated or thawed jam is a little firm, simply let the jar sit at room temperature for a few minutes, or warm gently in a bowl over hot water until it loosens enough to spread easily. No need to cook it again—this preserves its fresh flavor and color!
FAQs
Can I use frozen strawberries instead of fresh?
Absolutely! Thaw them first and drain any excess liquid before using. The flavor will still be lovely, but the jam may be a touch looser, so simmer a bit longer for desired thickness.
Do I have to use lemon juice?
Lemon juice is key for helping the jam set and for balancing the sweetness with a bit of brightness, but you could substitute with lime juice in a pinch. Just don’t skip the acid altogether!
How can I tell when the jam is done cooking?
You’ll know your Homemade Strawberry Jam Recipe is ready when it reaches 220 F on a candy thermometer. You can also test by spooning a bit onto a cold plate; if it wrinkles when nudged, you’re good to go!
Can I reduce the sugar in this recipe?
Reducing the sugar will affect the texture and shelf-life of your jam, as sugar helps it set and preserves the fruit. For a lower-sugar jam, try a special low-sugar pectin as a swap, or experiment with small batches to find your ideal balance.
How can I make the jam smoother or chunkier?
It’s all about how you prepare the berries! For an extra-smooth Homemade Strawberry Jam Recipe, blend the strawberries before cooking. For a heartier, rustic feel, just chop them by hand and enjoy the bursts of fruitiness in every spoonful.
Final Thoughts
There’s truly something special about making a Homemade Strawberry Jam Recipe right in your kitchen. If you’ve never tried your hand at homemade preserves, this is the perfect recipe to start with—fun, rewarding, and wildly delicious. Give it a whirl, share a jar with a friend, and enjoy the taste of summer all year long!
Print
Homemade Strawberry Jam Recipe
- Total Time: 40 minutes
- Yield: About 2 cups (approximately 24 servings)
- Diet: Vegetarian
Description
This easy homemade strawberry jam bursts with fresh, natural sweetness and requires just three simple ingredients. Perfectly spreadable and free from artificial preservatives, it’s great on toast, biscuits, or stirred into yogurt. This small-batch, no-pectin recipe is beginner-friendly and ready in under an hour.
Ingredients
Fruit
- 1 lb fresh strawberries, washed and stems removed
Sweetener
- 1¼ cups granulated sugar
Acid
- 1–2 tablespoons fresh-squeezed lemon juice
Instructions
- Sterilize Jars – Place mason jars and their lids in boiling water for several minutes to sterilize, then remove and let dry completely. Set aside a jar large enough to hold about two cups.
- Prep the Strawberries – Remove the tops from the strawberries and dice them into small pieces. For a smoother jam, you may also puree the berries in a blender before adding to the pot.
- Combine Ingredients – Add strawberries, granulated sugar, and lemon juice to a large pot or deep saucepan. Stir everything together so the strawberries are well coated in sugar.
- Macreate the Strawberries – Allow the strawberry mixture to sit for about 10–15 minutes. The berries will start to release their natural juices.
- Dissolve Sugar – Set the pot over medium-low heat. Stir gently with a rubber spatula until all the sugar is fully dissolved, scraping down the sides as needed to prevent crystallization.
- Cook & Mash – Let the mixture simmer gently for 10–15 minutes, stirring often and mashing the strawberries with a potato masher as they soften for desired texture.
- Boil to Thicken – Increase heat to bring the mixture to a rolling boil. Continue boiling, stirring constantly, until the jam reaches 220°F (use a candy thermometer for accuracy), which helps ensure proper thickening.
- Finish & Jar – Remove from heat. Skim off any foam on top if desired. Carefully pour the hot jam into the prepared jar, leaving about 1/4-inch space at the top. Immediately seal with the lid.
- Cool & Store – Let the jar cool at room temperature. Refrigerate the jam until fully set (will firm up as it cools), and keep refrigerated for up to two weeks.
Notes
- If you prefer a completely smooth jam, puree the berries before cooking.
- Properly sterilizing jars helps prevent spoilage and extends fridge life.
- This small-batch jam is best eaten within 2 weeks, as it doesn’t include added preservatives or pectin.
- Adjust lemon juice to taste: more will make the jam tarter and enhance preservation.
- If you don’t own a candy thermometer, the jam is ready when it thickly coats the back of a spoon.
- Prep Time: 10 minutes
- Cook Time: 30 minutes
- Category: Sauces-condiments
- Method: Stovetop
- Cuisine: American, Southern
Nutrition
- Serving Size: 1 tablespoon
- Calories: 40
- Sugar: 10g
- Sodium: 0mg
- Fat: 0g
- Saturated Fat: 0g
- Unsaturated Fat: 0g
- Trans Fat: 0g
- Carbohydrates: 10g
- Fiber: 0.2g
- Protein: 0g
- Cholesterol: 0mg


