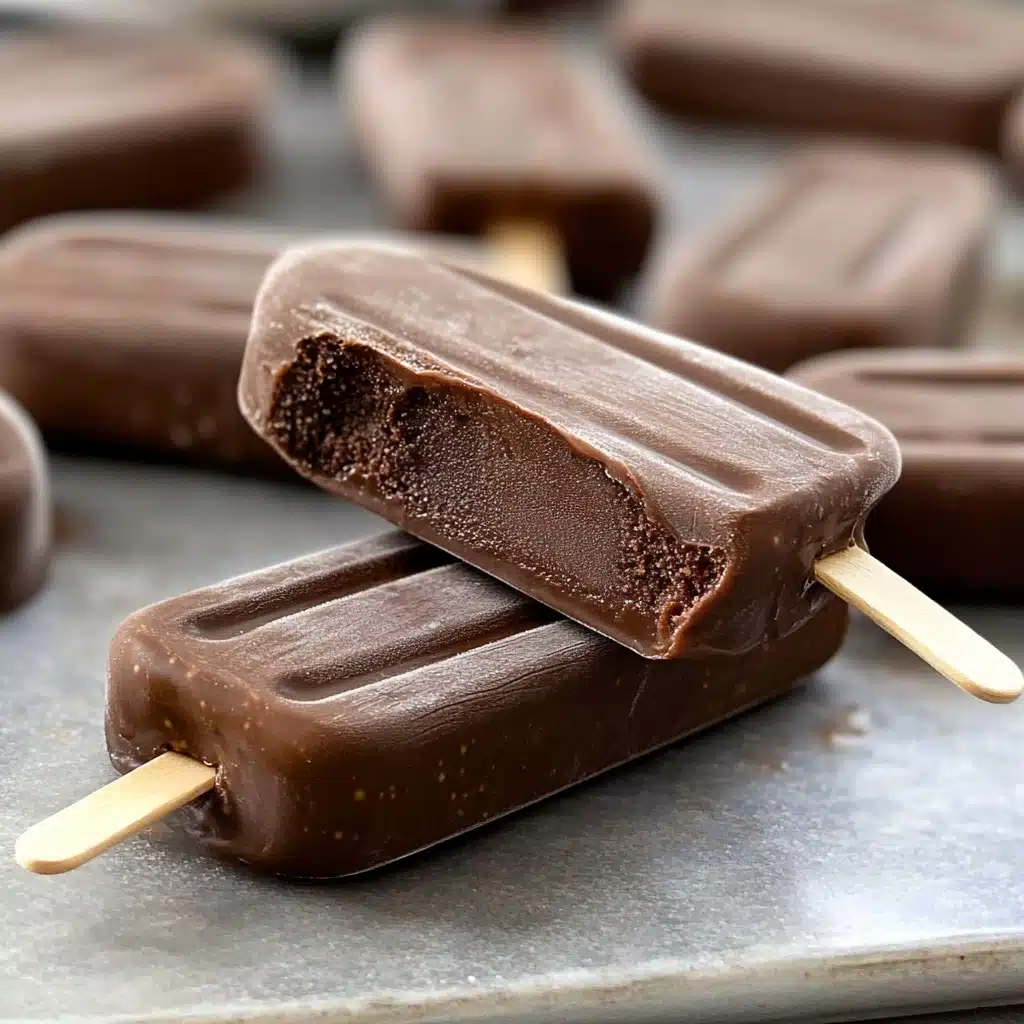
Looking for a frozen treat that tastes indulgent but is secretly nourishing? This Healthy Fudgesicles Recipe hits every note: rich chocolate flavor, creaminess that rivals your favorite ice cream, and only four wholesome ingredients. If the nostalgia of ice cream trucks blends with your desire for a feel-good dessert, you’re in exactly the right place. Let’s make summer memories delicious and wholesome, one popsicle at a time!
Ingredients You’ll Need
What makes this Healthy Fudgesicles Recipe so special? It comes down to a handful of simple ingredients working together to create luscious flavor and texture. Each element is carefully chosen to balance richness, creaminess, and that all-important chocolate kick.
- Full-fat coconut milk or coconut cream: Brings silky smoothness and a subtle tropical note that makes these fudgesicles naturally dairy free if you want them to be.
- Milk (any type except nonfat): Adds a touch of lightness and helps the popsicles set with the perfect bite; use dairy or your favorite plant-based option for flexibility.
- Unsweetened Dutch-processed cocoa powder: Gives you deep, intense chocolate flavor and that classic fudgesicle color we all crave.
- Dark chocolate, chopped: Use the best quality you can find — this sets the foundation for the recipe’s satisfying richness and slight snap.
How to Make Healthy Fudgesicles Recipe
Step 1: Blend the Base
Start by grabbing a medium-sized, heavy-bottomed saucepan. Pour in the coconut milk or cream, your choice of milk, and the cocoa powder. Grab a whisk (or even a fork in a pinch!) and combine everything until it’s smooth and silky. Don’t rush this part — making sure your cocoa is completely dissolved is the secret to that dreamy fudgesicle texture.
Step 2: Heat and Simmer
Set your saucepan over medium-low heat, and gently bring the mixture to a simmer. This step helps the flavors meld and makes the chocolatey base extra luscious. Keep an eye on things; as soon as you see tiny bubbles, take the pan off the heat. We want creamy, not scorched!
Step 3: Melt in the Chocolate
Sprinkle your chopped dark chocolate right into the hot mixture. Grab your whisk and stir until every bit of chocolate has melted completely. The result should be glossy and thick, with a decadent aroma that’s nearly impossible to resist. Taste for sweetness or richness — you can tweak it if you want, but the pure chocolate flavor is the real star here.
Step 4: Fill the Molds
Depending on your popsicle mold (vertical or horizontal), there’s a slight difference here. For vertical molds, pour the warm mixture directly in, filling each cavity nearly to the top. If you’re using a horizontal mold, let the mixture sit at room temperature for about 10 minutes until it thickens slightly, then pour into the molds. Either way, a steady hand helps avoid messes (but a little chocolate drip is totally forgivable).
Step 5: Freeze Until Set
Pop your filled molds into the freezer and let time do the magic. For perfectly set fudgesicles, allow at least 6 hours — overnight is even better. Once they’re solid, run the molds under warm water for a few seconds to release your Healthy Fudgesicles Recipe without any fuss.
How to Serve Healthy Fudgesicles Recipe
Garnishes
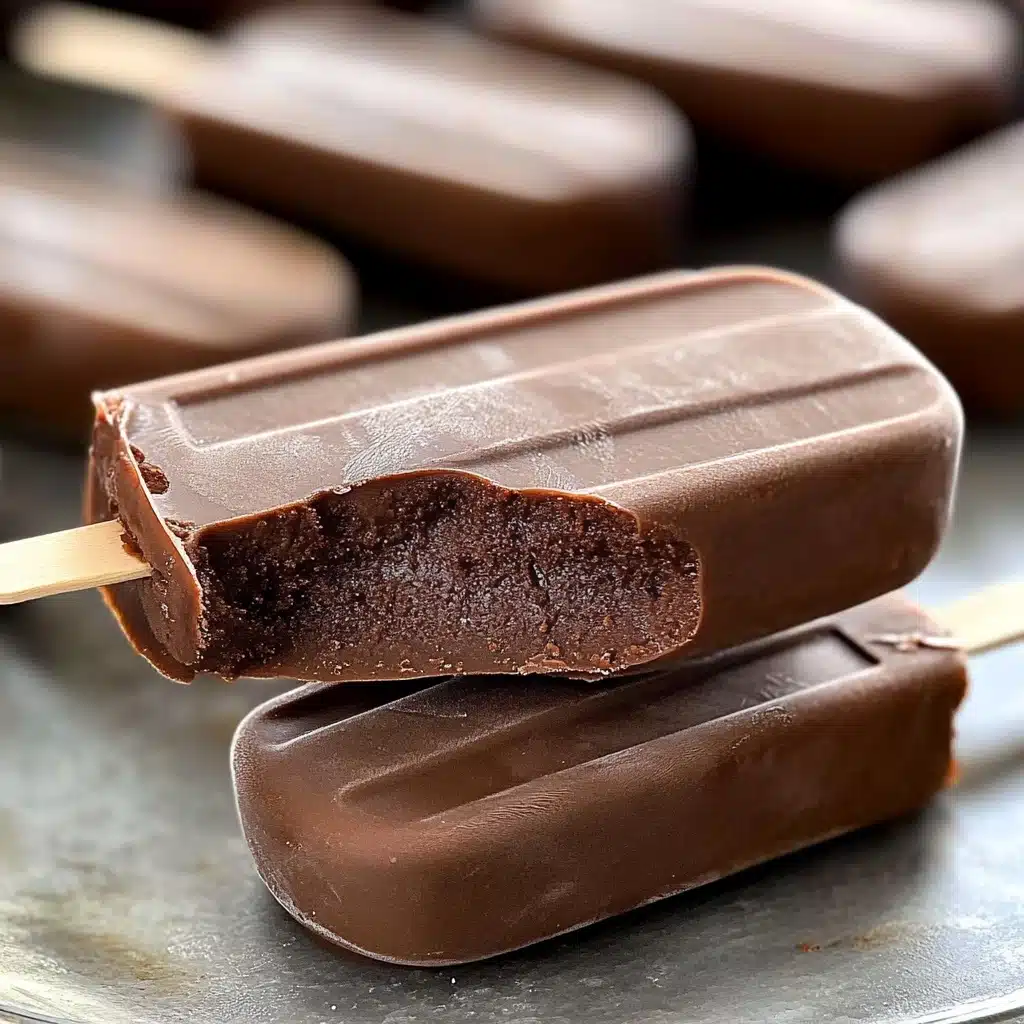
A naked fudgesicle is delicious on its own, but you can dress it up for any occasion! Sprinkle a little flaky sea salt, dip tips in melted chocolate and roll in chopped nuts, or drizzle with a little nut butter. Each bite brings new excitement to this Healthy Fudgesicles Recipe.
Side Dishes
Pairing is part of the fun! Serve alongside fresh summer berries, a bowl of tropical fruit salad, or even a crisp homemade granola for extra crunch. These fudgesicles hold their own, but a bright, tangy side can make them the star of any backyard get-together.
Creative Ways to Present
Unleash your inner entertainer: Stand fudgesicles upright in a jar filled with ice, arrange on a platter with edible flowers, or even serve mini versions in ice-cube molds for snackable bites. The Healthy Fudgesicles Recipe isn’t just a treat, it’s a conversation starter — perfect for pool parties or cozy movie nights.
Make Ahead and Storage
Storing Leftovers
If you manage to have leftovers (no judgment if you don’t!), keep the fudgesicles right in their molds, or layer them between parchment sheets in an airtight container. This keeps them from sticking to each other and preserves all that chocolatey smoothness.
Freezing
The Healthy Fudgesicles Recipe is born for the freezer! They stay delicious for up to three weeks, retaining their creamy texture and full flavor. Just keep them tightly sealed to prevent freezer odors from sneaking in.
Reheating
No reheating needed — these are meant to be enjoyed straight from the freezer. If they’re frozen too hard, let them sit at room temperature for a couple of minutes before serving. They’ll soften just enough for that signature fudgesicle bite!
FAQs
Can I use another sweetener or add-ins?
Absolutely! If your chocolate isn’t sweet enough, feel free to blend in a natural sweetener like honey, maple syrup, or agave. For extra depth or fun, stir in a pinch of cinnamon, espresso, or even a handful of mini chocolate chips before freezing.
Are these fudgesicles dairy free?
They can be! Just use plant-based milk for the second liquid (like almond, oat, or more coconut milk) and ensure your dark chocolate is dairy free. The Healthy Fudgesicles Recipe is incredibly versatile for different dietary needs.
What if I don’t have popsicle molds?
No problem at all. Small paper cups, reusable silicone molds, or even an ice cube tray can work in a pinch. Just remember to insert sticks once the mixture has firmed up a little in the freezer, so they stand up straight.
How do I get fudgesicles out of the mold easily?
Run the outside of the mold under lukewarm water for a few seconds, then gently pull on the stick. Patience pays off here — you’ll get that perfect shape without breaking the popsicles.
Can I double or triple this recipe?
Yes, it scales beautifully! Make a bigger batch for birthday parties, summer BBQs, or just to stock your freezer. The Healthy Fudgesicles Recipe is a crowd-pleaser for kids and adults alike.
Final Thoughts
There’s something so satisfying about a treat that’s as nourishing as it is nostalgic. Whether you’re whipping these up for your family, a gathering of friends, or as a solo indulgence, this Healthy Fudgesicles Recipe will quickly become a favorite in your summer rotation. Give it a try, and let the chocolatey smiles begin!
Print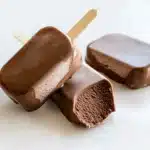
Healthy Fudgesicles Recipe
- Total Time: 6 hours 15 minutes
- Yield: 6 popsicles
- Diet: Vegetarian
Description
These homemade healthy fudgesicles are irresistibly creamy, chocolatey frozen treats made with just four wholesome ingredients. Blending coconut milk, your choice of milk, Dutch-process cocoa powder, and high-quality dark chocolate, these popsicles rival any store-bought version – but with fewer ingredients and more rich, authentic flavor. Perfect for hot summer days and totally customizable for different dietary needs.
Ingredients
Main Ingredients
- 1 can (14 fluid ounces) full-fat coconut milk, or coconut cream
- 3/4 cup (6 fluid ounces) milk (any variety; dairy or plant-based, but not nonfat)
- 3 tablespoons (15 g) unsweetened Dutch-processed cocoa powder
- 8 ounces dark chocolate, chopped (use best quality available)
Instructions
- Combine Wet and Dry Ingredients: In a medium-sized, heavy-bottom saucepan, add the coconut milk or cream, milk, and cocoa powder. Whisk these together thoroughly until the mixture is smooth and the cocoa powder is fully dissolved.
- Heat the Mixture: Place the saucepan over medium-low heat and bring the mixture to a gentle simmer, stirring occasionally to prevent any burning. Once at a simmer, promptly remove the pan from the heat to avoid overcooking.
- Add the Dark Chocolate: Add the chopped dark chocolate to the hot mixture. Whisk until the chocolate is fully melted and the mixture is glossy and uniform.
- Pour and Freeze – For Vertical Molds: Immediately pour the chocolate mixture into popsicle molds if you are using vertical molds. Insert the sticks and transfer the molds to the freezer. Freeze for at least 6 hours or until completely set. Unmold the fudgesicles and enjoy!
- Pour and Freeze – For Horizontal Molds: Allow the mixture to rest at room temperature for about 10 minutes, or until it has thickened slightly (this helps prevent leaking in horizontal molds). Pour into the horizontal molds, insert the sticks, and freeze for 6 hours or until thoroughly frozen. Unmold and serve.
Notes
- Use high-quality dark chocolate for the best, most decadent flavor.
- Ensure the coconut milk is full-fat or use coconut cream for extra creaminess; avoid low-fat versions.
- You can swap in any milk (dairy or plant-based), but avoid fully nonfat types for the proper creamy texture.
- If you don’t have popsicle molds, use small paper cups and insert sticks after about an hour of freezing.
- For an even sweeter treat, add a tablespoon of maple syrup or honey if your chocolate is very dark.
- Prep Time: 10 minutes
- Cook Time: 5 minutes
- Category: Desserts
- Method: Stovetop
- Cuisine: American
Nutrition
- Serving Size: 1 fudgesicle
- Calories: 230
- Sugar: 12g
- Sodium: 32mg
- Fat: 16g
- Saturated Fat: 10g
- Unsaturated Fat: 5g
- Trans Fat: 0g
- Carbohydrates: 22g
- Fiber: 4g
- Protein: 3g
- Cholesterol: 3mg

