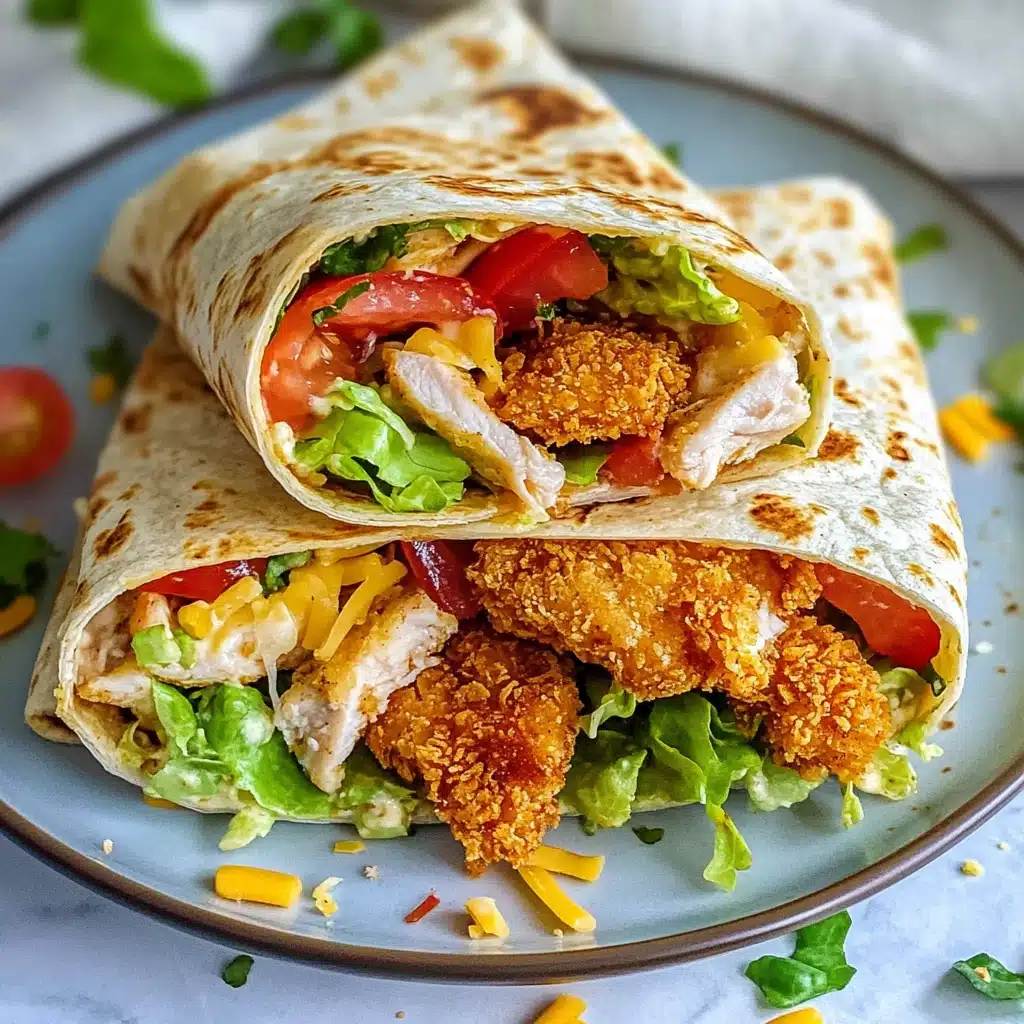
Sink your teeth into the ultimate Crispy Chicken Wrap! This crave-worthy meal wraps juicy, perfectly seasoned oven-baked chicken in a soft tortilla with crisp lettuce, fresh tomato, gooey cheese, and your favorite zesty sauce. It’s fantastic for family dinners, meal prep, or satisfying those urgent lunchtime cravings. There’s a reason this Crispy Chicken Wrap keeps sneaking onto my weekly menu: it’s just that addictively crunchy, flavorful, and endlessly customizable.
Ingredients You’ll Need
You’ll be amazed at how just a few kitchen staples can create a wrap that tastes like it came straight from your favorite café! Each ingredient here plays a starring role, adding a different pop of color, taste, or crunch to your Crispy Chicken Wrap.
- Chicken breast: Lean, juicy, and the perfect blank canvas for all that flavor.
- Egg: Binds the mayo and seasonings, helping the crispy breading stick.
- Mayo: Locks in moisture and coats the chicken so the breadcrumbs cling for that ultra-crunchy finish.
- Panko breadcrumbs: These Japanese-style crumbs toast up beautifully and give unbeatable crunch. (Crushed saltines or regular breadcrumbs work too!)
- Salt: Essential for seasoning every bite and enhancing all the other flavors.
- Garlic powder: Adds a subtle savory background note.
- Ground pepper: Brings a gentle bit of heat that rounds out the spices.
- Lettuce: Adds cold crunch and a fresh color contrast to the warm, crispy chicken.
- Tomato: Juicy sweetness that brightens the whole wrap up.
- Cheese: For that lovely meltiness, choose your favorite: cheddar, Monterey Jack, or anything you love!
- Sauce of choice: The magic ingredient that personalizes your wrap (think spicy honey mustard, ranch, BBQ, anything goes).
- Tortillas/wraps: Soft flour tortillas are my pick—they’re flexible and perfect for rolling up all that crunchy goodness.
How to Make Crispy Chicken Wrap
Step 1: Set Up Your Workspace
Begin by preheating your oven to 425ºF. Arrange a metal wire rack on a baking sheet—this little trick lets hot air circulate for the ultimate crispiness on all sides of the chicken. Gather your mixing bowls and utensils so everything is within easy reach.
Step 2: Make a Flavored Egg Wash
In a medium bowl, whisk together the egg, mayo, salt, garlic powder, and pepper until smooth. This creates a luscious coating that both imparts flavor and helps the breadcrumbs stick.
Step 3: Crisp Up the Panko
Combine panko breadcrumbs with a sprinkle of salt and garlic powder. Toast them in a dry skillet over medium-low heat, stirring often, until they turn light golden—about 4 minutes. Set them aside. This step supercharges their crunchiness and flavor, so don’t skip it!
Step 4: Prepare the Chicken
Slice the chicken breasts in half horizontally to create thin, even pieces. Pop them into a large zip-top bag and use a rolling pin or mallet to pound them to 1/4-inch thickness. This not only ensures even cooking but also keeps the chicken incredibly juicy and tender in your Crispy Chicken Wrap.
Step 5: Dredge and Coat the Chicken
Dip each chicken piece in the egg-mayo wash, making sure it’s thoroughly coated. Then press both sides into the seasoned, toasted panko breadcrumbs. Pat gently so every bit of chicken gets a good layer of those crispy crumbs.
Step 6: Bake the Chicken
Place the breaded chicken on the prepared wire rack. Bake for 17-20 minutes, or until the crust is perfectly golden and the chicken registers 165ºF internally. (If you’re air frying, do 375ºF for 15-18 minutes.) Let the chicken rest a few minutes; that makes slicing easier.
Step 7: Assemble the Crispy Chicken Wrap
Slice the chicken into strips. On each tortilla, add a bed of lettuce, diced tomato, shredded cheese, and your chicken strips. Drizzle your chosen sauce on top. Fold in the sides and roll everything up tightly.
Step 8: (Optional) Pan-Sear for Extra Crunch
Want a little more crunch? Heat a lightly oiled skillet over medium-high. Put the folded side of the wrap down first to seal, then cook for about 4 minutes per side until deep golden brown and crisp.
How to Serve Crispy Chicken Wrap
Garnishes
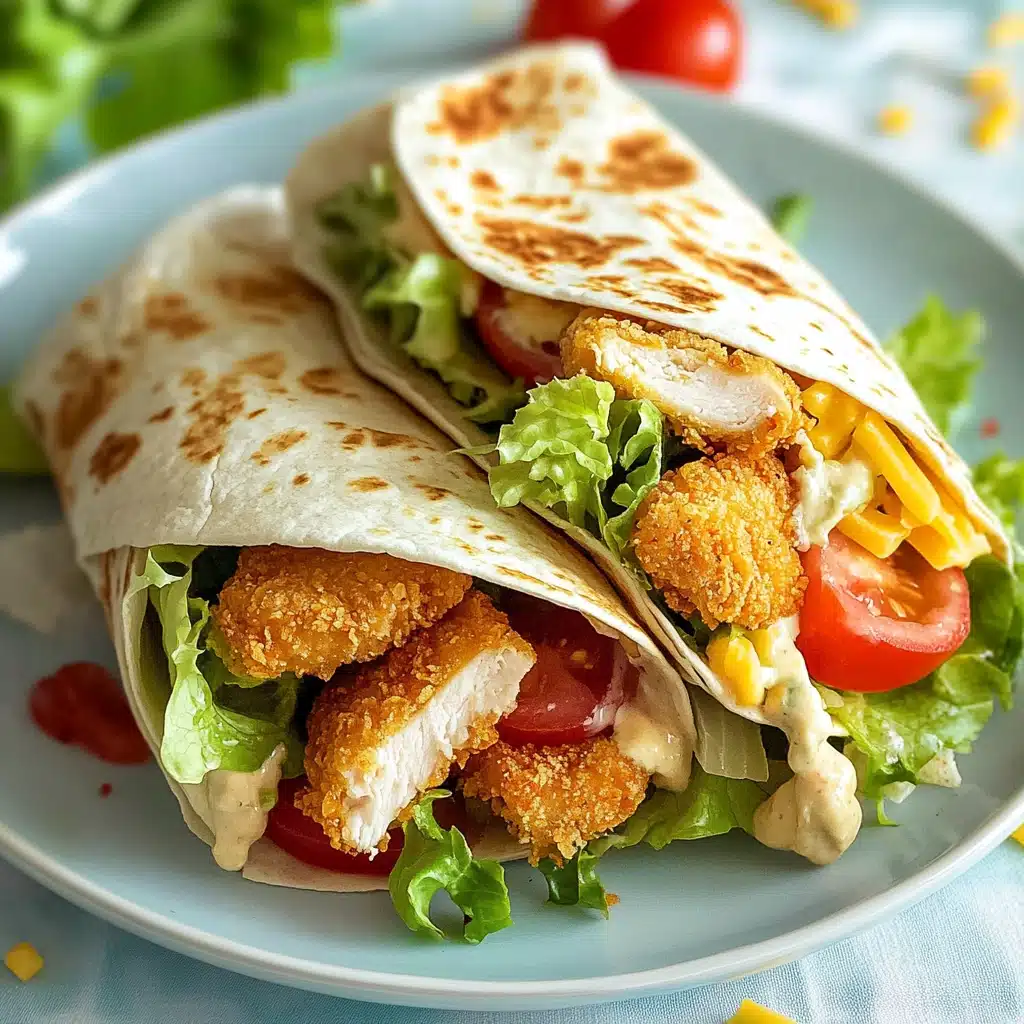
Garnishing your Crispy Chicken Wrap is a moment to get playful. Sprinkle sliced green onion, extra cheese, or a handful of fresh cilantro for added flair. A dash of chili flakes or a squiggle of extra sauce also brings color and a little heat!
Side Dishes
This wrap pairs perfectly with classic sides like sweet potato fries, crisp coleslaw, or a cool cucumber salad. For a lighter touch, serve with fresh fruit or crunchy carrot sticks. It’s all about balancing the wrap’s warmth and richness with sides that refresh.
Creative Ways to Present
For picnics, slice the wraps in half on a bias and serve in parchment—so pretty and practical! For parties, make mini wraps using smaller tortillas and serve them on a platter, secured with toothpicks. Or give your Crispy Chicken Wrap a bistro feel by pairing it with a little ramekin of dipping sauce on the side.
Make Ahead and Storage
Storing Leftovers
If you have leftovers (lucky you!), wrap each Crispy Chicken Wrap tightly in plastic or foil and keep in an airtight container in the fridge. They’ll stay tasty for up to 4 days, though the exterior will lose some crisp unless reheated.
Freezing
For meal prep, freeze the baked (but not yet assembled) chicken strips in a single layer, then transfer into a freezer bag. When you’re ready, thaw and re-crisp before assembling your fresh wrap with the veggies and cheese.
Reheating
To revive that just-cooked crisp, reheat the chicken in a hot oven or air fryer for a few minutes before adding to your wrap. If the whole wrap is assembled, use a skillet to warm and crisp it up again, flipping once until the exterior is golden.
FAQs
Can I use a different protein instead of chicken?
Absolutely! Turkey cutlets, plant-based tenders, or even firm tofu work beautifully. Just follow the same breading and cooking steps for a similar crispy effect.
What’s the best sauce for a Crispy Chicken Wrap?
Honestly, the sky’s the limit! Spicy honey mustard is a favorite, but ranch, BBQ, chipotle mayo, and even salsa each bring a different personality to the Crispy Chicken Wrap.
How do I keep the chicken extra juicy?
Tenderizing the meat to an even thickness is key, and don’t overbake. Covering the chicken in mayo and egg before breading locks in moisture, keeping every bite irresistible.
Are there ways to make the Crispy Chicken Wrap healthier?
You bet! Use low-fat mayo, whole-wheat wraps, and plenty of fresh veggies. Baking rather than frying already gives a lighter touch, so feel free to add more greens to bulk up the nutritional value.
Can I make Crispy Chicken Wraps for a crowd?
Definitely—just double or triple the recipe. You can bake multiple pieces of chicken at once, and everyone can assemble their own wraps right at the table for a fun DIY meal.
Final Thoughts
There’s something downright joyous about biting into a homemade Crispy Chicken Wrap—golden outside, juicy inside, and packed with all your favorite flavors. If you haven’t tried making these at home yet, I can’t wait for you to give them a go. They just might become your new obsession too!
Print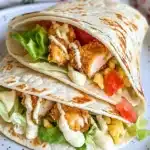
Crispy Chicken Wrap Recipe
- Total Time: 35 minutes
- Yield: 4 wraps
- Diet: Halal
Description
These Crispy Chicken Wraps feature juicy, tender chicken baked to crunchy perfection, then wrapped with fresh veggies, cheese, and your favorite sauce in a soft tortilla. The chicken is baked, not fried, for a lighter but still flavorful option the whole family will love. Quick, customizable, and irresistibly tasty—perfect for a weekday dinner or satisfying lunch.
Ingredients
For the Crispy Chicken:
- 1 lb chicken breast
- 1 egg
- 1 tbsp mayo
- 1 1/2 cup panko breadcrumbs
- 1/4 tsp salt
- 1/2 tsp garlic powder
- 1/4 tsp ground pepper
For the Wrap:
- 1/2 cup chopped lettuce
- 1 chopped tomato
- 1/4 cup cheese
- 4 tbsp sauce of choice
- 4 tortillas/wraps
Instructions
- Prepare the Oven and Chicken Coating: Preheat your oven to 425ºF. In a medium bowl, whisk together the egg, mayo, salt, garlic powder, and pepper until smooth; set aside. Place a wire rack on a baking sheet—this helps make the chicken crispy.
- Toast the Panko Crumbs: In a skillet over medium-low heat, combine the panko and a pinch of seasoning. Toast, stirring often, for about 4 minutes until golden brown. Remove from heat and set aside.
- Tenderize the Chicken: Slice each chicken breast in half horizontally. Place the pieces in a gallon zip-top bag and pound to an even 1/4-inch thickness using a meat mallet or rolling pin. Set aside.
- Coat the Chicken: Dip each piece of chicken into the egg/mayo wash, then dredge both sides in the toasted panko crumbs to coat completely.
- Bake the Chicken: Arrange the coated chicken on the prepared wire rack. Bake for 17-20 minutes, or until cooked through and internal temperature reaches 165ºF. If using an air fryer, cook at 375ºF for 15-18 minutes.
- Prepare the Fillings: While chicken rests for a few minutes after baking, chop the lettuce and tomato, and grate or shred the cheese. Get your sauce of choice ready.
- Assemble the Wraps: Slice the cooked chicken. Place lettuce, tomato, chicken, and cheese into the center of each tortilla. Drizzle with sauce, fold in the ends, and roll up tightly like a burrito.
- (Optional) Crisp the Wraps: For an extra crispy finish, heat a lightly oiled skillet over medium-high. Place wraps seam-side down and cook for about 4 minutes per side, until golden and crisp. Let cool slightly before enjoying.
Notes
- Mayo helps flavor chicken and aids panko adhesion.
- Crushed saltine crackers or regular breadcrumbs can be substitutes for panko.
- Use an instant-read thermometer to ensure chicken reaches 165ºF for food safety and juicy texture.
- Pounding the chicken ensures even cooking and tenderness.
- Customize with your favorite sauces—try Spicy Honey Mustard, Lemon Herb Tahini, Ranch, BBQ, or hot sauce!
- Leftovers can be refrigerated in an airtight container for up to 4 days.
- Prep Time: 10 minutes
- Cook Time: 20 minutes
- Category: Main-course
- Method: Baking
- Cuisine: American
Nutrition
- Serving Size: 1 wrap
- Calories: 548
- Sugar: 4g
- Sodium: 969mg
- Fat: 17g
- Saturated Fat: 5g
- Unsaturated Fat: 6g
- Trans Fat: 0.03g
- Carbohydrates: 65g
- Fiber: 4g
- Protein: 32g
- Cholesterol: 142mg

