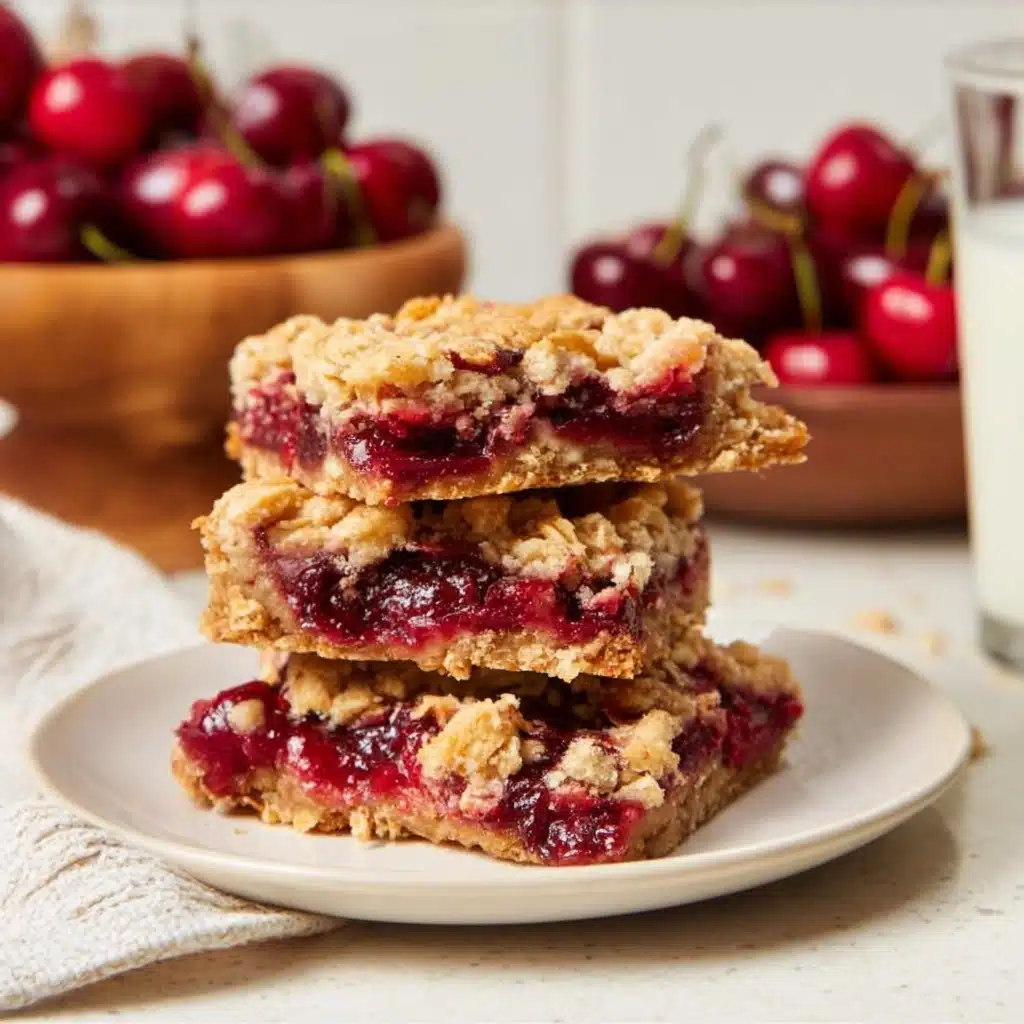
There’s something extra special about the Cherry Crumble Bars Recipe—it’s a burst of juicy cherries nestled in a sweet, buttery oat crumble, all in a convenient bar you can eat with your hands. Whether you’re hosting a summer picnic or simply craving a cozy homemade treat, these bars come together astonishingly fast but taste like you spent hours in the kitchen. With just a few humble ingredients, it delivers fresh flavor and rustic charm. Friends and family will truly believe you have a secret ingredient up your sleeve!
Ingredients You’ll Need
No fancy tricks here—the magic of this Cherry Crumble Bars Recipe really comes from everyday ingredients that each play a starring role. From the pop of bright cherries to the comforting oats, every element matters and brings a delicious twist to the final result.
- Cherries: The heart of this recipe, fresh or thawed frozen cherries provide sweet, juicy flavor and that beautiful, mouthwatering color.
- Granulated sugar: Just a touch sweetens the cherry filling without overpowering its natural fruitiness.
- All-purpose flour: Used in both the filling and the crumble, flour thickens the cherry layer and gives the crumble structure.
- Vanilla or almond extract: A splash adds a fragrant, bakery-style note that highlights the fruit.
- Old-fashioned rolled oats: They lend the crumble topping its classic chewy texture and a rustic look.
- Brown sugar: Its caramel-like depth creates a rich, toffee-scented crumble.
- Salt: Just a pinch brings out all the other flavors and keeps things balanced.
- Salted butter: Melted butter ties together the crumble and makes every bite buttery and irresistible.
How to Make Cherry Crumble Bars Recipe
Step 1: Prepare Your Oven and Pan
Start by preheating your oven to 375°F (190°C). If you want super-easy bar removal later, line an 8-inch (20-cm) square baking pan with parchment paper. If not, simply use the pan as-is—this recipe is very forgiving!
Step 2: Mix the Cherry Filling
In a medium bowl, combine your pitted, quartered cherries with granulated sugar, a couple tablespoons of flour, and your choice of vanilla or almond extract. Give everything a good stir so the cherries are evenly coated. Set the bowl aside while you prep the crumble; this brief rest allows the cherries to draw out their juices.
Step 3: Make the Oat Crumble Base and Topping
Grab another medium bowl and stir together the oats, all-purpose flour, brown sugar, and salt. Pour the melted butter over the top, then mix until the mixture turns into a delightful, slightly clumpy crumble with no pockets of dry flour left behind.
Step 4: Assemble the Layers
Press about two-thirds of the crumble mixture firmly into the bottom of your pan, creating an even base. Now, spoon that glorious cherry filling over the crust, spreading it out so every bite gets a burst of fruit. Sprinkle the remaining crumble generously across the top—don’t worry about complete coverage; those juicy cherries peeking through are part of the charm.
Step 5: Bake to Perfection
Slide your pan into the preheated oven and bake for about 20 minutes, until the crumble on top is lightly golden and you can see cherry juices bubbling at the edges. That irresistible aroma filling your kitchen? That’s when you know magic is happening!
Step 6: Cool and Slice
Patience is key after baking. Let the bars cool in the pan for at least 20 minutes; this cooling helps everything set so you can cut perfect squares. Once cooled a bit, slice into 16 neat bars and get ready for rave reviews!
How to Serve Cherry Crumble Bars Recipe
Garnishes
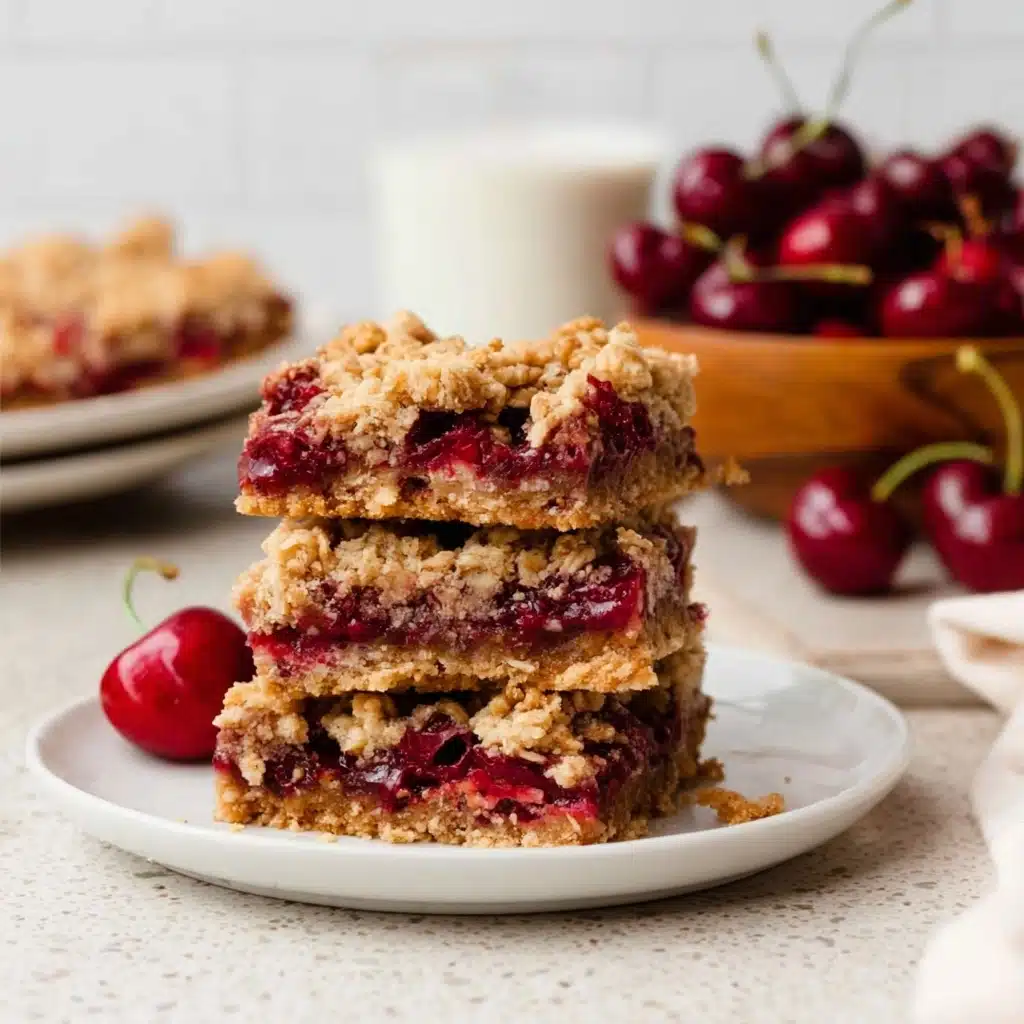
Sometimes, a simple dusting of powdered sugar creates a pretty finish, or you might add a dollop of whipped cream for a special occasion. A scoop of vanilla ice cream on warm bars is pure bliss, especially on sunny afternoons.
Side Dishes
The Cherry Crumble Bars Recipe is right at home alongside a fresh fruit salad or a chilled glass of lemonade. For brunch, pair with a strong cup of coffee or black tea to balance the sweetness.
Creative Ways to Present
Try layering the bars with parchment in a rustic basket for a picnic look, or serve on a beautiful platter with plenty of fresh cherries scattered around for a truly inviting display. For potlucks, wrap individual bars in wax paper and tie with kitchen twine—adorable and practical!
Make Ahead and Storage
Storing Leftovers
After everyone’s grabbed their share, simply store leftover bars loosely covered at room temperature for up to three days. If you plan to keep them longer, pop them into an airtight container and refrigerate—they’ll stay delicious for up to five days, though they’ll soften a bit more.
Freezing
The Cherry Crumble Bars Recipe freezes beautifully! Just arrange the completely cooled bars in a single layer on a baking sheet to firm up, then transfer to a freezer-safe container with parchment between layers. They’ll keep for up to three months. When cravings strike, just thaw at room temperature.
Reheating
If you love your bars a little warm, just microwave one for about 10-20 seconds or pop a few in a low oven for 5 minutes. This brings back that “fresh-baked” texture and makes the cherries extra juicy again.
FAQs
Can I use frozen cherries instead of fresh?
Absolutely! If fresh cherries aren’t in season, just use frozen cherries (thawed and well-drained). The Cherry Crumble Bars Recipe turns out beautifully with both, so never let the season stop you from enjoying this treat.
Will gluten-free flour work in this recipe?
Yes, a 1:1 gluten-free baking flour substitute works well in both the crumble and the cherry filling. You’ll still get that classic chewy, crumbly texture that makes this recipe such a hit.
Is it possible to cut back on the sugar?
You can definitely reduce the sugar slightly if your cherries are especially sweet. Try cutting both the granulated and brown sugar by a tablespoon or two to keep things balanced without sacrificing the delicious result of the Cherry Crumble Bars Recipe.
Do I need to peel the cherries before using?
No need to peel! Simply pit and quarter your cherries. The skins add to the lovely color and texture of the bars, and they soften beautifully during baking.
Can I double this recipe for a bigger crowd?
Yes—just double the ingredients and bake in a 9 x 13 inch pan. You may need to add a couple of extra minutes to the baking time, so watch for a golden crumble and bubbling edges as your cue that the Cherry Crumble Bars Recipe is ready.
Final Thoughts
With just a handful of staples and juicy cherries, you’ll be amazed how quickly these bars disappear every time you make them. Don’t wait for a special occasion—try the Cherry Crumble Bars Recipe soon and treat yourself and your loved ones to a slice (or two) of pure homemade happiness!
Print
Cherry Crumble Bars Recipe
- Total Time: 35 minutes
- Yield: 16 bars
- Diet: Vegetarian
Description
These Cherry Crumble Bars feature a layer of juicy, sweet-tart cherries tucked between two layers of buttery oat crumble. Quick to prepare and easy to serve, they’re perfect for potlucks, picnics, or anytime you crave a summery dessert. Enjoy the delicious combination of gooey fruit filling and crisp, golden topping in every bite!
Ingredients
For the Cherry Filling
- 2 cups (300 g) cherries, pitted and quartered (about 60 cherries)
- 2 Tablespoons (25 g) granulated sugar
- 2 Tablespoons (16 g) all-purpose flour
- ½ teaspoon vanilla or almond extract
For the Crumble
- 1 cup (100 g) old-fashioned rolled oats
- ¾ cup (90 g) all-purpose flour
- ½ cup (105 g) brown sugar
- ¼ teaspoon salt
- 6 Tablespoons (85 g) salted butter, melted
Instructions
- Prepare the Pan: Preheat the oven to 375°F (190°C). If desired, line an 8-inch (20 cm) square pan with parchment paper for easy removal of the bars.
- Mix the Cherry Filling: In a medium bowl, combine the pitted and quartered cherries, granulated sugar, flour, and vanilla or almond extract. Stir until cherries are evenly coated. Set aside.
- Make the Crumble: In another medium bowl, whisk together the oats, all-purpose flour, brown sugar, and salt. Pour the melted butter over the mixture and stir until a crumbly texture forms with no dry clumps remaining.
- Assemble the Bars: Press about two-thirds of the crumble mixture evenly onto the bottom of the prepared baking pan using a spatula or your hands. Top with the cherry filling, spreading it out to the edges. Sprinkle the remaining crumble evenly over the top of the cherry layer.
- Bake: Bake for about 20 minutes, or until the crumble topping is lightly golden brown and the cherry filling is bubbling around the edges.
- Cool and Slice: Remove from the oven and let the bars cool in the pan for at least 20 minutes. Cut into 16 squares before serving.
Notes
- Measure cherries after pitting and quartering for accuracy; this recipe uses about 60 cherries or 2/3 pound.
- Lining your pan with parchment paper makes it easier to lift out the bars, especially for clean slicing.
- Store loosely covered at room temperature for up to 3 days or in an airtight container in the fridge for up to 5 days. Note that airtight storage softens the bars.
- Let bars cool fully for cleanest cuts and less crumbling.
- Prep Time: 15 minutes
- Cook Time: 20 minutes
- Category: Desserts
- Method: Baking
- Cuisine: American
Nutrition
- Serving Size: 1 bar
- Calories: 162
- Sugar: 11g
- Sodium: 73mg
- Fat: 5g
- Saturated Fat: 3g
- Unsaturated Fat: 2g
- Trans Fat: 0.2g
- Carbohydrates: 26g
- Fiber: 2g
- Protein: 3g
- Cholesterol: 11mg

