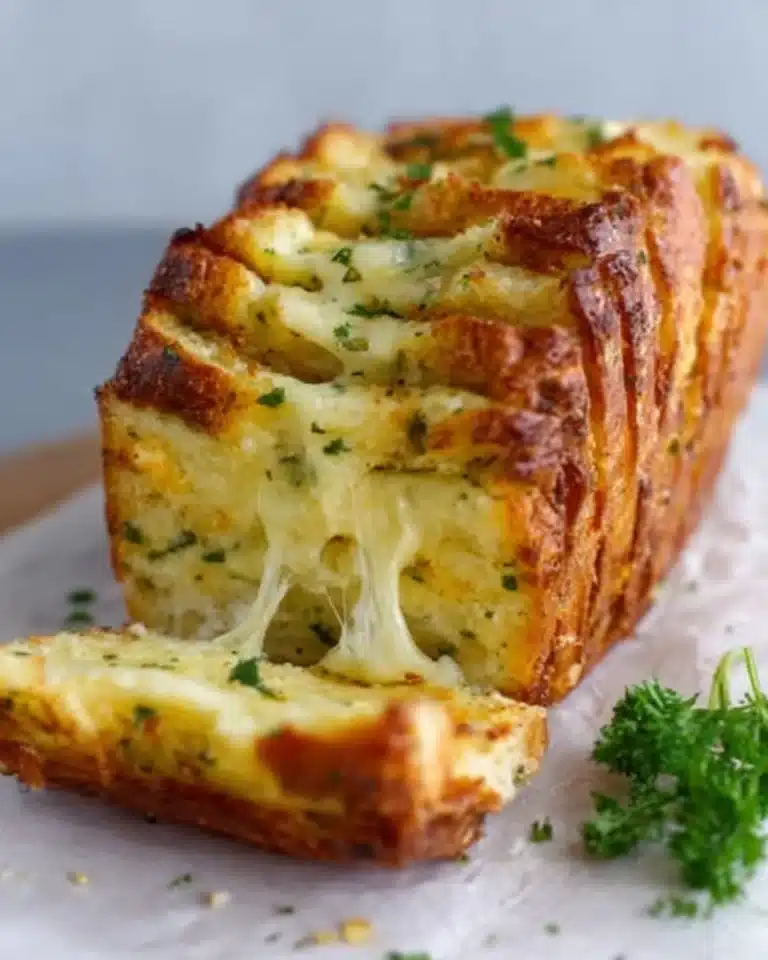
If you have ever dreamed of recreating those soft, buttery, garlicky breadsticks you get at Olive Garden right at home, then you are in for a treat with this Better Than Olive Garden Breadsticks Recipe. From the moment you pull these golden sticks from the oven, their irresistible aroma will fill your kitchen, promising that warm, satisfying bite you crave. This recipe is carefully crafted to give you fluffy, flavorful breadsticks with a perfect golden crust and a tender, melt-in-your-mouth interior that truly goes beyond what you’d expect from a simple breadstick. Once you try this version, you might never want to order the restaurant original again!
Ingredients You’ll Need
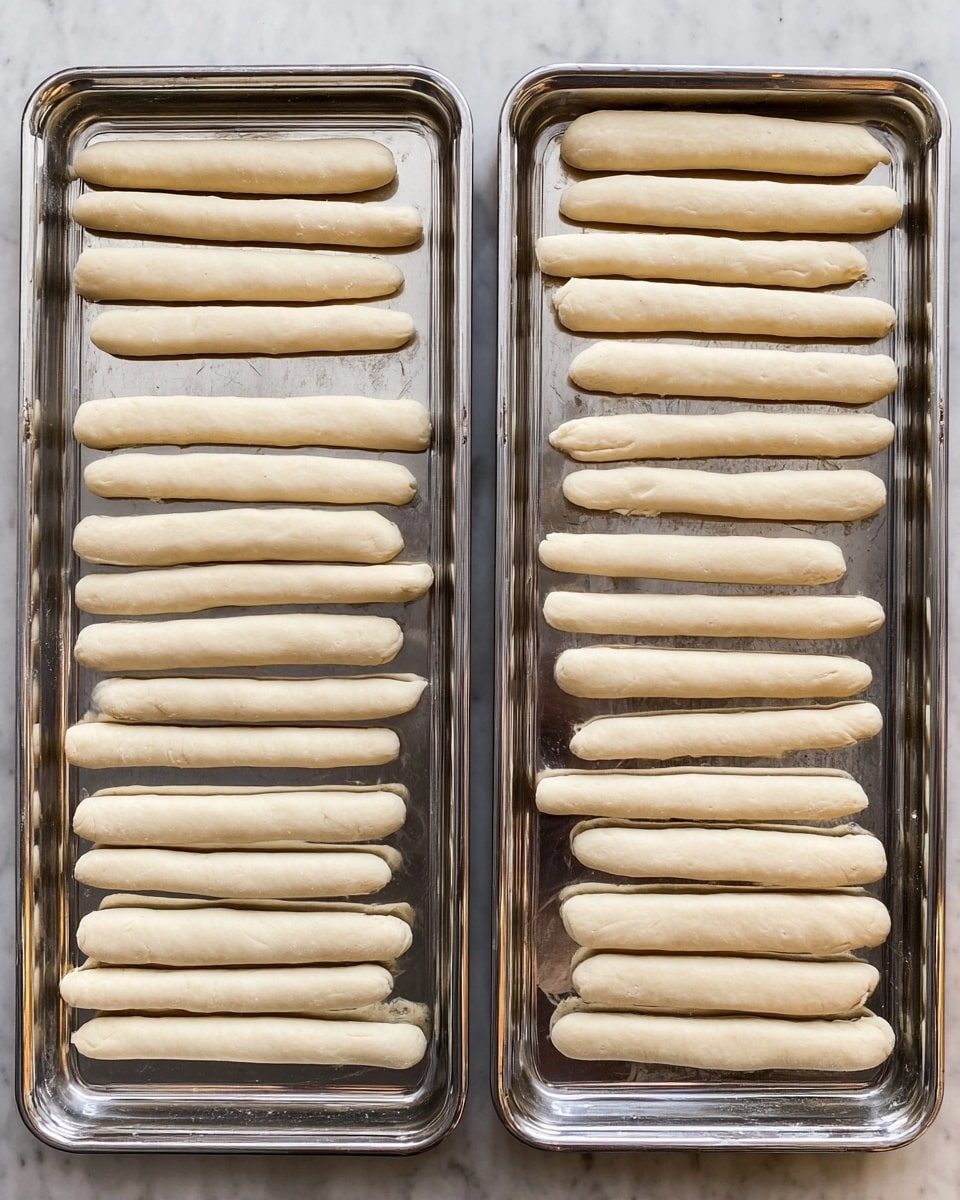
The magic of this Better Than Olive Garden Breadsticks Recipe lies in its straightforward, honest ingredients. Each one plays a vital role: from activating the yeast to adding that buttery richness and perfectly seasoning the final product. You don’t need anything fancy, just a handful of pantry staples that come together beautifully to create a truly mouthwatering breadstick.
- Warm Water: Essential for activating the yeast and creating a soft dough.
- Active Dry Yeast: Helps the dough rise, giving breadsticks their airy texture.
- Butter (softened): Adds tender richness to the dough, keeping it moist.
- Egg: Contributes to the dough’s structure and gives a lovely golden color when baked.
- All Purpose Flour: The base of the dough that provides structure; bread flour can be used for extra chewiness.
- Sugar: Feeds the yeast and adds just a hint of sweetness for balance.
- Salt: Enhances all the flavors while controlling yeast activity.
- Butter (melted): For brushing the finished breadsticks, giving that classic buttery gloss.
- Garlic Salt and Italian Seasoning: The final seasoning touch that makes these breadsticks so addictive.
How to Make Better Than Olive Garden Breadsticks Recipe
Step 1: Activate and Mix Your Dough
Start by combining all your main dough ingredients in the bowl of a stand mixer fitted with a dough hook. Using low speed, mix everything together until it just comes together. Then crank it up a notch and knead for about 5 to 10 minutes. The dough will be soft and somewhat sticky but should feel smooth and elastic when you’re done. If it’s too wet to handle, add just a bit more flour—it should pull away from the bowl sides but not dry out completely.
Step 2: Shape and First Rise
Turn your kneaded dough out onto a floured surface and knead just a couple of times more to shape it into a smooth ball. Cover it with a clean kitchen towel and set it aside to rise for about one to one and a half hours. The dough should almost double in size. If your environment is dry, keep it in a greased bowl covered with plastic wrap to avoid drying out the surface.
Step 3: Roll and Cut into Breadsticks
Once risen, roll the dough out on a floured surface into a 12 by 16-inch rectangle. Using a pizza cutter or sharp knife, slice the dough into 16 even strips. To get that classic breadstick look, pinch the long sides of each strip together, sealing them slightly so they form the proper shape.
Step 4: Second Rise
Arrange the breadsticks pinched side down on a baking sheet lightly greased or lined with parchment. Cover them again with a towel and let them rise for another 30 minutes. This second rise is what ensures these breadsticks will be light and fluffy on the inside while crispy on the outside.
Step 5: Bake and Season
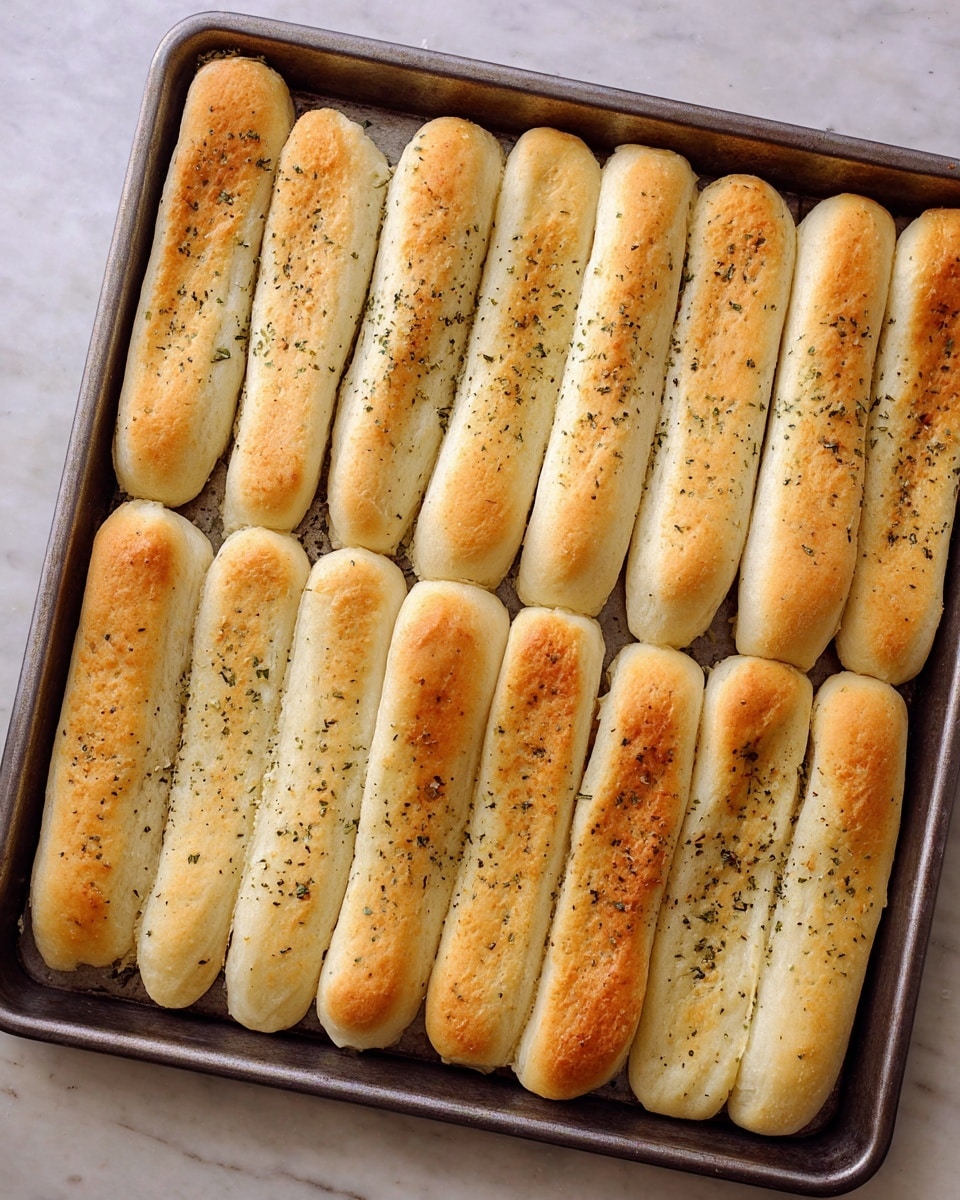
Bake at 350 degrees Fahrenheit for 15 to 18 minutes or until the breadsticks turn a beautiful golden brown. The final flourish is brushing the warm breadsticks generously with melted butter and an even sprinkle of garlic salt and Italian seasoning. This step seals in moisture and infuses every bite with that beloved classic flavor.
How to Serve Better Than Olive Garden Breadsticks Recipe
Garnishes
While the garlic salt and Italian seasoning are perfect staples, don’t be afraid to add fresh elements like finely chopped parsley or a dusting of Parmesan cheese right after baking. These simple garnishes add an extra layer of brightness and richness, making your breadsticks look and taste even more irresistible.
Side Dishes
These breadsticks are a dream paired with hearty soups like minestrone or creamy tomato bisque, as well as classic pasta dishes such as spaghetti Bolognese or fettuccine Alfredo. Their buttery, savory crunch acts as the perfect companion to soak up sauces or scoop up dips.
Creative Ways to Present
Want to impress guests or elevate a casual meal? Serve the breadsticks tucked into a rustic linen napkin in a warm basket or arrange them in a spiral on a large plate with small bowls of garlic butter or marinara sauce for dipping. This welcoming presentation encourages everyone to grab a breadstick or two and start the delicious indulgence.
Make Ahead and Storage
Storing Leftovers
If you have any leftover breadsticks (which might be a rare occasion), store them in an airtight container or tightly wrapped in plastic wrap at room temperature for up to two days. This keeps them soft but still nice enough for a quick snack or side later.
Freezing
You can freeze these breadsticks after baking, placing them in a freezer-safe bag or container. Freeze for up to three months. When you want a fresh treat, simply thaw them at room temperature and warm them in the oven to regain their freshly-baked texture and flavor.
Reheating
The oven is your best friend when reheating these breadsticks. Preheat to 350 degrees and warm them for about 8 to 10 minutes. This helps restore their crisp exterior while keeping the inside soft and buttery, just like freshly baked.
FAQs
Can I make these breadsticks without a stand mixer?
Absolutely! You can mix and knead the dough by hand—it just takes a bit more elbow grease. Knead on a floured surface for about 10 minutes until the dough feels smooth and elastic.
Is bread flour better than all-purpose flour for this recipe?
Bread flour will give a chewier, more elastic texture because of its higher protein content, but all-purpose flour works perfectly well and yields tender breadsticks as well.
Can I use instant yeast instead of active dry yeast?
Yes, you can swap instant yeast in the same quantity. Since it doesn’t need to be dissolved in warm water first, just add it directly to the flour and adjust rising times as needed.
What can I substitute for the garlic salt if I don’t have any?
You can use a mix of garlic powder and regular salt to achieve a similar flavor, or simply use garlic powder and sprinkle with a pinch of sea salt after baking.
Can I add cheese to the dough or on top?
Definitely! Adding shredded Parmesan or mozzarella to the dough or sprinkling it on top before baking adds another delicious flavor dimension that cheese lovers will adore.
Final Thoughts
Once you experience the joy of these Better Than Olive Garden Breadsticks Recipe at home, you’ll wonder why you ever settled for store-bought or restaurant versions. They are fluffy, buttery, savory, and comforting in every bite, perfect for any occasion from family dinners to friendly gatherings. So grab your ingredients, roll up your sleeves, and give this recipe a try—you’re about to make one of your new favorite comfort foods that everyone will ask for again and again.
Print
Better Than Olive Garden Breadsticks Recipe
- Total Time: 2 hours 33 minutes
- Yield: 16 breadsticks
Description
These Better Than Olive Garden Breadsticks are soft, buttery, and seasoned to perfection with garlic salt and Italian herbs. Perfect for pairing with soups, salads, or your favorite Italian dishes, these homemade breadsticks bring restaurant quality right to your kitchen. The dough is easy to make, requiring just a little time to rise before baking to golden perfection.
Ingredients
Dough Ingredients
- 1 cup Warm Water
- 1 tablespoon Active Dry Yeast
- 2 tablespoons Butter (softened)
- 1 Egg
- 3 & 1/4 cup All Purpose Flour (bread flour is also ok)
- 1/4 cup Sugar
- 1 teaspoon Salt
Topping Ingredients
- 3 tablespoons Butter (melted)
- Garlic Salt (to taste)
- Italian Seasoning (to taste)
Instructions
- Mix the Dough: In the bowl of a stand mixer fitted with a dough hook, combine warm water, active dry yeast, softened butter, egg, all purpose flour, sugar, and salt. Mix on low speed until the ingredients are combined.
- Knead the Dough: Continue mixing for 5 to 10 minutes, adding a little more flour if needed. The dough should be soft, slightly sticky, smooth, and elastic but may not completely pull away from the bowl sides.
- Shape the Dough: Turn the dough onto a floured surface and knead it two or three times briefly, forming into a smooth ball.
- First Rise: Cover the dough with a kitchen towel and let it rise in a warm place for 1 to 1.5 hours until nearly doubled in size. For dry climates, place the dough in a greased bowl covered with plastic wrap to prevent drying out.
- Prepare the Breadsticks: On a floured surface, roll the dough into a 12×16 inch rectangle. Using a pizza cutter, slice the dough into 16 equal strips.
- Form Breadsticks: Pinch together the long sides of each strip to form traditional breadstick shapes.
- Second Rise: Place the breadsticks pinched side down on a lightly greased or parchment-lined baking sheet. Cover with a towel and let them rise for about 30 minutes.
- Bake: Preheat oven to 350 degrees Fahrenheit. Bake the breadsticks for 15 to 18 minutes until golden brown.
- Add Toppings: Immediately brush the hot breadsticks with melted butter, then sprinkle with garlic salt and Italian seasoning to taste.
Notes
- Use bread flour instead of all-purpose flour for chewier texture if preferred.
- Ensure water is warm, not hot, to properly activate yeast without killing it.
- If dough is too sticky, add flour gradually but avoid making it too dry.
- Cover dough during rises to keep surface from drying out.
- Baking time can vary slightly depending on oven; watch for golden brown color.
- Serve warm for the best flavor and texture.
- Prep Time: 20 minutes
- Cook Time: 18 minutes
- Category: Bread
- Method: Baking
- Cuisine: Italian-American

