If you’re searching for that nostalgic, melt-in-your-mouth snack that never fails to delight kids and adults alike, look no further. This Best Rice Krispie Treat Recipe (Easy!) Recipe is a total game-changer, combining buttery richness, marshmallow sweetness, and that iconic crispy crunch into every wonderful bite. It takes just a handful of pantry staples and a little love to create homemade treats that outshine anything store-bought, guaranteed to make your kitchen smell heavenly and your taste buds sing.
Ingredients You’ll Need
Don’t be fooled by the simplicity of ingredients here—each one plays a crucial role in crafting the perfect balance of flavor and texture that makes this treat irresistible. From the smooth, creamy butter to the sticky, gooey marshmallows and the crunchy Rice Krispies cereal, everything works together like a dream.
- 10 ounces mini marshmallows: These melt down quickly for an even, luscious coating that binds everything perfectly.
- 5 cups Rice Krispies: Crucial for the iconic crispy texture and lightness that define these treats.
- 5 tablespoons unsalted butter: Adds richness and helps create that silky marshmallow base without overpowering sweetness.
- 1 ½ teaspoons vanilla extract: Elevates the flavor with a warm, aromatic note you won’t want to skip.
- ¼ teaspoon salt: Balances sweetness with a subtle contrast, enhancing every bite.
How to Make Best Rice Krispie Treat Recipe (Easy!) Recipe
Step 1: Prepare Your Workspace and Ingredients
Before diving in, measure all your ingredients carefully. Grease a 9×9-inch baking dish and a spatula with butter or cooking spray to prevent sticking. Having everything ready will ensure a smooth cooking process and flawless treats.
Step 2: Melt Butter, Vanilla, and Salt
Place the butter, vanilla extract, and salt in a medium saucepan over medium-low heat. Stir occasionally as the butter melts completely, allowing the flavors to begin mingling and creating a luscious base for the marshmallows.
Step 3: Add and Melt the Marshmallows
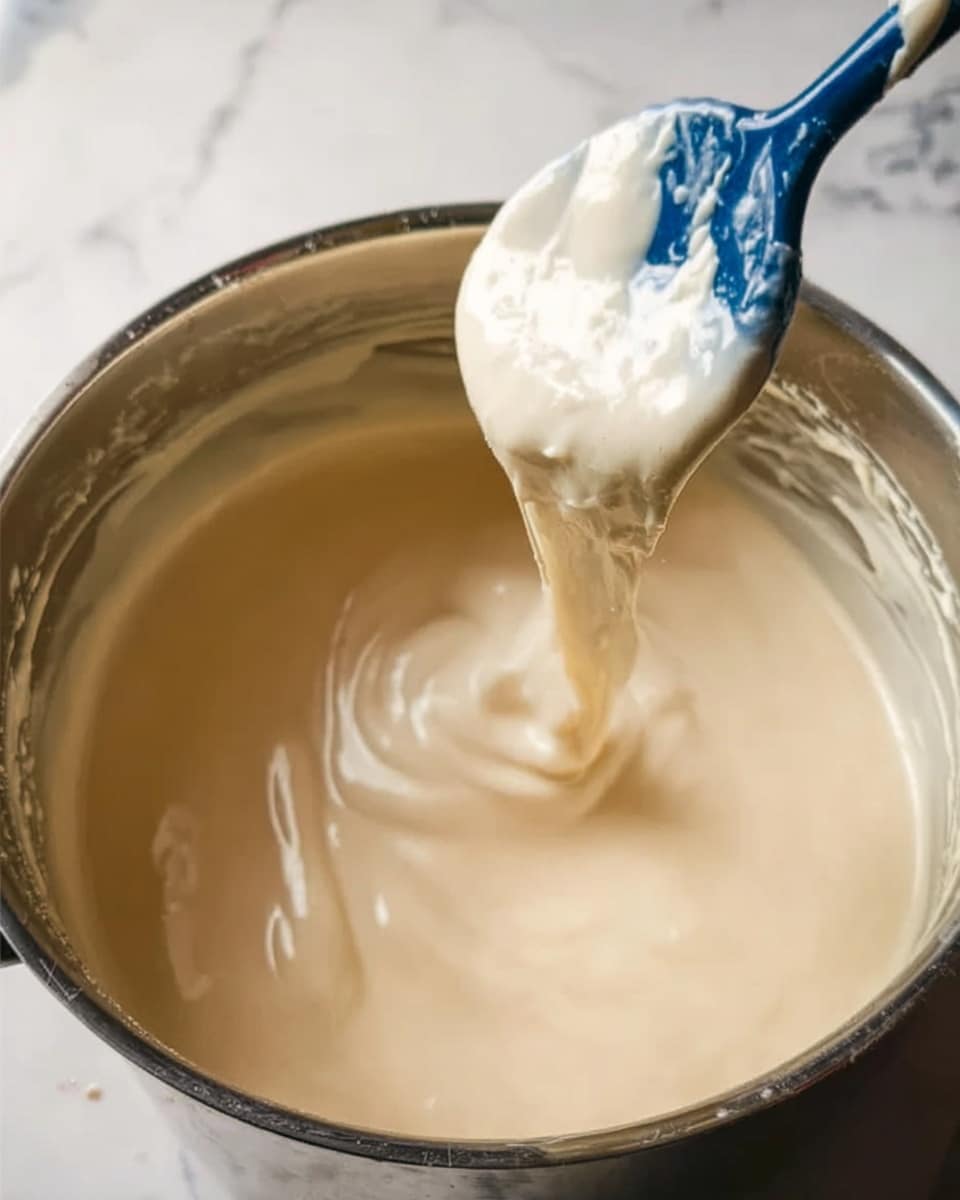
Gently stir in the mini marshmallows. Keep the heat at medium-low—patience is key here so that your marshmallows melt gently into a smooth, velvety mixture without burning or turning grainy.
Step 4: Combine Rice Krispies with Melted Marshmallows
Once the marshmallows are fully melted and smooth, remove the pot from the heat immediately. Add the Rice Krispies cereal and fold them in gently to coat every crispy morsel with the marshmallow mixture, making sure not to crush the cereal.
Step 5: Transfer to Baking Dish
Quickly scoop the mixture into the greased baking dish. Use a greased spatula to spread it evenly, but avoid pressing down too firmly—this will keep your treats light and chewy rather than dense and tough.
Step 6: Let Set and Slice
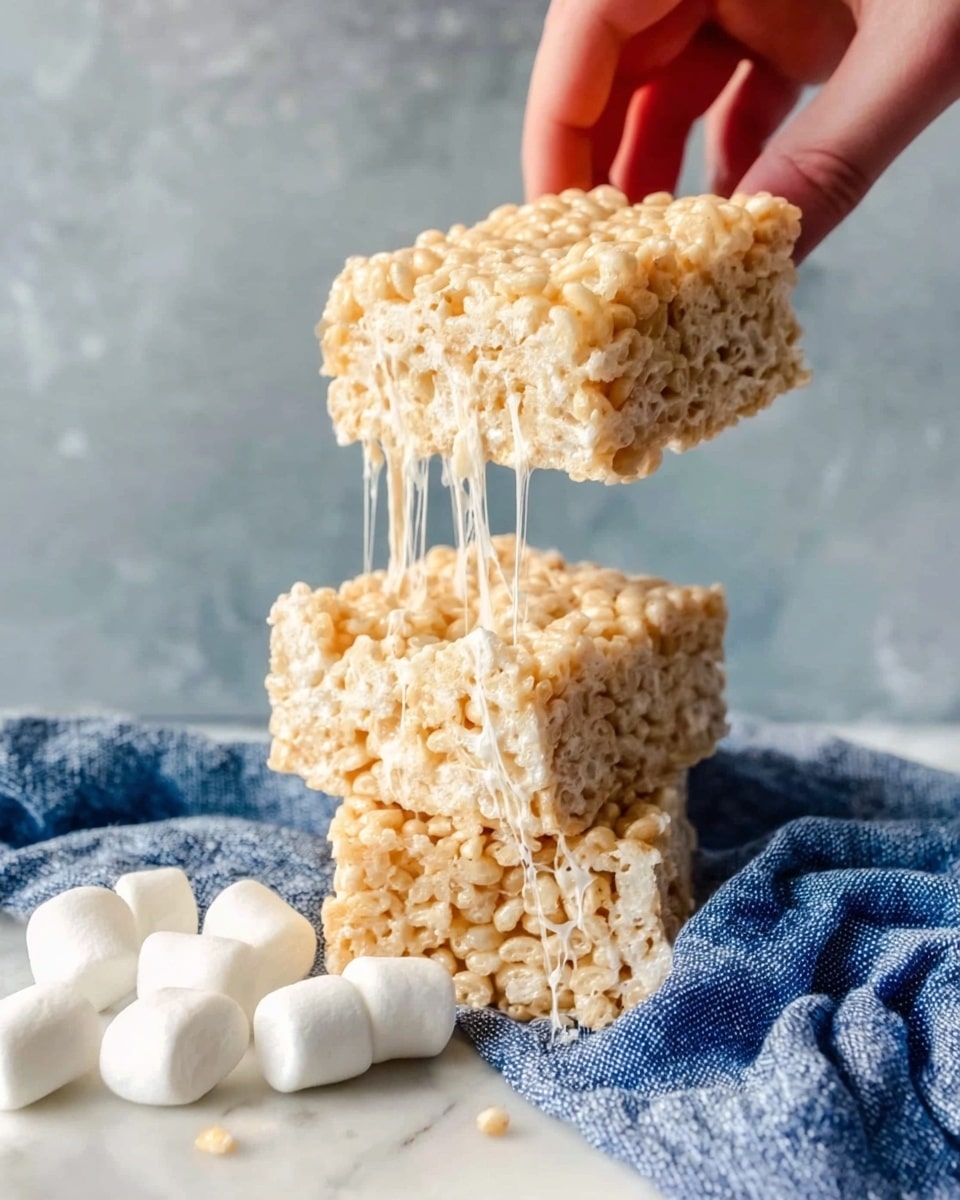
Allow the treats to rest at room temperature for 30 to 40 minutes so they can set properly. Once firm, slice them into squares and get ready to enjoy a batch of perfectly textured, irresistibly sweet homemade Rice Krispie treats.
How to Serve Best Rice Krispie Treat Recipe (Easy!) Recipe
Garnishes
While these treats are stunning on their own, a sprinkle of colorful nonpareils, a drizzle of melted chocolate, or even a pinch of sea salt can add an extra layer of fun and flavor. Feel free to get creative and make each serving uniquely yours!
Side Dishes
This treat pairs beautifully with a cold glass of milk or a scoop of vanilla ice cream for a divine dessert combo. If you’re hosting a party, consider serving alongside fresh berries or a tangy fruit salad to balance the sweetness perfectly.
Creative Ways to Present
Transform these treats into festive shapes using cookie cutters, layer them with frosting for a dessert bar, or wrap individual squares in parchment paper tied with curly ribbon for charming party favors. Presentation can be just as joyful as the taste!
Make Ahead and Storage
Storing Leftovers
To keep your Rice Krispie treats soft and fresh, store them in an airtight container at room temperature. They’ll last up to a week—perfect for snacking anytime.
Freezing
If you want to keep treats on hand for longer, wrap individual pieces tightly in plastic wrap and place them in a freezer-safe bag. Frozen treats last up to a month and thaw quickly at room temperature.
Reheating
Reheating is rarely needed, but if you prefer warm treats, microwave each piece for about 10 seconds. That gentle heat makes them extra gooey and nostalgic, but be careful not to overheat.
FAQs
Can I use regular marshmallows instead of mini ones?
Absolutely! Regular marshmallows work just fine; just chop them into smaller pieces to help them melt more evenly and quickly for that perfect gooey texture.
How can I make these treats gluten-free?
Rice Krispies cereal typically contains malt flavoring, which isn’t gluten-free. Look for gluten-free crispy rice cereal alternatives to keep this recipe safe for gluten-sensitive guests.
Why shouldn’t I press the mixture down firmly?
Pressing too hard compacts the treats and makes them dense and chewy instead of light and fluffy. Gentle spreading gives you that classic texture everyone loves.
Can I add extras like chocolate chips or nuts?
Definitely! Stir in extras after combining the cereal and marshmallows for a personalized twist—just keep additions moderate so the treats hold together well.
What’s the best pan size to use?
A 9×9-inch baking dish is ideal for this recipe; it creates treats of nice thickness. Using a larger pan will yield thinner, crispier bars.
Final Thoughts
This Best Rice Krispie Treat Recipe (Easy!) Recipe is the kind of joyful classic that every kitchen should have in its repertoire. It’s simple, quick, and endlessly satisfying—a true crowd-pleaser that evokes sunny afternoons and childhood memories with every bite. Give it a try and see how such a few easy ingredients can bring so much happiness!
Print
Best Rice Krispie Treat Recipe (Easy!) Recipe
- Total Time: 45 minutes
- Yield: 16 servings
Description
This Best Rice Krispie Treat Recipe is a classic, easy-to-make dessert perfect for any occasion. Made with gooey melted marshmallows, butter, and vanilla, combined with crispy Rice Krispies, these treats are light, chewy, and irresistibly delicious. Ready in under an hour, they’re a crowd-pleaser that requires minimal ingredients and effort, making them ideal for quick snacks or parties.
Ingredients
Ingredients
- 10 ounces mini marshmallows
- 5 cups Rice Krispies cereal
- 5 tablespoons unsalted butter
- 1 ½ teaspoons vanilla extract
- ¼ teaspoon salt
Instructions
- Prepare Ingredients and Equipment: Measure all ingredients ahead of time. Grease a 9×9-inch baking dish and a spatula, then set them aside to make the process smooth and efficient.
- Melt Butter, Vanilla, and Salt: In a medium pot, add the butter, vanilla extract, and salt. Melt the butter over medium-low heat, stirring occasionally until fully melted and combined.
- Incorporate Marshmallows: Add the mini marshmallows to the melted butter mixture. Keep the heat on medium-low and stir often, allowing the marshmallows to melt slowly into a smooth, creamy consistency without burning.
- Mix in Rice Krispies: Once the marshmallow mixture is just melted and smooth, remove the pot from heat immediately. Add the Rice Krispies cereal and gently fold it in until all the cereal is evenly coated.
- Transfer to Baking Dish: Immediately scoop the Rice Krispie mixture into the greased baking dish, spreading it out evenly with the greased spatula.
- Evenly Spread Without Compressing: Gently spread the mixture without pressing down firmly. Pressing too hard will make the treats dense and tough, so be careful to keep them light and airy.
- Set and Serve: Allow the treats to set at room temperature for 30-40 minutes until firm. Once set, slice into squares and enjoy or store in an airtight container.
Notes
- Use medium-low heat to melt marshmallows to avoid burning and maintain smooth texture.
- Do not press the mixture too firmly in the pan to keep treats light and chewy.
- Store treats in an airtight container at room temperature for up to 2-3 days to maintain freshness.
- For variation, consider adding chocolate chips or nuts after folding in Rice Krispies.
- If mini marshmallows are not available, regular marshmallows can be chopped into smaller pieces for better melting.
- Prep Time: 10 minutes
- Cook Time: 5 minutes
- Category: Dessert
- Method: Stovetop
- Cuisine: American

