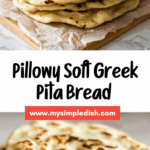
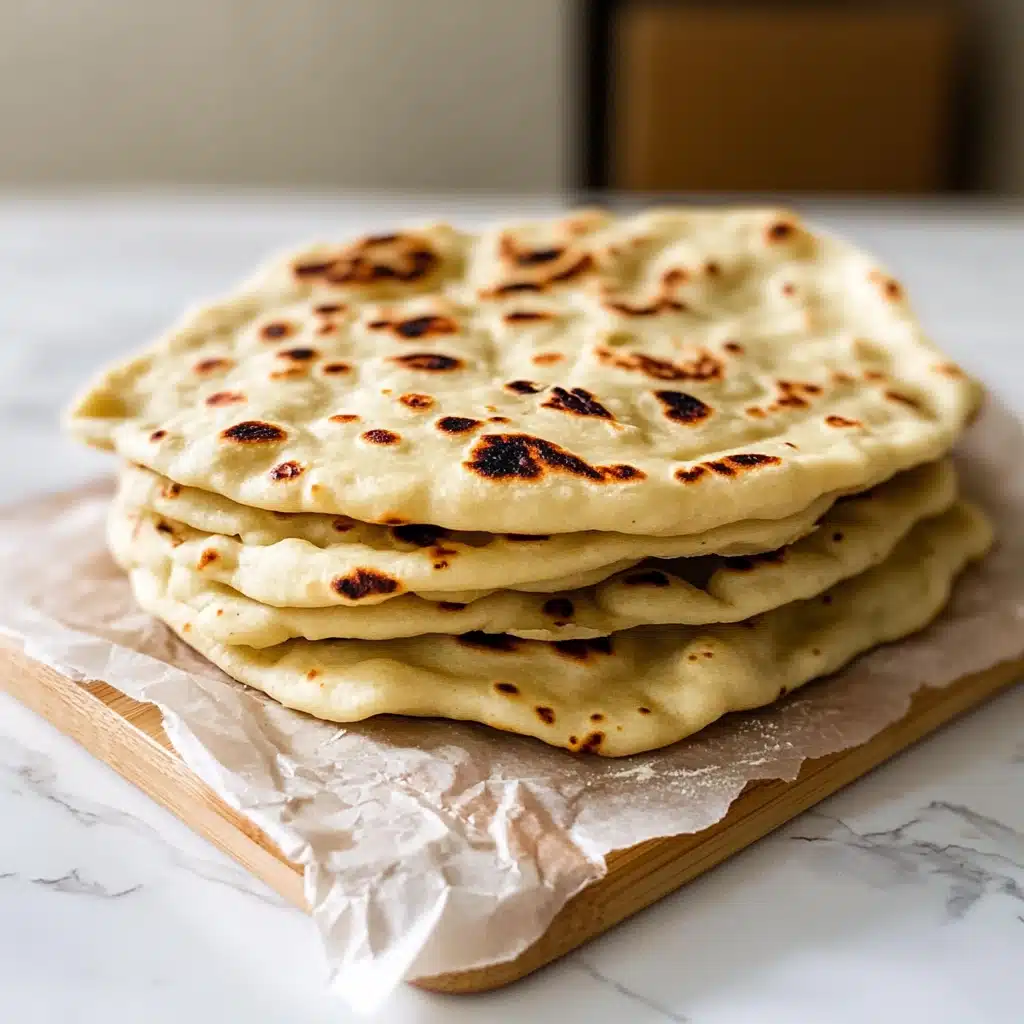
Every once in a while, a bread recipe comes along that instantly becomes a staple in your home kitchen, and this Best Ever Greek Pita is it! Picture golden, pillowy rounds that are incredibly soft, with just the right chew and a luscious olive oil finish. Whether you serve them with roasted meats, swipe them through creamy hummus, or enjoy them simply warm from the pan, there’s nothing quite as comforting as homemade pita. Let’s bring the classic Mediterranean bakery into your home—you’ll soon see why this is called the Best Ever Greek Pita!
Ingredients You’ll Need
The simplicity of this recipe is what makes it shine! Each ingredient plays a crucial role, from building structure to imparting those signature flavors and golden color. Gather these basics and get ready for the magic of fresh, hot pita—right from your own stovetop.
- All purpose flour: The foundation for tender, airy pitas—choose a good quality flour for best results.
- Active dry yeast: Adds essential lift, making your Best Ever Greek Pita fluffy and light.
- Kosher salt: Brings all the flavors into balance and enhances the overall taste.
- Warm milk: Gives extra softness and a hint of richness to the dough, making it ultra-tender.
- Warm water: Hydrates the dough and works with the yeast for that perfect rise.
- Olive oil: Adds moisture, flavor, and that beloved Mediterranean silkiness; use extra for brushing and cooking for golden pitas.
How to Make Best Ever Greek Pita
Step 1: Mix the Dry Ingredients
Start by reaching for a large mixing bowl and combine the all purpose flour, active dry yeast, and kosher salt. Whisk or stir everything together so the yeast gets evenly distributed. This first, simple step gives your Best Ever Greek Pita that consistent, buoyant structure, ensuring every bite is light and lovely.
Step 2: Add Wet Ingredients and Form the Dough
Pour in the warm milk and water, mixing until everything is moistened and beginning to come together. Next, add your olive oil, and use your hands to knead the mixture in the bowl. Within a few short minutes, a soft, slightly tacky dough will form. Don’t fuss if it feels a bit sticky—the olive oil will work its magic as the dough rests, and sticking a little now means the finished pita will be extra tender.
Step 3: First Rise
Generously oil a clean bowl (your hands or a brush work perfectly for this), then pop your ball of dough inside and turn it to coat with oil. Cover tightly with plastic wrap and let it rest in a warm spot for about an hour. When you come back, the dough should have doubled in size—this is the secret to that signature puffy softness that makes each Best Ever Greek Pita irresistible.
Step 4: Divide and Shape
Flour your work surface and turn out the risen dough. Slice it into 8 equal pieces (a bench scraper or sharp knife is handy here). Using your hands, gently stretch each piece into a rough circle, then roll with a pin to form a disc about 1/4 inch thick and roughly 7 to 8 inches wide. Don’t fret about imperfections—rustic edges are part of the charm!
Step 5: Cook the Pitas
Preheat a cast iron skillet over high heat and swirl in a small splash of olive oil. Lay one pita round into the pan—it should sizzle cheerfully. Let it cook for about a minute; you’ll see bubbles rising and the bottom turning golden. Drizzle a touch more olive oil, flip, and cook the second side for another minute. Repeat with each round, adding little bits of oil as needed for that golden finish.
Step 6: Optional Finishes
Once all your Best Ever Greek Pita rounds are cooked, you can serve them as-is or go the extra mile: brush them with melted garlic herb butter or simply a drizzle of olive oil. This final flourish makes them even more fragrant and ready to turn any meal into a feast!
How to Serve Best Ever Greek Pita
Garnishes
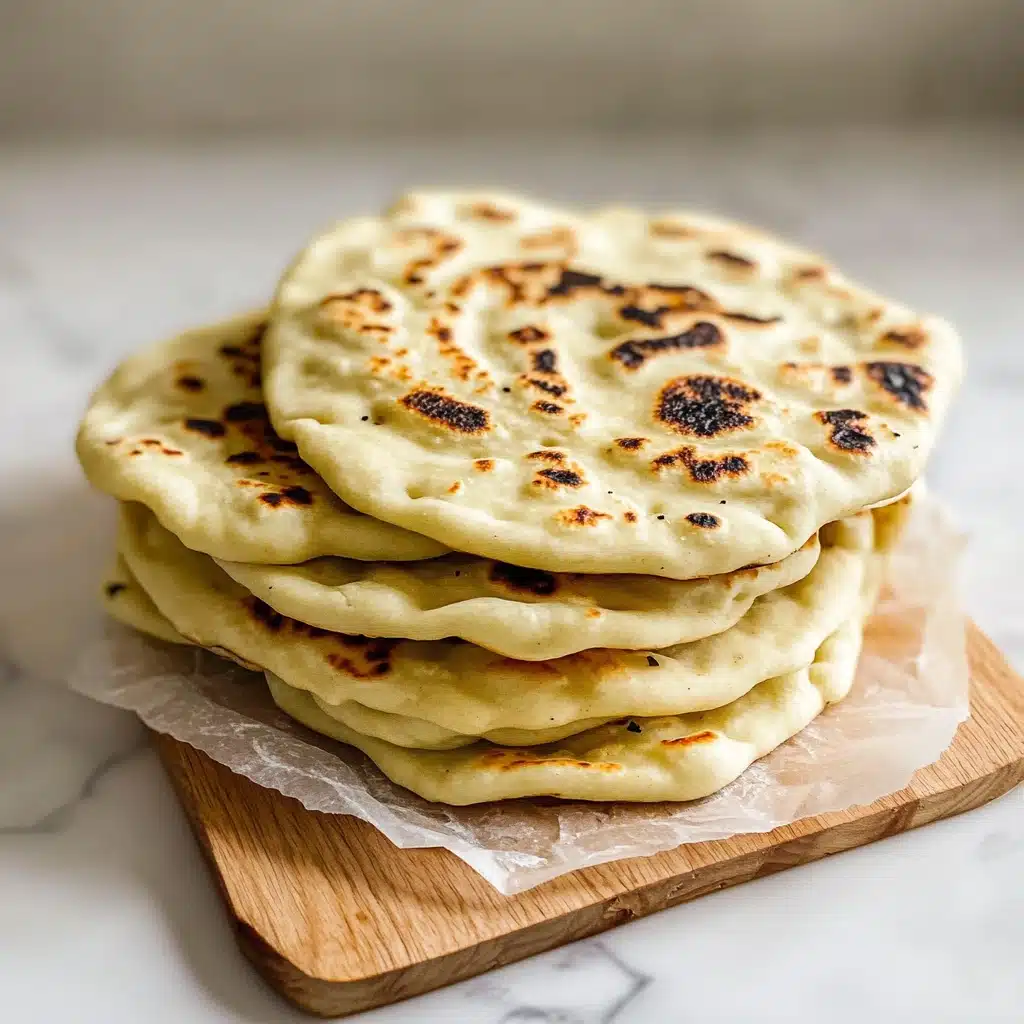
Top your warm pita with a simple sprinkle of flaky sea salt, freshly chopped parsley, or even a whisper of za’atar or oregano. A quick brush of olive oil or butter brings out the softness and makes each bite truly melt-in-your-mouth delicious. If you have roasted garlic on hand, rubbing a clove onto the surface is a heavenly touch!
Side Dishes
The Best Ever Greek Pita absolutely shines when paired with Mediterranean classics. Serve them alongside tzatziki, smoky baba ganoush, or vibrant hummus for irresistible scooping. They’re also perfect with grilled meats like lamb, chicken souvlaki, or as an extra treat next to a Greek salad. Honestly, there’s no wrong way to enjoy them!
Creative Ways to Present
Feel like getting a little fancy? Use your pita as a wrap for gyros or falafel, tear them into wedges for a mezze platter, or bake into pita chips for an irresistible crunch. Kids love mini pizzas made on pita rounds, or you can tuck leftovers into a lunchbox next to cheese and olives for a touch of Mediterranean delight on the go.
Make Ahead and Storage
Storing Leftovers
To keep your Best Ever Greek Pita fresh, let them cool completely, then wrap in foil or place in a zip-top bag. Stored at room temperature, they’ll stay soft for up to 2 days. For even better freshness, tuck a piece of wax paper between rounds so they don’t stick together.
Freezing
These pitas freeze beautifully! Once cooled, stack them with parchment or wax paper in between each one, then slip into a freezer-safe bag. They’ll happily keep for up to 2 months. Just think: fresh Best Ever Greek Pita, anytime you crave it!
Reheating
To bring leftover or thawed pitas back to life, simply place them in a hot, dry skillet for about 30 seconds per side. You can also wrap in foil and warm in a low oven (300°F) for 5–7 minutes. Quickly microwaving with a damp paper towel over the pita works in a pinch, too!
FAQs
Can I use whole wheat flour instead of all purpose flour?
Yes, you can swap some or all of the all purpose flour for whole wheat to add a wholesome nuttiness. Just note that the texture will be a bit heartier and the pitas slightly less fluffy. You may need to add a splash more liquid if the dough seems stiff.
What if I don’t have a cast iron skillet?
No worries! Any heavy-bottomed nonstick skillet or griddle will work well for cooking your Best Ever Greek Pita. Just watch the heat—cast iron runs hotter, so adjust as needed to avoid burning.
Can I make the dough in advance?
Absolutely! You can let the dough rise slowly overnight in the fridge, covered tightly. In the morning, let it sit at room temperature for 30 minutes before dividing and rolling out your pitas for the freshest flavor.
Why didn’t my pita puff up with pockets?
While traditional pita often forms steam pockets, this Greek-style version is intentionally softer and a bit denser—perfect for wraps and dipping. But if you want more airiness, make sure your skillet is hot enough and your dough isn’t rolled too thick. Sometimes a little extra resting time after rolling helps, too!
Is there a gluten-free option?
You can experiment with a gluten-free all-purpose blend, though the results will be a bit different. Try adding a teaspoon of xanthan gum for texture, and be gentle when shaping, as the dough will be more fragile.
Final Thoughts
Once you’ve tasted the warm, fragrant goodness of your own Best Ever Greek Pita, you’ll understand why these simple rounds are loved by everyone who tries them. They truly transform even the simplest meal into something joyful. Give them a try—the aroma alone will make you a pita believer!
Print
Best Ever Greek Pita Recipe
- Total Time: 1 hour 18 minutes
- Yield: 8 pita bread
- Diet: Vegetarian
Description
This Greek pita bread recipe yields incredibly soft, fluffy, and tender pitas—the perfect base for your favorite Mediterranean meals. Whether you’re making gyros, dipping into hummus, or using them as wraps, these homemade pitas are quick, easy, and taste far superior to store-bought varieties.
Ingredients
For the Dough
- 1 ½ cups all-purpose flour, plus more for surface
- 1 tablespoon active dry yeast
- 1 teaspoon kosher salt
For Mixing & Cooking
- ⅓ cup warm milk
- ⅓ cup warm water
- 2 tablespoons olive oil, plus more for the bowl and pan
Optional for Finishing
- Melted garlic and herb butter (optional, for brushing after cooking)
Instructions
- Mix Dry Ingredients: In a large mixing bowl, combine the flour, active dry yeast, and kosher salt. Stir to evenly distribute the ingredients.
- Add Liquids and Form Dough: Pour the warm milk and water into the dry mixture. Stir until combined, then add the olive oil. Knead the mixture with your hands in the bowl for a few minutes until a cohesive dough forms.
- First Rise: Lightly oil a separate bowl using a brush or your fingers. Place the dough inside and coat the surface lightly with oil. Cover the bowl with plastic wrap and let it rest for about 1 hour, or until the dough doubles in size.
- Shape the Pitas: Dust your work surface with flour. Turn the risen dough onto the surface and divide into 8 equal pieces. Using your hands, shape each piece into a circle, then use a rolling pin to roll each into a ¼-inch thick round, about 7-8 inches wide.
- Cook the Pitas: Heat a cast iron pan over high heat. Add 1 teaspoon of olive oil. Place one pita in the pan and cook for about 1 minute, until bubbles form and the bottom is golden. Drizzle a little oil on top, flip, and cook for another minute until both sides are golden and the pita is cooked through. Repeat with remaining dough rounds.
- Optional Finishing Touch: If desired, brush the warm pitas with melted garlic and herb butter for extra flavor before serving.
Notes
- Ensure your water and milk are warm, not hot, to help activate the yeast and encourage a good rise.
- For even fluffier pitas, allow the dough to rest for the full hour or until doubled in size.
- Cover cooked pitas with a kitchen towel to keep them soft while you finish the batch.
- The pitas freeze well—store in an airtight bag for up to 2 months and reheat as needed.
- You can substitute whole wheat flour for half of the all-purpose flour for a nuttier flavor and more fiber.
- Prep Time: 10 minutes
- Cook Time: 8 minutes
- Category: Bread
- Method: Stovetop
- Cuisine: Greek
Nutrition
- Serving Size: 1 pita bread
- Calories: 124
- Sugar: 1g
- Sodium: 296mg
- Fat: 4g
- Saturated Fat: 1g
- Unsaturated Fat: 3.5g
- Trans Fat: 0g
- Carbohydrates: 19g
- Fiber: 1g
- Protein: 3g
- Cholesterol: 1mg


