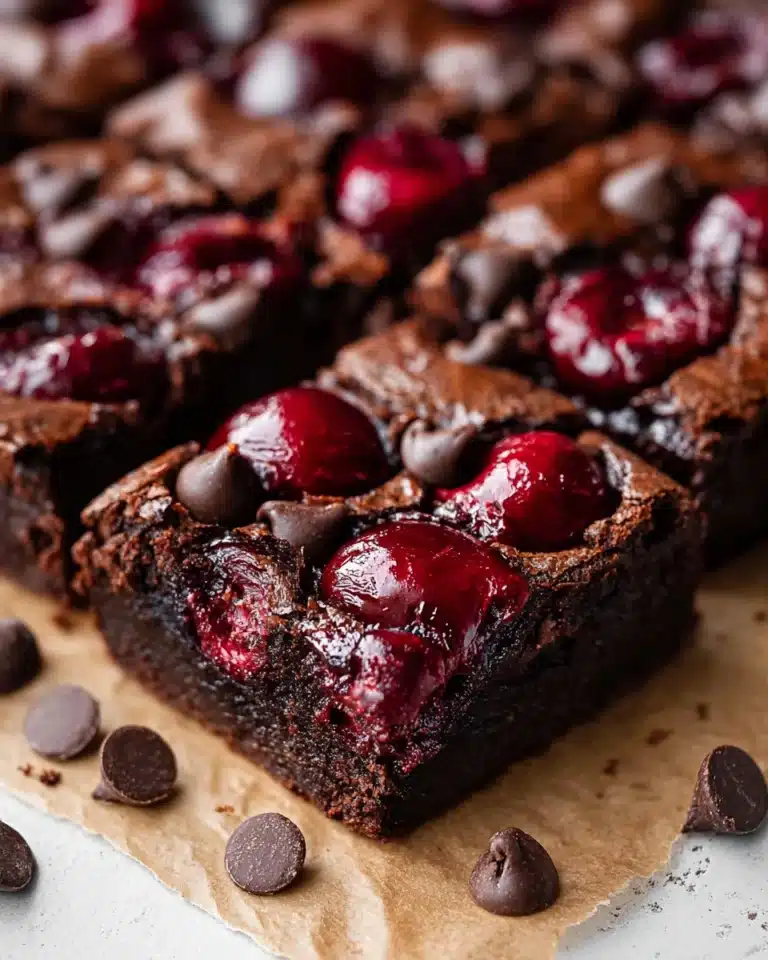
If you’ve ever marveled at the perfect base of a classic cheesecake or pie, then you know the magic a homemade crust brings to the table. This Graham Cracker Crust Recipe is a wonderfully simple yet essential foundation that adds a delightful crunch and subtle sweetness to your desserts. With just a handful of ingredients and a few easy steps, you can craft a crust that holds up beautifully and complements any filling with its buttery, slightly caramelized flavor. Once you try it, you might find yourself making homemade graham cracker crusts for everything!
Ingredients You’ll Need
These ingredients are straightforward and pantry-friendly, making this Graham Cracker Crust Recipe both accessible and fantastic in taste and texture. Each one plays a crucial role—from the crumbly graham crackers providing that signature crunch, to the melted butter binding everything together with richness, and the sugar and salt balancing the sweetness perfectly.
- Graham crackers (10 crackers, about 1.5 cups crumbs): The star of the recipe, finely crushed to create that classic crisp texture.
- Unsalted butter (3 ounces, melted): Adds richness and helps the crumbs hold together firmly.
- Granulated sugar (1.5 tablespoons): Sweetens the crust just enough for a delightful flavor without overpowering.
- Salt (1/4 teaspoon): A pinch to enhance all the flavors and balance the sweetness perfectly.
How to Make Graham Cracker Crust Recipe
Step 1: Crush the Graham Crackers
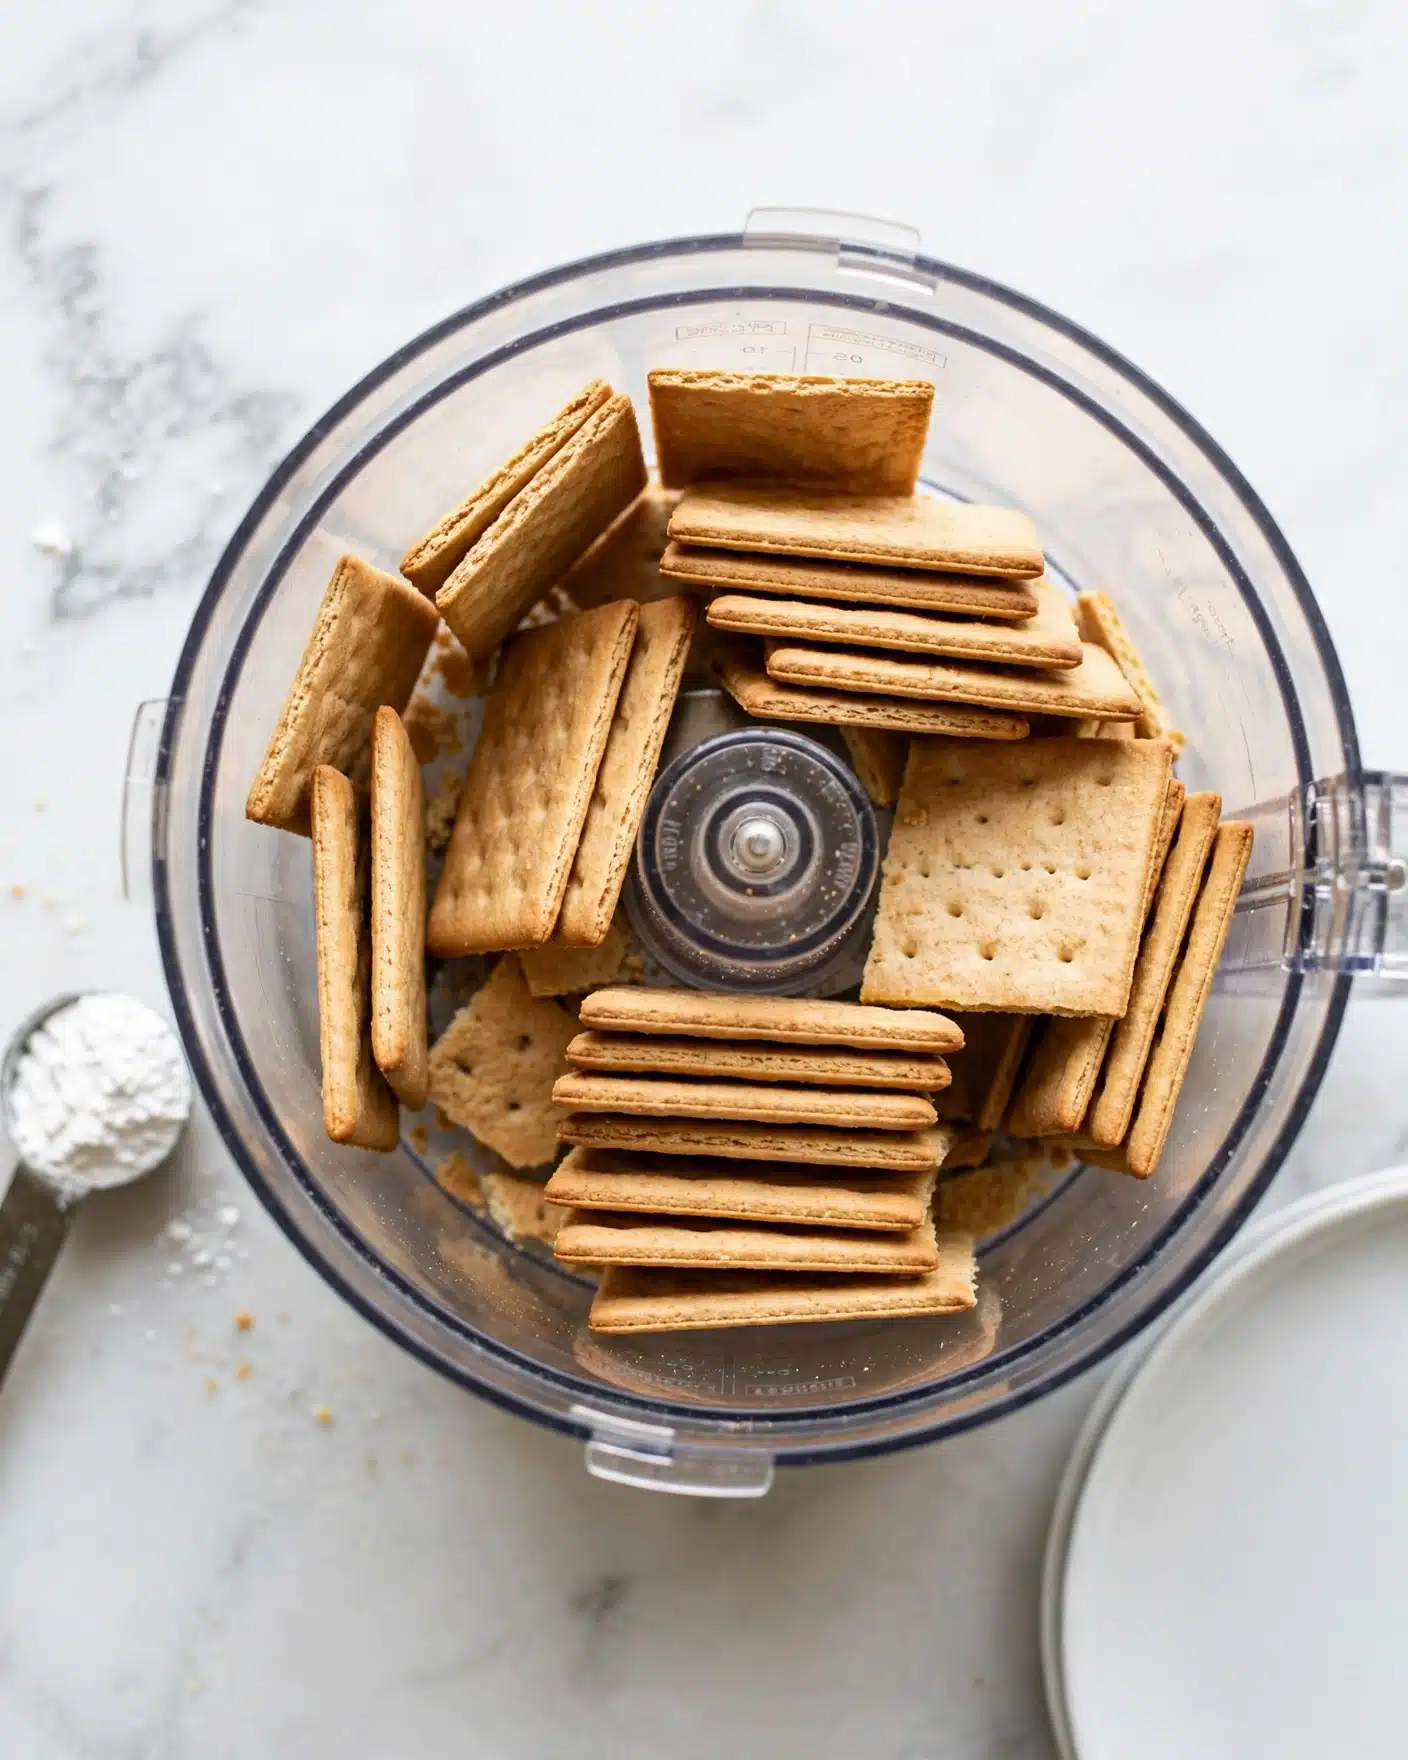
Start by finely crushing your graham crackers. You can blitz them in a food processor until they reach a sand-like consistency, or place them in a zip-top bag and roll over them with a rolling pin until very finely crushed. The finer the crumbs, the smoother and more cohesive your crust will be.
Step 2: Mix Ingredients Together
In a bowl, combine the graham cracker crumbs with about 2 and a half tablespoons of the melted butter, granulated sugar, and salt. Stir everything well until the mixture resembles wet sand. It should hold together slightly when squeezed between your fingers — this is the texture you want before pressing it into the pan.
Step 3: Adjust Texture If Needed
If the crust feels too dry and crumbly, gradually add the remaining melted butter a little at a time. This helps ensure the mixture binds properly and will form a sturdy base that doesn’t fall apart once baked or chilled.
Step 4: Press into the Pie Plate
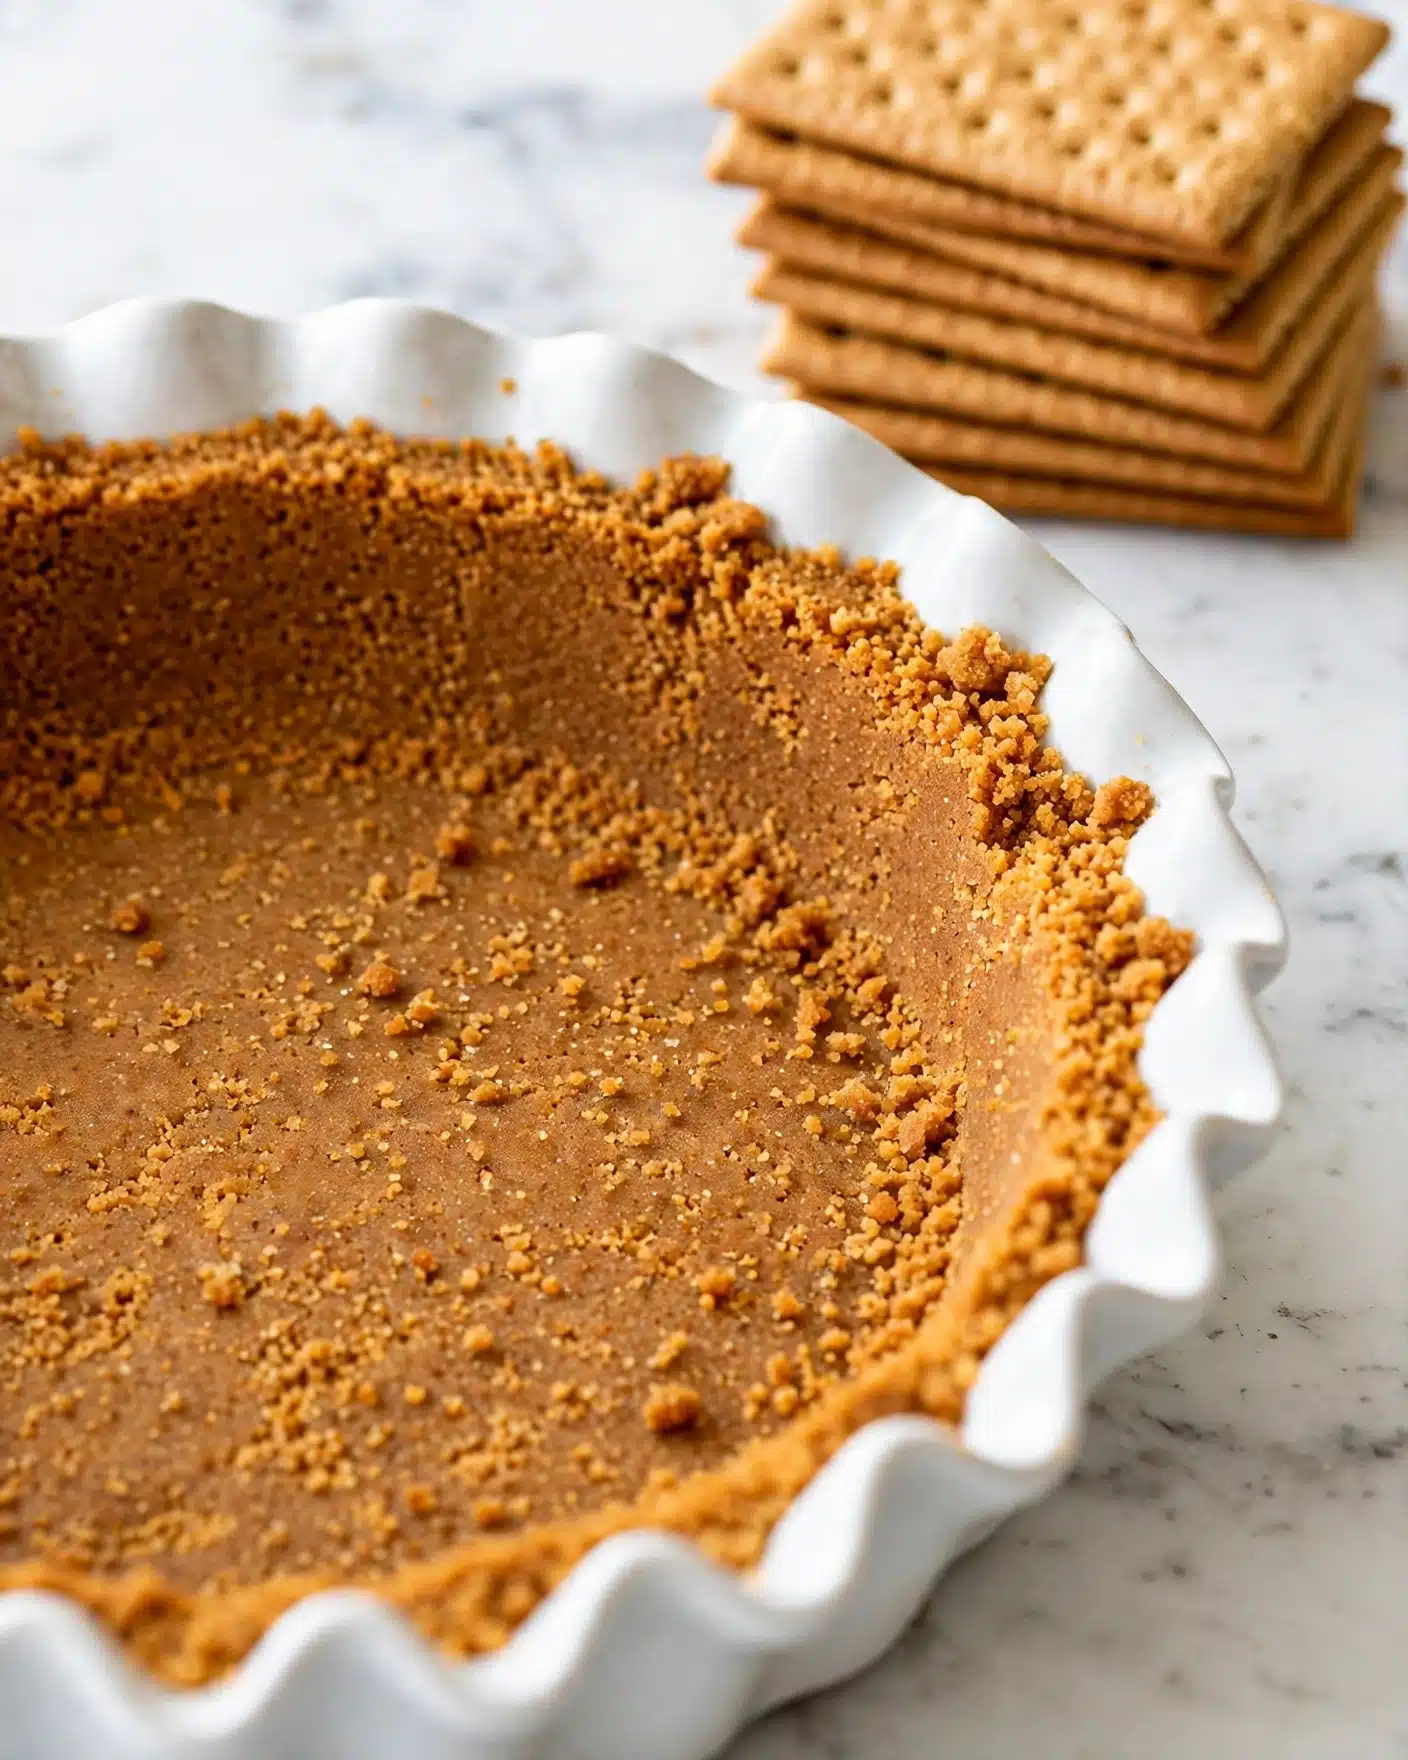
Firmly press the crust mixture evenly across the bottom and up the sides of a 9-inch by 1.5-inch pie plate. Use the back of a spoon or a flat-bottomed cup to compact the crust for an even thickness and a professional finish.
Step 5: Chill or Bake Your Crust
If your recipe calls for a no-bake filling, refrigerate the crust for at least an hour to let it set and become more solid before adding your filling. Alternatively, bake the crust at 350°F for 12 to 15 minutes until it becomes fragrant and lightly golden; this step intensifies the flavor and creates a crispier base.
How to Serve Graham Cracker Crust Recipe
Garnishes
Once your crust is ready and filled, fresh garnishes like ripe berries, shaved chocolate, or a dollop of whipped cream can take your dessert to the next level. These toppings add vibrant color and contrasting textures that marry beautifully with the crunchy yet tender crust.
Side Dishes
Serve your Graham Cracker Crust creation alongside a scoop of creamy vanilla ice cream or a drizzle of warm caramel sauce. These complementary sides enhance the sweet, buttery nuances of the crust and turn your dessert into a true crowd-pleaser.
Creative Ways to Present
Think beyond a traditional pie—use this crust recipe as a base for mini cheesecakes in ramekins or layered parfaits in clear glasses. You can even press individual portions into tart pans for personalized treats that look as good as they taste!
Make Ahead and Storage
Storing Leftovers
If you happen to have any leftover graham cracker crust, tightly wrap it in plastic wrap and keep it in the refrigerator. It will stay fresh for up to three days and can easily be reused or repurposed for other desserts.
Freezing
You can freeze the uncooked crust once pressed into the pan. Wrap it well with foil or plastic wrap and store it in the freezer for up to one month. When you’re ready to bake, simply add a few extra minutes to the baking time to accommodate the frozen crust.
Reheating
For baked crusts, a quick reheat at 325°F for 5 to 7 minutes will refresh the crunch and warmth without drying it out. This makes it perfect if you want to prepare the crust in advance and serve it warm with your filling.
FAQs
Can I use flavored graham crackers for this crust?
Absolutely! Using cinnamon or honey-flavored graham crackers adds a unique twist to your crust, enhancing depth of flavor without any extra effort.
Is it necessary to bake the graham cracker crust?
Not always. For no-bake pies and cheesecakes, chilling the crust in the refrigerator is enough to firm it up. Baking enhances the flavor and crunch but isn’t mandatory for every recipe.
What if I don’t have a food processor to crush the graham crackers?
No worries! Just place the crackers in a sturdy zip-top bag and roll over them with a rolling pin or even a heavy can until they’re finely crushed. It’s simple and effective.
Can I make this crust gluten-free?
Yes! Substitute graham crackers with gluten-free alternatives, ensuring they are finely crushed. The rest of the recipe remains the same and just as delicious.
How thick should I press the crust into the pan?
A thickness of about 1/4 inch works best for sturdy pie crusts that hold fillings well without being too crumbly or thick. Even pressing helps ensure consistent texture throughout.
Final Thoughts
This Graham Cracker Crust Recipe is truly a game-changer in your dessert arsenal. It brings simplicity, flavor, and that perfect crunch that elevates every slice of pie or cheesecake you make. Give it a try—you might be surprised how quickly it becomes your go-to for both classic and creative desserts!
Print
Graham Cracker Crust Recipe
- Total Time: 22-25 minutes
- Yield: 1 (9-inch) pie crust
Description
This Graham Cracker Crust recipe is a simple and delicious base for pies and cheesecakes. Made with finely crushed graham crackers, melted butter, sugar, and a pinch of salt, it can be baked to a golden crisp or refrigerated for a no-bake crust option. Perfectly sandy in texture, it holds together well to provide a sturdy and flavorful foundation for your favorite desserts.
Ingredients
Crust Ingredients
- 10 graham crackers (to yield about 1.5 cups crumbs)
- 3 ounces unsalted butter, melted
- 1.5 tablespoons granulated sugar
- 1/4 teaspoon salt
Instructions
- Crush the Graham Crackers: Crush the graham crackers into fine crumbs using a food processor, or place them in a zip-top bag and roll over with a rolling pin until very finely crushed.
- Combine Ingredients: In a bowl, mix about 2.5 tablespoons of the melted butter with the graham cracker crumbs, granulated sugar, and salt. Stir until well combined, resembling wet sand and holding together slightly when squeezed.
- Adjust Consistency: If the mixture feels dry, add the remaining melted butter and stir to achieve the proper texture.
- Press the Crust: Evenly press the crust mixture onto the bottom and up the sides of a 9 by 1.5-inch pie plate to form the crust.
- Set the Crust (No-Bake Option): Refrigerate the crust for an hour before filling if you choose not to bake, allowing it to set firmly.
- Bake the Crust (Baked Option): Bake the crust in a preheated oven at 350°F (175°C) for 12 to 15 minutes, until it becomes fragrant and lightly golden. Allow to cool completely before filling.
Notes
- This crust can be used for pies, cheesecakes, and other no-bake or baked desserts.
- Adjust the amount of butter slightly for desired texture—less for a crumbly crust, more for a firmer crust.
- If baking, watch closely towards the end to avoid over-browning.
- Store any unused crust mixture in an airtight container for up to 3 days.
- Prep Time: 10 minutes
- Cook Time: 12-15 minutes (if baking)
- Category: Dessert
- Method: Baking
- Cuisine: American