If you’re a fan of indulgent treats that combine rich flavors with effortless preparation, then this Dark Chocolate Orange No-Bake Tiffin Traybake Recipe is about to become your new favorite. Imagine crumbly bourbon biscuits coated in a luscious mix of dark chocolate and zesty orange, all set to firm perfection without any baking fuss. This tiffin traybake balances the bittersweet depth of dark chocolate with the bright citrus zing of orange, making it a spectacularly tempting dessert that’s perfect for sharing with friends or treating yourself to a little moment of joy.
Ingredients You’ll Need
The magic of this Dark Chocolate Orange No-Bake Tiffin Traybake Recipe starts with a handful of simple, quality ingredients that come together to create a symphony of flavor and texture. Each component plays its part: crumbly biscuits for crunch, butter and syrup for richness and stickiness, plus the star players—dark chocolate and vibrant orange—that deliver bold flavor and gorgeous color.
- Bourbon biscuits or Oreo cookies (250 g): These provide the perfect crunchy base with a hint of chocolate that blends beautifully with the rest of the ingredients.
- Dark chocolate orange (125 g): Infuses the dessert with that signature citrusy, chocolatey punch that lifts the entire traybake.
- Dark chocolate (175 g): Used for a silky, glossy topping that adds a rich, bittersweet finish.
- Unsalted butter (80 g): Adds creaminess and helps bind the biscuit mixture effortlessly.
- Golden syrup (1 tbsp): Sweet and sticky, this syrup ensures the tiffin holds together perfectly without being overly sweet.
- Orange zest (1 zest): Provides a fresh burst of citrus flavor and brightens the entire dessert with beautiful color.
How to Make Dark Chocolate Orange No-Bake Tiffin Traybake Recipe
Step 1: Prepare Your Tray
Start by lining your baking tray with parchment paper to prevent any sticking and make lifting the tiffin out as easy as pie. This simple prep step is key to keeping your dessert intact and tidy.
Step 2: Crush the Biscuits
Pop the bourbon biscuits into a large plastic bag, seal it tightly, and bash them with a rolling pin until you get fine crumbs. This adds the essential crunch and body to the tiffin base. Then, pour those crumbs into a large mixing bowl, ready for the chocolatey goodness.
Step 3: Add Zesty Freshness
Finely grate the orange zest, making sure to capture only the bright outer layer and avoid the bitter white pith. This zest will add that unmistakable citrus note that elevates the chocolate and biscuit mixture.
Step 4: Melt Together Butter, Syrup, and Dark Chocolate Orange
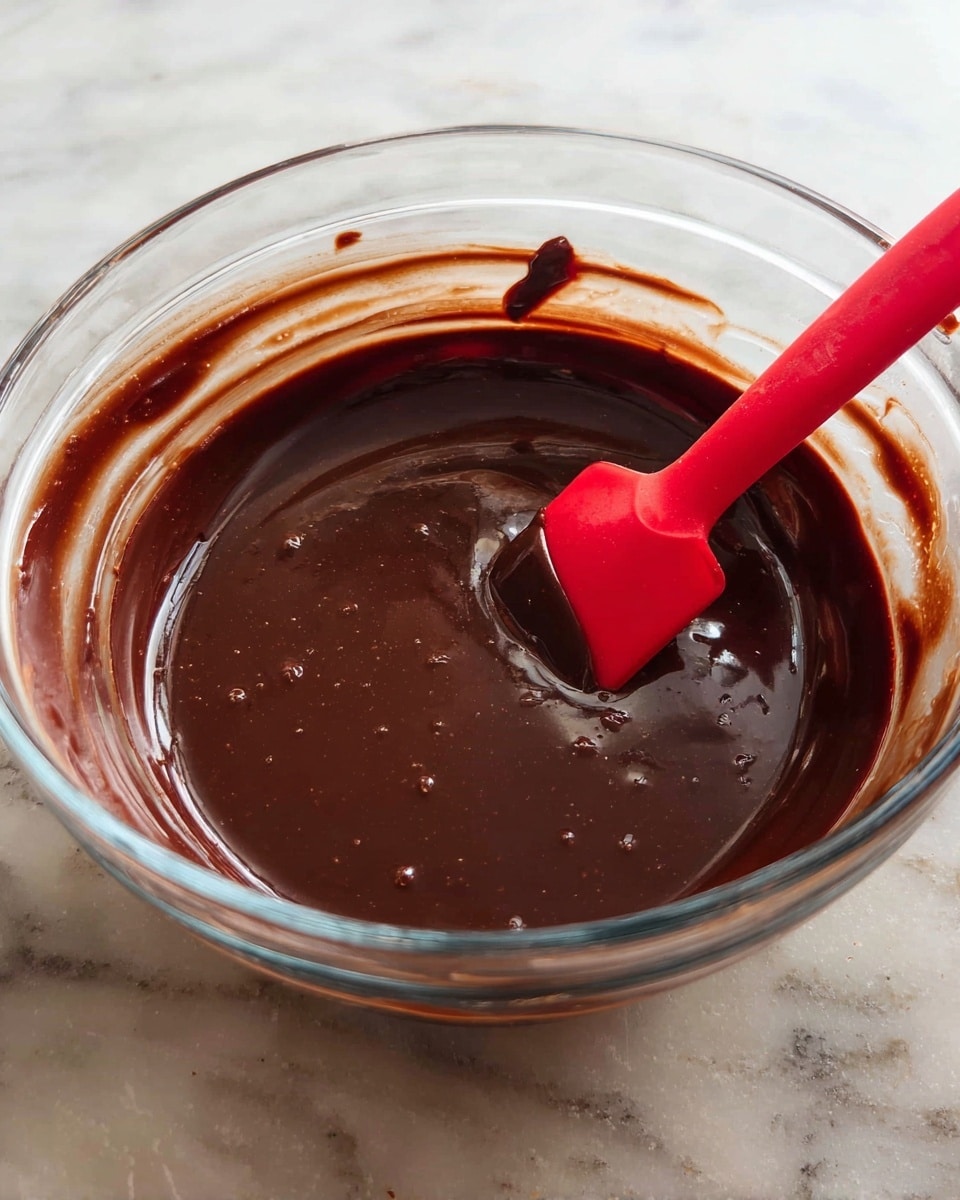
In a heatproof bowl set over a pan of simmering water, melt the dark chocolate orange with the butter, golden syrup, and freshly grated orange zest. Stir continuously until you have a smooth, molten chocolate mixture that smells heavenly and tastes even better.
Step 5: Combine Biscuit Crumbs and Chocolate Mixture
Pour the warm, melted chocolate mixture over the biscuit crumbs and stir well until every crumb is coated and the mixture looks rich and glossy. This step is where the magic happens, binding the crunchy crumbs with the luscious chocolate.
Step 6: Press into the Tray and Chill
Tip the biscuit mixture into your prepared tray, then use the back of a metal spoon to press it down firmly and evenly, taking care to get into all the corners. Pop the tray into the refrigerator for about 10 minutes to start setting the base.
Step 7: Melt Dark Chocolate for the Topping
While the base chills, break up the dark chocolate and melt it carefully over simmering water, stirring until smooth and glossy. This will be the rich topping that seals the tiffin with an elegant finish.
Step 8: Add the Chocolate Topping and Set
Once your biscuit base has slightly firmed up, pour over the melted dark chocolate and spread evenly. Return the tray to the fridge for at least 50 minutes to let the whole traybake set hard and ready to slice.
Step 9: Slice and Store
When the chocolate topping is completely set, lift the tiffin out of the tray using the parchment paper and cut into neat squares. Store the pieces in an airtight container in the fridge to keep them fresh and delicious for anytime indulgence.
How to Serve Dark Chocolate Orange No-Bake Tiffin Traybake Recipe
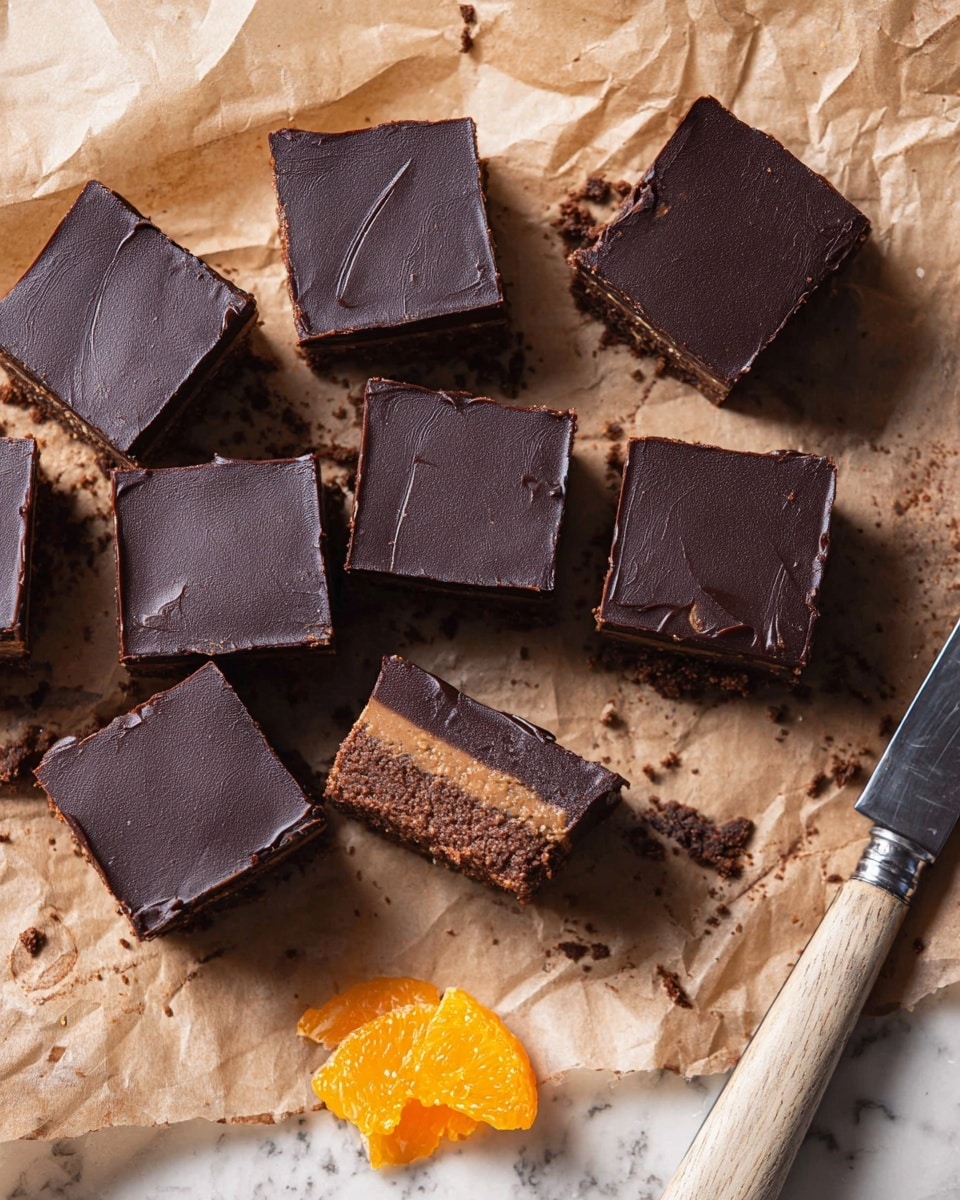
Garnishes
You can dress up this traybake with a sprinkle of finely grated orange zest on top to echo the citrus notes or add a scattering of chopped toasted nuts for extra crunch and a nutty aroma. A dusting of cocoa powder also adds a pretty touch and layered chocolate flavor.
Side Dishes
This Dark Chocolate Orange No-Bake Tiffin Traybake Recipe pairs beautifully with a scoop of vanilla ice cream or a dollop of whipped cream, contrasting the rich chocolate flavors with creamy coolness. For a refreshing touch, serve alongside a cup of freshly brewed coffee or a zesty orange-infused tea.
Creative Ways to Present
Try cutting the tiffin into different shapes using cookie cutters for a fun twist, perfect for parties or gift boxes. Layer the squares in a glass jar with alternating layers of whipped cream and orange segments to create luscious dessert parfaits that wow the eye and the palate.
Make Ahead and Storage
Storing Leftovers
This tiffin keeps incredibly well in the fridge, ideally stored in an airtight container to retain freshness and prevent the chocolate from absorbing other odors. It’s a convenient treat to have on hand for whenever a sweet craving strikes.
Freezing
You can freeze pieces of this traybake wrapped tightly in cling film and placed in a freezer-safe container. Just thaw in the fridge overnight when you’re ready to indulge, and they’ll have almost the same delightful texture as fresh.
Reheating
Since this is a no-bake cold dessert, reheating is not necessary. However, letting it sit at room temperature for 10 minutes before serving will soften the chocolate slightly, enhancing its melt-in-your-mouth feel.
FAQs
Can I use different types of biscuits in this recipe?
Absolutely! While bourbon biscuits or Oreos work great for their chocolate flavor and crunch, you can experiment with digestive biscuits or graham crackers if you prefer a lighter base. Just keep the texture similar to maintain the structure of the tiffin.
Is it possible to make this vegan?
Yes! You can replace the butter with vegan margarine, choose dark chocolate that is dairy-free, and swap golden syrup for maple syrup or agave nectar. The resulting traybake will still taste amazing and be completely plant-based.
How long does this traybake stay fresh?
Stored in an airtight container in the fridge, this tiffin will stay fresh for up to one week. Beyond that, the texture and flavor may start to decline, so it’s best enjoyed within that timeframe.
Can I add nuts or dried fruit to the mixture?
Definitely! Chopped nuts like almonds or walnuts, or dried fruits such as cranberries or raisins, can add interesting textures and flavors. Just fold them in during step 5 before pressing the mixture into the tray.
What’s the best way to cut the tiffin without cracking the chocolate topping?
For neat slices, use a sharp knife warmed under hot water and wiped dry before cutting. Press gently through the chocolate layer to avoid cracking, wiping the knife clean between cuts for smooth edges.
Final Thoughts
This Dark Chocolate Orange No-Bake Tiffin Traybake Recipe truly is a delightful crowd-pleaser that brings together classic flavors in a way that’s easy, no-fuss, and seriously delicious. Whether you’re making it for a special occasion or a simple midweek treat, it’s guaranteed to impress. Go ahead and give it a try—you might just find your new go-to sweet fix!

Dark Chocolate Orange No-Bake Tiffin Traybake Recipe
- Total Time: 1 hour 15 minutes (including chilling time)
- Yield: 16 servings
- Diet: Vegetarian
Description
This Dark Chocolate Orange Tiffin Traybake is a no-bake, indulgent treat combining crunchy bourbon biscuits with zesty orange-flavored dark chocolate. Perfect for a quick yet impressive dessert, this traybake features a smooth layer of melted dark chocolate atop a buttery biscuit base, set to perfection in the refrigerator.
Ingredients
Biscuit Base
- 250 g bourbon biscuits or Oreo cookies
Chocolate Orange Mixture
- 125 g dark chocolate orange
- 80 g unsalted butter
- 1 tbsp golden syrup
- 1 zest of orange
Topping
- 175 g dark chocolate
Instructions
- Prepare the Tray: Line the baking tray with baking parchment to prevent sticking and ensure easy removal of the tiffin later.
- Crush the Biscuits: Place the bourbon biscuits into a large plastic bag, seal it, and bash with a rolling pin until reduced to crumbs. Transfer the crumbs to a large mixing bowl.
- Grate Orange Zest: Finely grate the zest of one orange to add a fresh citrus aroma to the chocolate mixture.
- Melt Chocolate Orange Mixture: In a glass bowl, combine 125 g of dark chocolate orange, unsalted butter, golden syrup, and the grated orange zest. Place this bowl over a pan of simmering water and stir continuously until the mixture is fully melted and smooth.
- Combine with Biscuits: Pour the melted chocolate mixture over the biscuit crumbs and mix thoroughly until all crumbs are well coated.
- Set the Base: Transfer the chocolate biscuit mixture into the lined baking tray. Use the back of a metal spoon to spread and press the mixture evenly across the tray and into the corners. Chill in the refrigerator for 10 minutes to set.
- Melt Dark Chocolate Topping: Break up the 175 g dark chocolate into a clean bowl. Melt it over a pan of simmering water, stirring gently until smooth.
- Add Chocolate Topping: Remove the tray from the refrigerator and pour the melted dark chocolate evenly over the biscuit base. Return the tray to the refrigerator.
- Chill to Set: Allow the tiffin to chill in the fridge for another 50 minutes, or until the chocolate topping is firm and set.
- Serve: Once fully set, remove from the fridge. Lift the tiffin out of the tray using the parchment paper, then cut into squares. Store leftovers in an airtight container in the refrigerator for freshness.
Notes
- Use bourbon biscuits for a classic tiffin flavor, or substitute with Oreo cookies for a twist.
- Ensure the bowls used for melting chocolate are dry to prevent seizing.
- Press the biscuit mixture firmly into the tray to avoid crumbling when cutting.
- The golden syrup helps bind the mixture and adds a subtle sweetness.
- Store in the fridge and consume within 5 days for best taste and texture.
- Prep Time: 15 minutes
- Cook Time: 5 minutes (melting chocolate)
- Category: Dessert
- Method: No-Cook
- Cuisine: British


