If you have a craving for crunchy, flavor-packed pickles but don’t want to wait weeks for results, these Garlic and Dill 24-Hour Refrigerator Pickles will be your new go-to recipe. Quick, easy, and so satisfyingly crisp, they’re loaded with zesty garlic, a generous handful of fresh dill, and the perfect balance of tangy brine. You don’t need fancy equipment or canning know-how: if you have a couple of jars, a saucepan, and some cucumbers, you’re already halfway there! These pickles bring homemade magic to your fridge in just a day, making them perfect for busy weeks, impromptu BBQs, and anytime you’re craving that irresistible crunch.
Ingredients You’ll Need
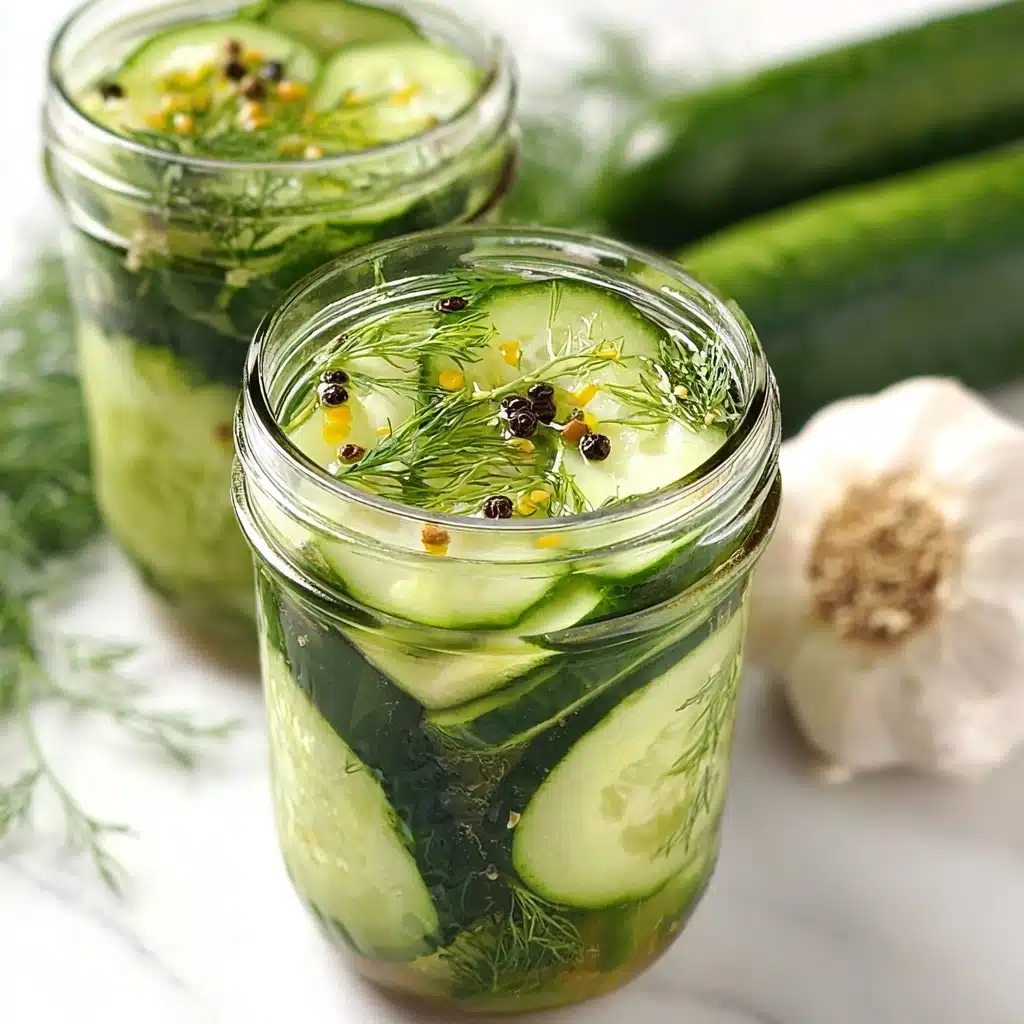
The beauty of Garlic and Dill 24-Hour Refrigerator Pickles is just how few ingredients you need, but each one makes an impact. Every item in this recipe has its own reason for being here – from the refreshing snap of cucumbers to the herby brightness of dill. Let’s take a closer look at why each ingredient is a must-have for maximum flavor and crunch.
- Cucumbers: Choose medium-sized, firm cucumbers for the crunchiest results; you can use regular, pickling, or English cucumbers depending on what you have available.
- Garlic: Lightly crushed cloves infuse the pickles with a bold, savory punch that perfectly complements the dill and vinegar.
- Mustard seeds: These tiny seeds bring subtle warmth and a traditional pickle flavor that always surprises in the best way.
- Black peppercorns: For just the right floral heat and complexity.|
- Fresh dill: The fresh, garden-bright herb is at the heart of the classic pickle taste, but you can swap for dried or freeze-dried in a pinch.
- White distilled vinegar: Go for 5% acidity minimum to guarantee a safe, tangy brine that wakes up every bite.
- Water: Helps mellow the brine, so the vinegar isn’t overpowering and the pickles are perfectly balanced.
- Sugar: Just a little bit rounds out the vinegar and brings all the flavors together without making the pickles sweet.
- Kosher salt: Intensifies all the great flavors and is gentler than iodized salt, so your brine stays clear and pure-tasting.
- Mason jars with lids: Heat-safe jars make it easy to layer all your ingredients and pour in the hot brine without worry.
How to Make Garlic and Dill 24-Hour Refrigerator Pickles
Step 1: Prep Your Cucumbers
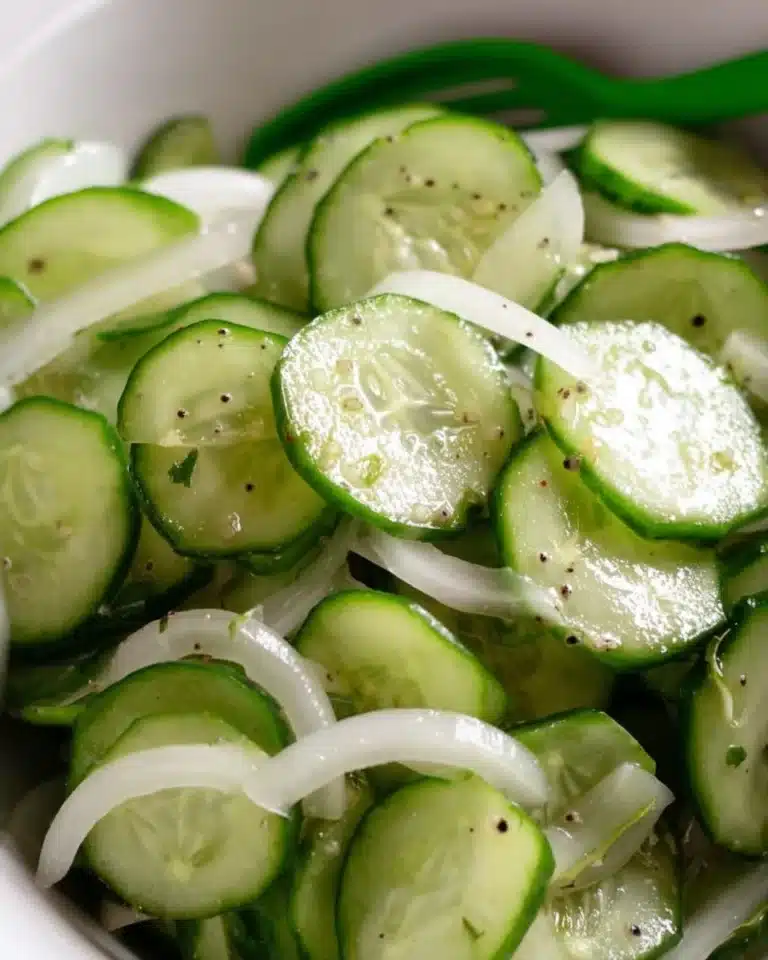
Start with crisp, fresh cucumbers—this is our foundation for the best Garlic and Dill 24-Hour Refrigerator Pickles. Wash the cucumbers well and trim off both ends. Decide if you want classic spears or charming rounds: for spears, cut each cucumber in half crosswise, then slice each half into 8 spears. For rounds, simply cut each cucumber into sixteen 1/4-inch thick slices. The joy is that either style works beautifully in these pickles.
Step 2: Fill the Jars
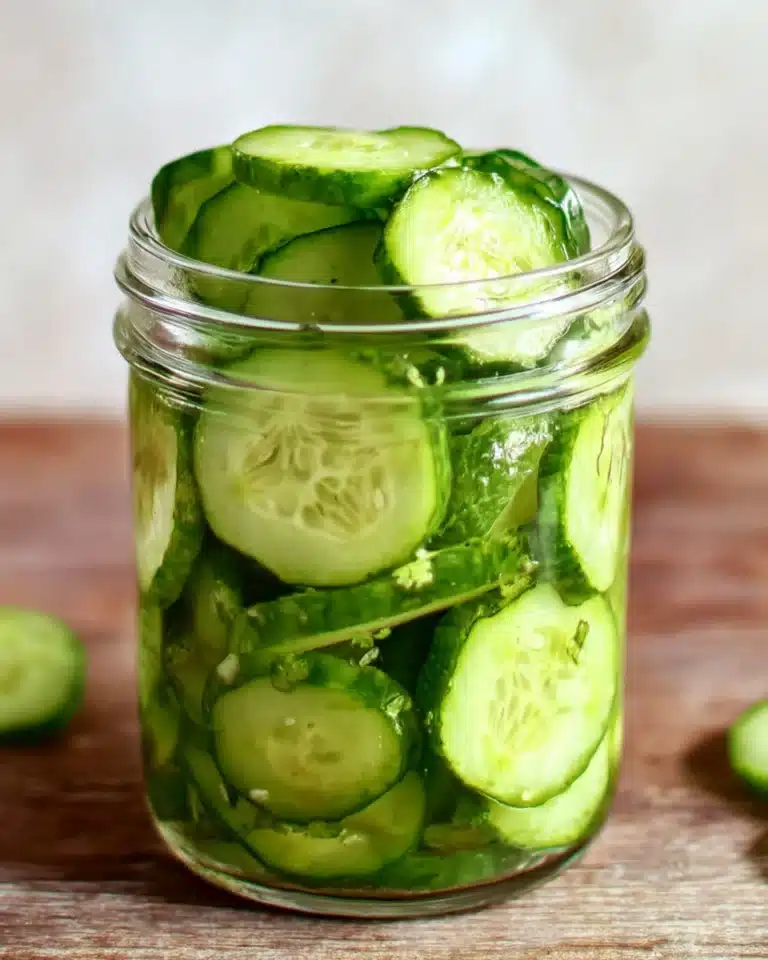
Now for the fun part! Take your clean, room-temperature mason jars and tightly pack the cucumber pieces inside. Tuck one lightly crushed clove of garlic down among the cucumbers in each jar. This ensures every pickle gets that garlicky goodness. Sprinkle 1/2 teaspoon of mustard seeds, 1/2 teaspoon of peppercorns, and 1 teaspoon of fresh chopped dill over the cucumbers in each jar. The spices and herbs will infuse all their flavors as the pickles rest.
Step 3: Make the Brine
For a tangy, bright brine, place the vinegar, water, sugar, and kosher salt in a small saucepan. Bring it up to a boil over medium-high heat, stirring occasionally until the sugar and salt are completely dissolved. Once it hits a rolling boil, remove from heat—this fragrant liquid is what will transform your ordinary cucumbers into crave-worthy pickles.
Step 4: Pour and Cool
Carefully pour the hot brine into your prepared jars, making sure to cover the cucumbers fully. Don’t leave any uncovered, as the brine is what preserves and pickles them. Fill right to the top if you can—since these are refrigerator pickles, you don’t need to leave much space at the top. Once the brine is in, set the jars aside (uncovered) and let them cool at room temperature for about 30 minutes. This keeps your jars safe from sudden temperature drops and helps the flavors start mingling.
Step 5: Chill and Wait…Just 24 Hours!
Once the jars are cooled to room temp, seal with their lids and pop them in the fridge. Try to resist the urge to sample right away! The magic happens over the next 24 hours, as all the vivid flavors merge and infuse. The longer the Garlic and Dill 24-Hour Refrigerator Pickles sit, the stronger their flavor will become, but trust me—they’ll taste fresh and delicious after just one day.
How to Serve Garlic and Dill 24-Hour Refrigerator Pickles
Garnishes
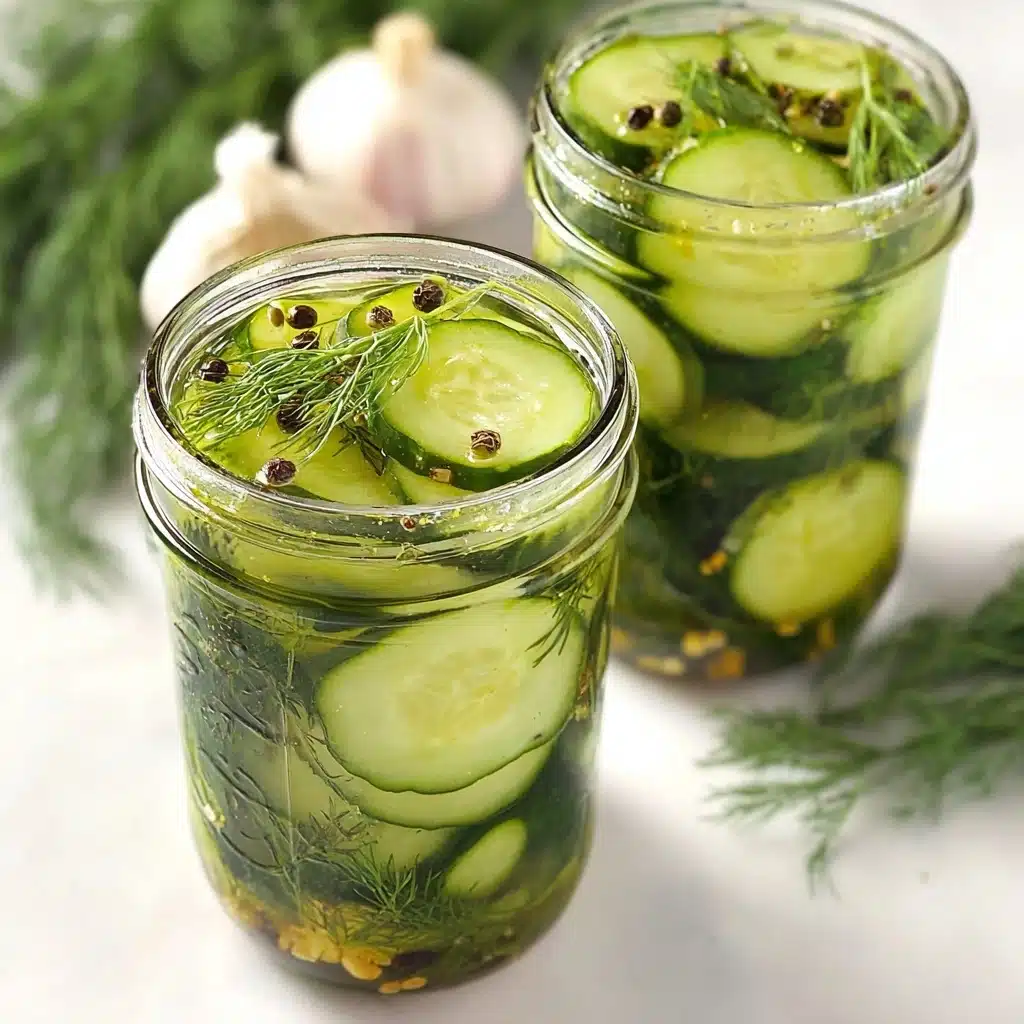
Top these lively pickles with a few extra sprigs of fresh dill or a sprinkle of whole mustard seeds for a beautiful, rustic touch. For a pop of color and flavor, add a thin slice of fresh red chili or a few pink peppercorns on the plate—the pickles will look as zippy as they taste!
Side Dishes
Garlic and Dill 24-Hour Refrigerator Pickles are the ultimate sidekick for summer BBQs, deli sandwiches, burgers, and grilled cheese. Their cool, crunchy bite cuts rich flavors and adds zest to classics like potato salad, fried chicken, or smoky brisket. For appetizers, try including them on a cheese and charcuterie board—they’re always the first to disappear.
Creative Ways to Present
If you want to really impress, serve your pickles by alternating spears or rounds with other colorful veggies—think carrot sticks and radish wedges—in a big mason jar for a “rainbow pickle” effect. Or, skewer the pickles with cubes of cheese and salami for savory, snackable party bites. You can even chop the pickles and stir them into potato or macaroni salad for an herby upgrade.
Make Ahead and Storage
Storing Leftovers
Your Garlic and Dill 24-Hour Refrigerator Pickles should be stored in the fridge at all times. They’ll stay crisp and flavorful for up to 3 to 4 weeks—just make sure the cucumbers remain submerged in brine for best preservation. If you notice the brine no longer covers the pickles (especially with spears), add equal parts vinegar and water or even tilt the jar on its side so everything stays nicely immersed.
Freezing
Unfortunately, freezing is not recommended for these refrigerator pickles. The freeze-thaw process can turn their snappy, fresh texture into something mushy and dull. Stick to making them in small batches that you’ll enjoy within a month—the effort is well worth the reward!
Reheating
There’s no need to reheat Garlic and Dill 24-Hour Refrigerator Pickles. They’re meant to be served cold right from the fridge, so you always get that refreshing, crisp crunch. If you’re using them in a recipe that will be cooked—like potato salad or a warm sandwich—just chop and mix them directly in, no warming necessary.
FAQs
Can I use a different type of cucumber?
Absolutely! Pickling cucumbers are ideal for the crunchiest pickles due to their thin skin and small seeds, but English (seedless) or regular slicing cucumbers also work well. Just be sure to select firm, unblemished cucumbers for best results.
Can I make these Garlic and Dill 24-Hour Refrigerator Pickles sweeter or spicier?
Definitely! To make sweeter pickles, simply add a bit more sugar to the brine. For heat, add sliced fresh jalapeños or a pinch of red pepper flakes to each jar. The base recipe welcomes personal flair, so make it your own.
My garlic turned blue—should I be worried?
No worries at all! Sometimes garlic changes color due to a natural reaction with vinegar and salt. This blue or turquoise hue is safe and doesn’t affect the taste or safety of the pickles.
How long do pickles need to chill before eating?
For the best flavor and crunch, let your pickles chill in the fridge a minimum of 24 hours. The flavor gets bolder the longer they rest, so feel free to let them sit for a few more days if you like an even punchier taste.
Can I reuse the brine for another batch?
While you can technically reuse the brine once for a new batch, know that it will be less flavorful and the texture may be slightly softer. For the most vibrant Garlic and Dill 24-Hour Refrigerator Pickles, make fresh brine each time—your tastebuds will thank you!
Final Thoughts
If you’ve ever wanted to capture the pure joy of homemade pickles without waiting weeks, Garlic and Dill 24-Hour Refrigerator Pickles are a revelation. Fresh, tangy, and loaded with bold flavor, they’re sure to become your new household staple. Grab some cucumbers, invite a jar or two into your kitchen, and experience just how easy (and delicious) pickling can be at home. Give it a try—the hardest part is waiting to dig in!
Print
Garlic and Dill 24-Hour Refrigerator Pickles Recipe
- Total Time: 1 day 50 minutes
- Yield: 2 pints (about 32 spears or 32 round slices)
- Diet: Vegetarian
Description
Learn how to make delicious garlic and dill 24-hour refrigerator pickles at home with this easy-to-follow recipe. These crisp and flavorful pickles are perfect for snacking or adding to your favorite dishes.
Ingredients
Cucumbers:
- 2 medium cucumbers, about 8 to 9 inches long each, washed and ends trimmed off
Seasonings:
- 2 cloves garlic, peeled and lightly crushed
- 1 teaspoon mustard seeds, divided
- 1 teaspoon black peppercorns, divided
- 2 heaping teaspoons fresh chopped dill, divided
- 1 cup white distilled vinegar, 5% acidity minimum
- 1 cup water
- 2 tablespoons sugar
- 1 tablespoon kosher salt
Special Equipment:
- 2 sized mason jars (heat-safe) with lids
Instructions
- Slice the cucumbers. To make spears, cut each cucumber in half crosswise and then cut each half into 8 spears that are about 3 to 4 inches long (for a total of 32 spears; 16 per jar). If making round slices, cut each cucumber into 16 slices, each about ¼ inch thick (for a total of 32 rounds; 16 per jar).
- Tightly pack the cucumbers into the jars. Add one clove of garlic to each jar, tucking it down into the cucumbers.
- Add seasonings. Add ½ teaspoon of the mustard seeds, ½ teaspoon of the peppercorns, and 1 teaspoon of the dill to each jar.
- Prepare the brine. Place the vinegar, water, sugar, and salt in a small saucepan. Bring to a boil, stirring frequently until the sugar and salt have completely dissolved.
- Pour the brine into jars. Pour the hot brine into the jars, covering the cucumbers completely. Allow to cool to room temperature.
- Refrigerate. Place the lids on the jars and refrigerate for at least 24 hours before serving.
Notes
- These pickles are not shelf-stable, and so they must be kept stored in the refrigerator; they will last up to 3 to 4 weeks.
- Any kind of cucumber can be used. Pickling cucumbers, such as Kirby, are ideal because they have thinner skin, less seeds, and a crunchy texture.
- If you can’t get fresh dill, you can substitute 1 teaspoon of dried dill weed (½ teaspoon in each jar).
- Make sure the mason jars are not cold, as a sudden temperature change could cause them to break.
- If needed, fill jars with equal parts vinegar and cold water to cover pickles that are not fully submerged in brine.
- Sometimes garlic may turn bluish when pickled due to a reaction with the vinegar, which is normal.
- This recipe is not suitable for canning; use a specific canning recipe for that purpose.
- Prep Time: 15 minutes
- Cook Time: 5 minutes
- Category: Appetizer/Snack
- Method: Refrigerator Pickling
- Cuisine: American
Nutrition
- Serving Size: 1 pickle spear or slice
- Calories: 11
- Sugar: 1g
- Sodium: 226mg
- Fat: 0g
- Saturated Fat: 0g
- Unsaturated Fat: 0g
- Trans Fat: 0g
- Carbohydrates: 3g
- Fiber: 0g
- Protein: 0g
- Cholesterol: 0mg

